Display scaling makes the size of your Mac’s interface more comfortable on non-Retina monitors but incurs some visual and performance penalties. We explain these effects and how much they matter.
In a world where Apple’s idea of display resolution is different from that of the PC monitor industry, it’s time to make sense of how these two standards meet and meld on your Mac’s desktop.
A little Mac-ground…
Apple introduced the Retina display to the Mac with the 13-inch MacBook Pro on the 23rd of October 2012, packing in four times the pixel density. From that point onward, Apple gradually brought the Retina display to all its Macs with integrated screens.
This was great, but it appeared Apple had abandoned making its standalone monitors, leaving that task to LG in 2016. So, if you needed a standalone or a second monitor, going officially Retina wasn’t an option.
However, now Apple has re-entered the external monitor market, and you have to decide whether to pair your Mac with either a Retina display, such as the Pro Display XDR or Studio Display, or some other non-Retina option.
And part of that decision depends on whether you’re concerned about matching macOS’s resolution standard.
Enter display scaling
Increasing a display’s pixel density by four times presents a problem: if you don’t adjust anything, all of the elements in the user interface will be four times smaller. This makes for uncomfortably tiny viewing. So, when Apple introduced the Retina standard, it also scaled up the user interface by four times.
The result is that macOS is designed for a pixel density of 218 ppi, which Apple’s Retina monitors provide. And if you deviate from this, you run into compromises.
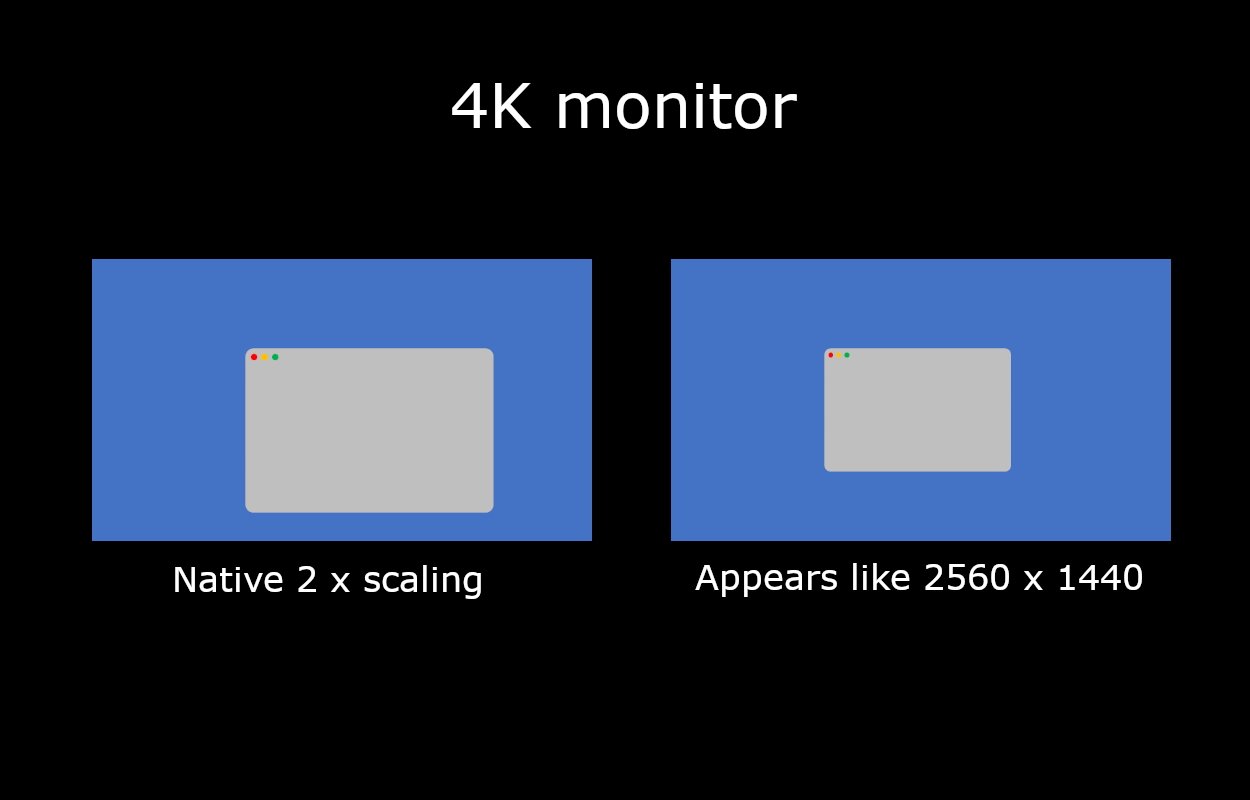
For example, take the Apple Studio Display, which is 27 inches in size. It has a resolution of 5120 x 2880, so macOS will double the horizontal and vertical dimensions of the UI, thus rendering your desktop at the equivalent of 2560 x 1440. Since macOS has been designed for this, everything appears at its intended size.
Then consider connecting a 27-inch 4K monitor to the same Mac. This has a resolution of 3840 x 2160, so the same 2 x scaling factor will result in an interface size the equivalent of 1920 x 1080.
Since both 5K and 4K screens are physically the same size with the same scaling factor, the lower pixel density of the 4K one means that everything will appear bigger. For many, this makes for uncomfortably large viewing.
If you go to System Settings — > Displays, you can change the scaling factor. However, if you reduce it to the equivalent of 2560 x 1440 on a 4K monitor, macOS calculates scaling differently because 3840 x 2160 divided by 2560 x 1440 is 1.5, not 2. In this case, macOS renders the screen at 5120 x 2880 to a virtual buffer, then scales it down by 2 x to achieve 2560 x 1440.
Display scaling — this method of rendering the screen at a higher resolution and then scaling down by 2 x — is how macOS can render smoothly at many different display resolutions. But it does come with a couple of caveats.
Mac(ular) degeneration
Applying a 2 x scaling factor to the respective native resolutions of both a 5K and a 4K monitor will result in a pixel-perfect image. But display scaling will render a 2560 x 1440 image onto a 3840 x 2160 display. This will naturally produce visual artifacts, since it’s no longer a 1:1 pixel mapping.
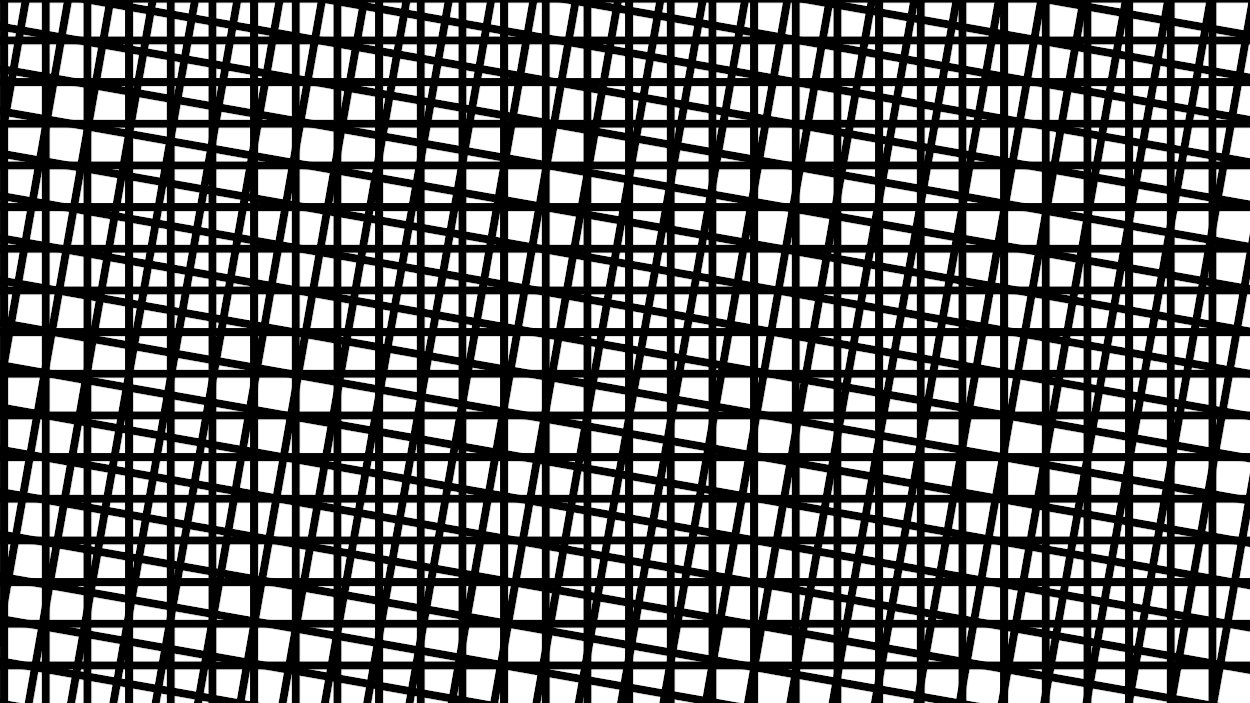
Therefore, display scaling results in deformities in image quality, including blurriness, moire patterns, and shimmering while scrolling. It also removes dithering, so gradients may appear less smooth.
Although these visual artifacts are undoubtedly present, the principle of non-resolvable pixels still applies.
By rearranging the formula, angular resolution = 2dr tan(0.5 degrees) becomes d = angular resolution / 2r tan (0.5 degrees). Then we can calculate the viewing distance at which this happens. For example, at the Retina angular resolution of 63 ppd, and the pixel density of 163 ppi for a 4K monitor, the result is about 22 inches.
This means a person with average eyesight won’t see individual pixels on a 4K screen when viewed at this distance and farther.
So, you may not notice any deformities, depending on the viewing distance, your eyesight, and the quality of the display panel. (If your nose is pressed against the screen while you look for visual artifacts, you may be looking too closely.)
He ain’t heavy, he’s my buffer
The other caveat of display scaling is performance. If your device renders the screen at a higher resolution than the display into a buffer and then scales it down, it needs to use some extra computational resources. But, again, this may not have as significant an impact as you might think.
For example, Geekbench tests on an M2 MacBook Air showed a drop in performance of less than 3 % at a scaled resolution, compared with the native one, when using OpenCL, and less than 1 % when using Metal. On the same machine, Blender performance dropped by about 1.1 %.
How significant this is depends on your usage. If you need to squeeze every last processor cycle out of your Mac, you’d be better off choosing your monitor’s native resolution or switching to a Retina display. However, most users won’t even notice.
The overall takeaway from display scaling is that it’s designed to make rendering on your non-Retina monitor better, not worse. For example, suppose you do detailed visual work where a 1:1 pixel mapping is essential or long video exports where a 1 % time saving is critical. In that case, chances are that you already own a standalone Retina display or two. Otherwise, you can use display scaling on a non-Retina monitor without noticing any difference.
This story originally appeared on Appleinsider


