This website may contain affiliate links and advertising so that we can provide recipes to you. Read my disclosure policy.
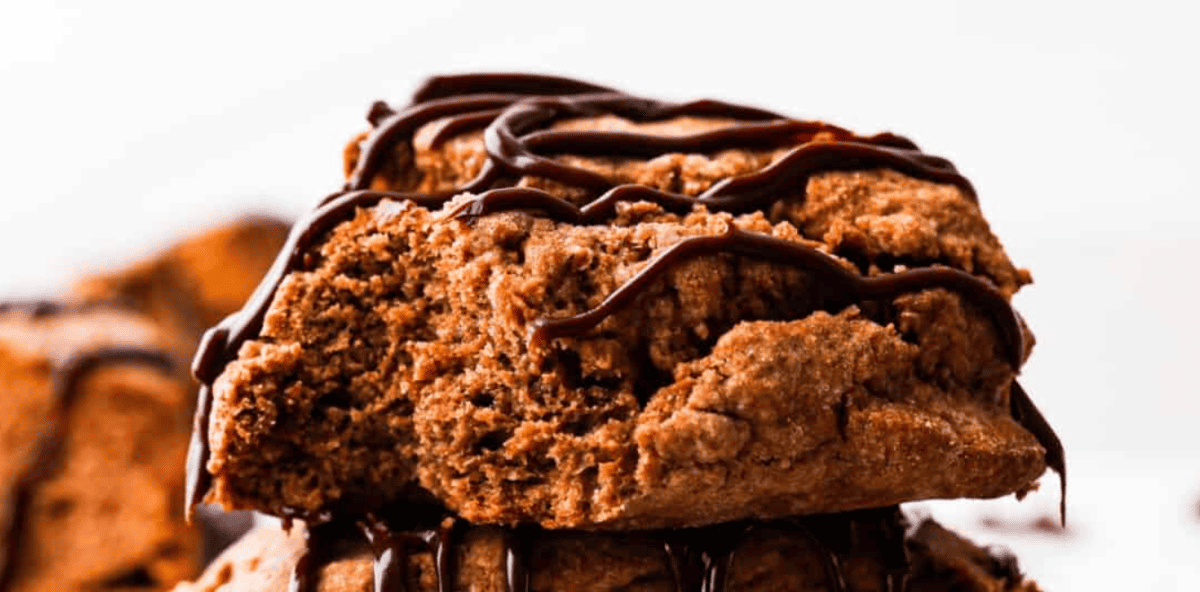
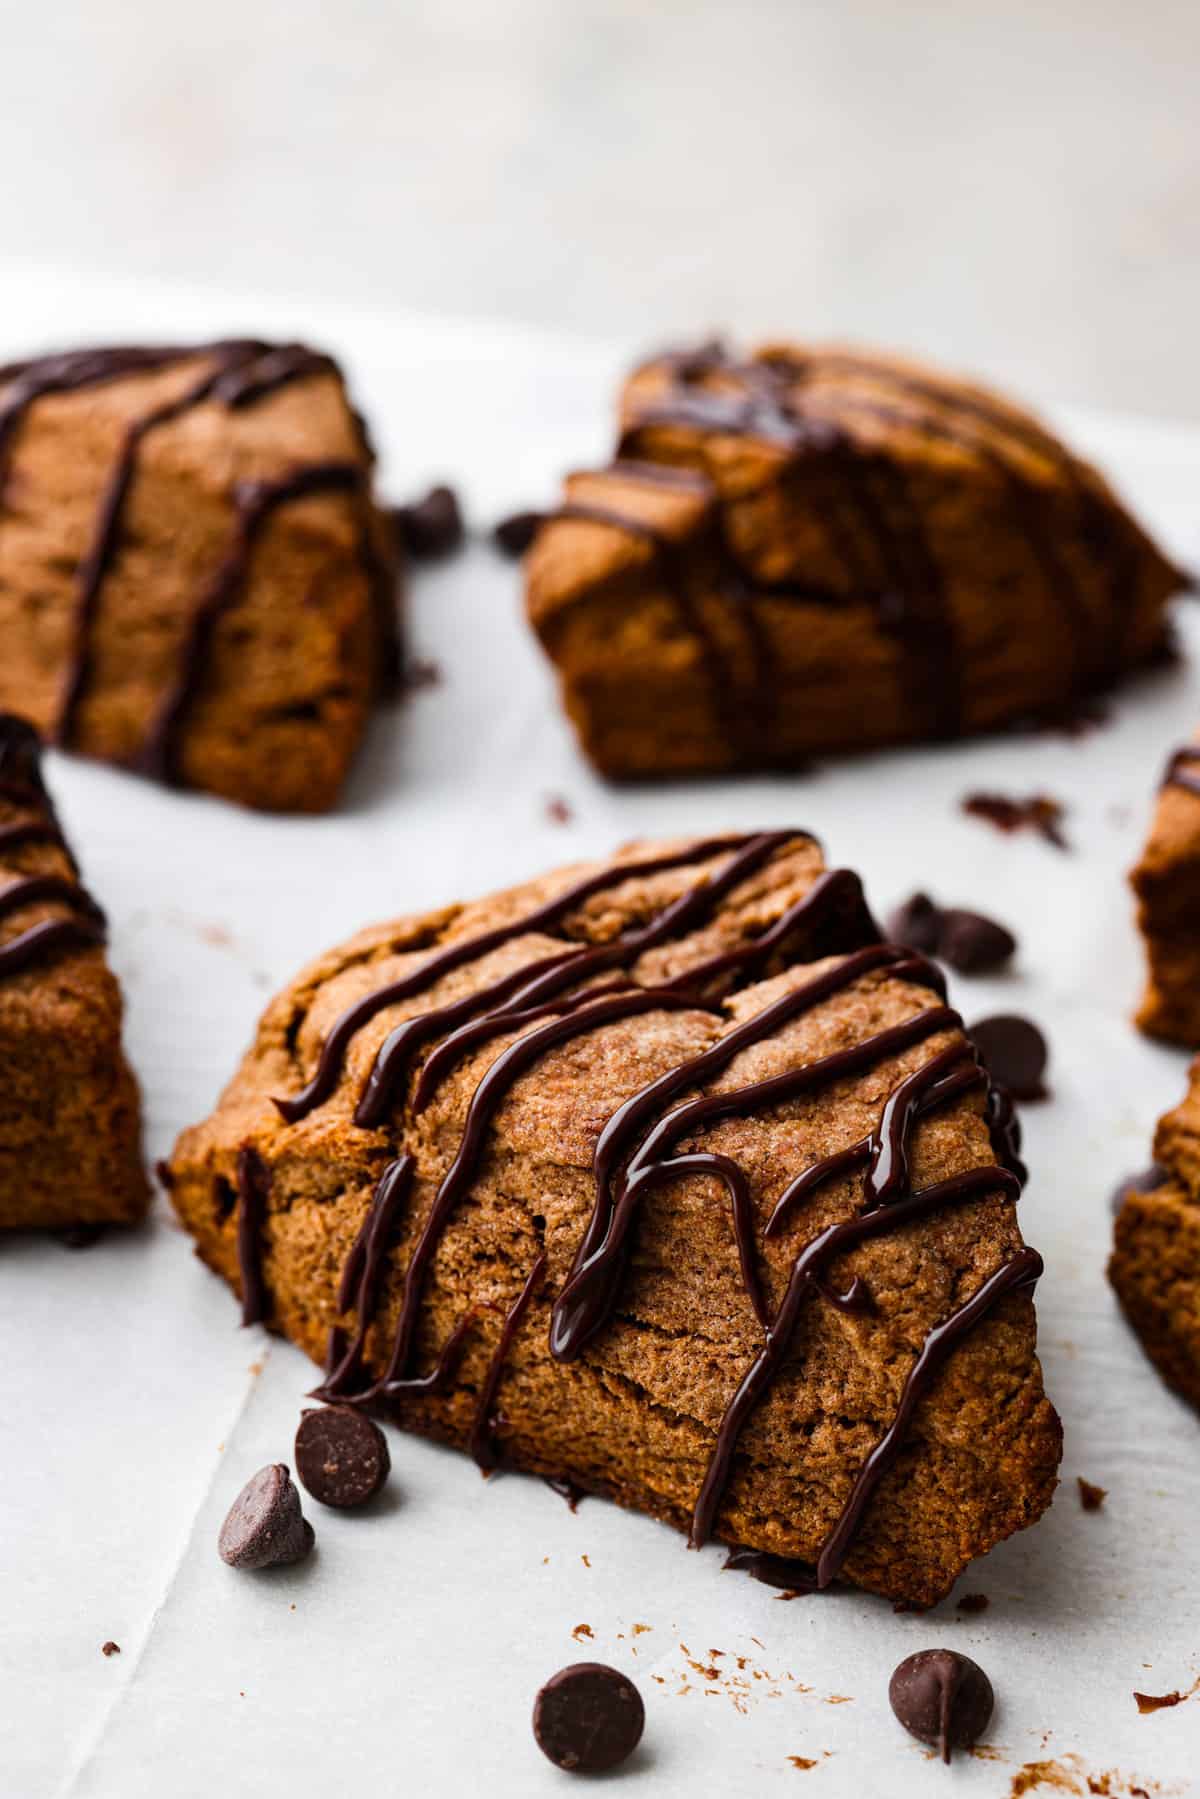
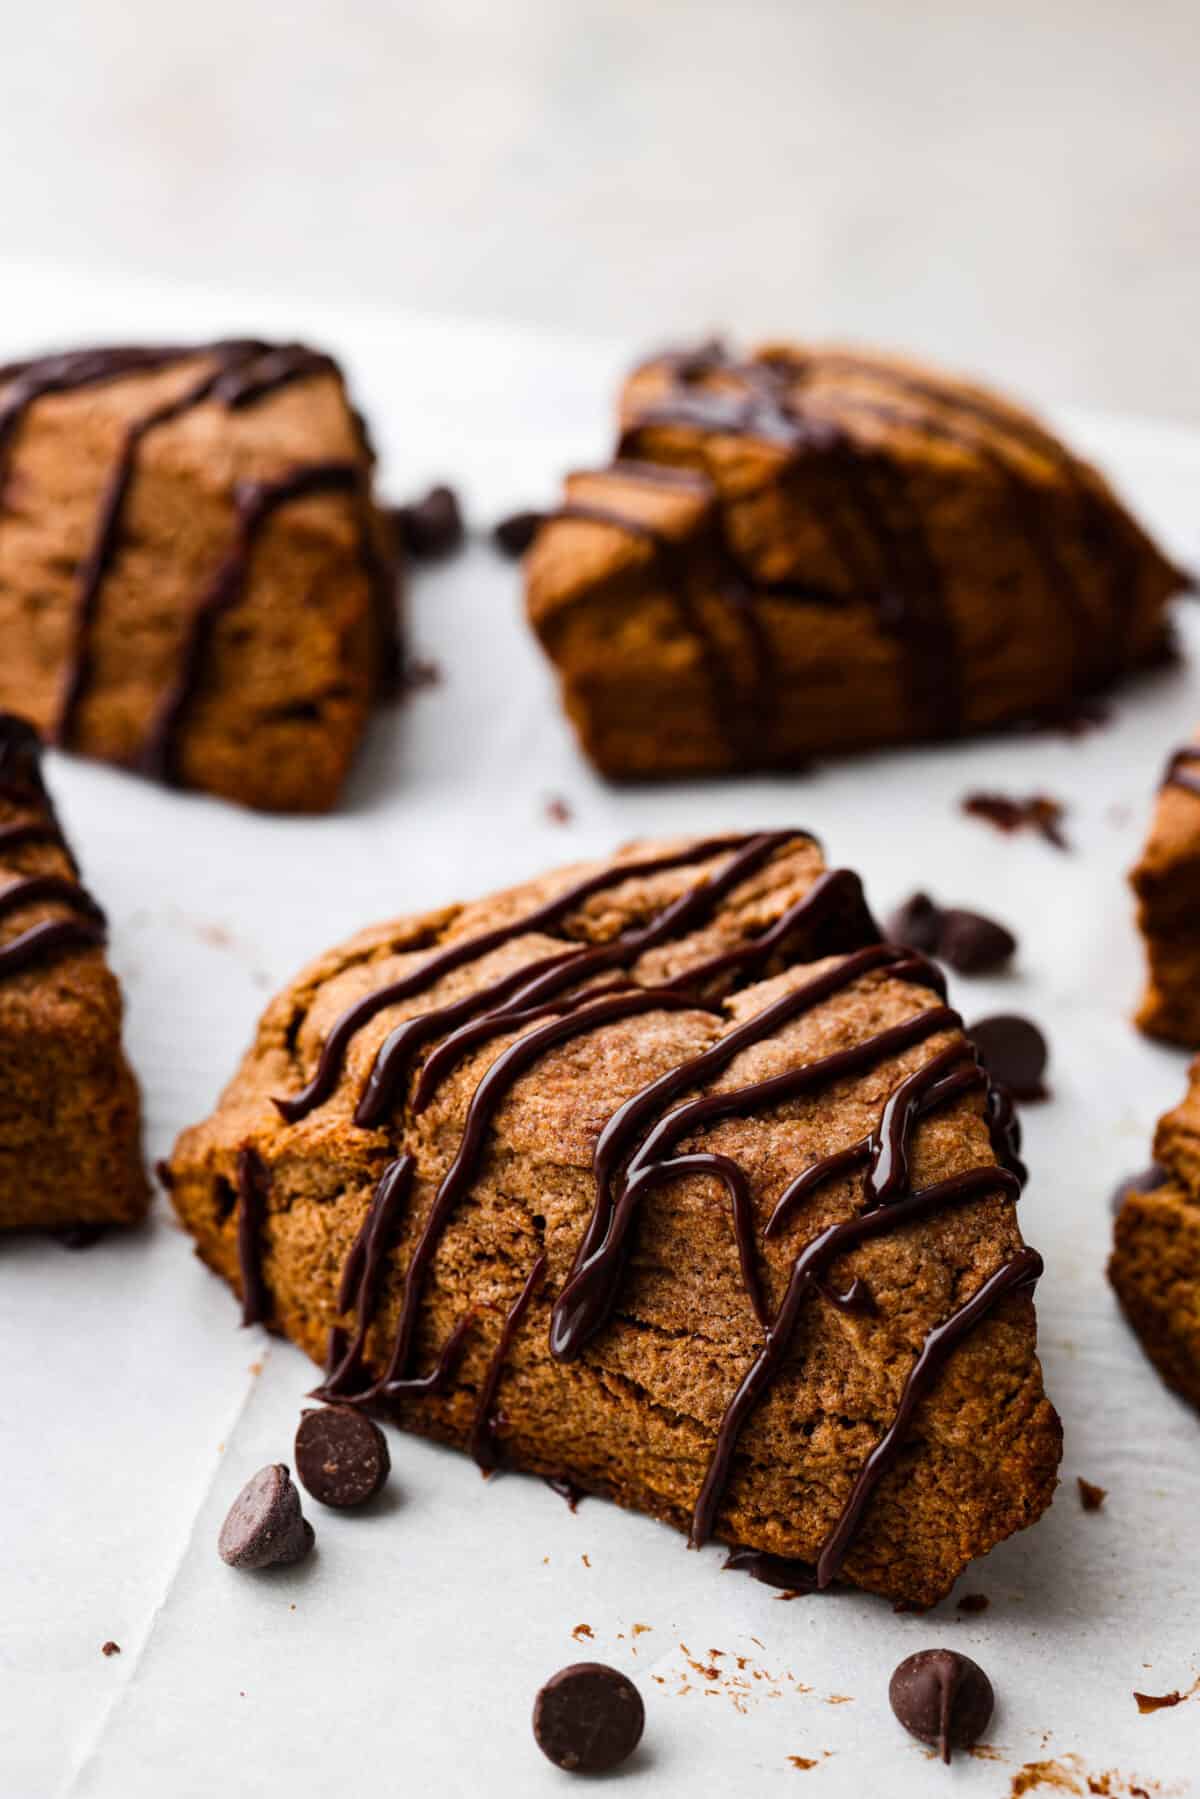
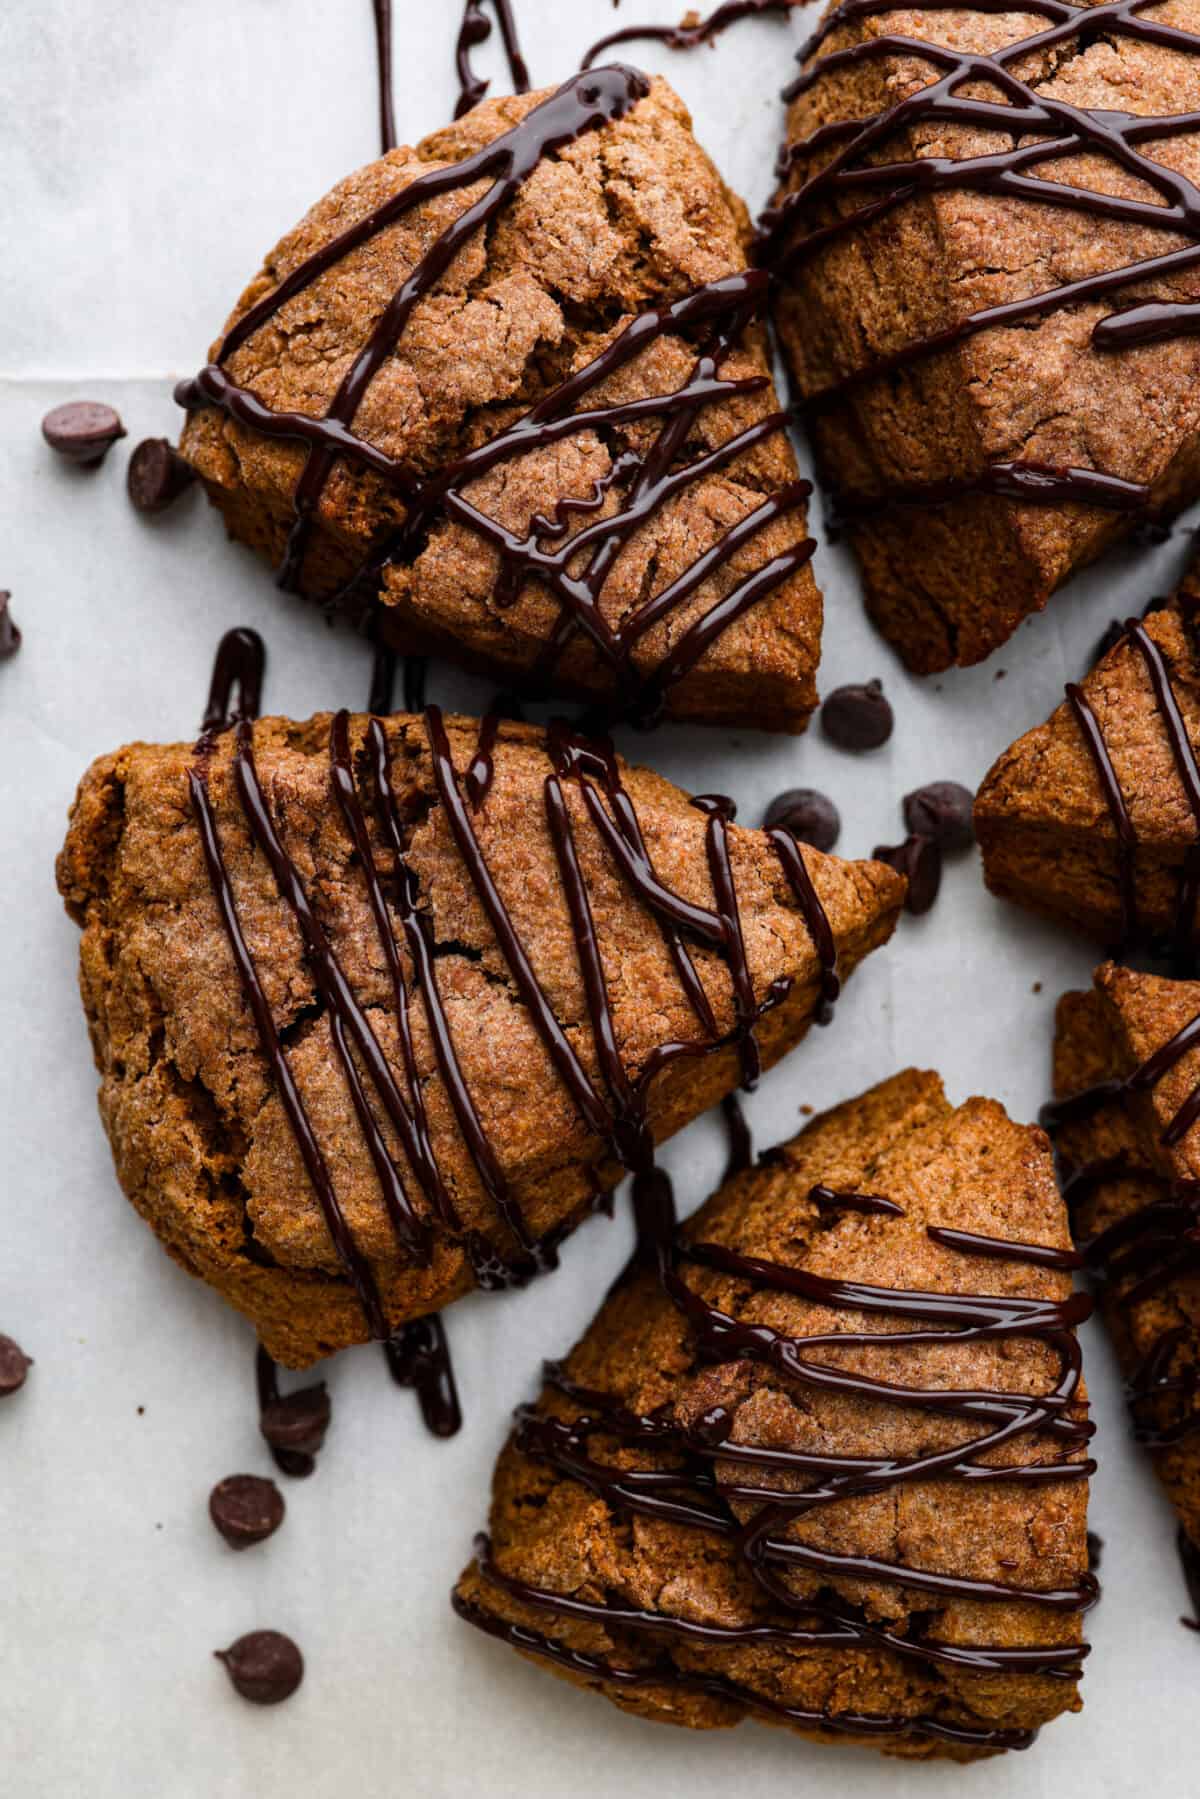
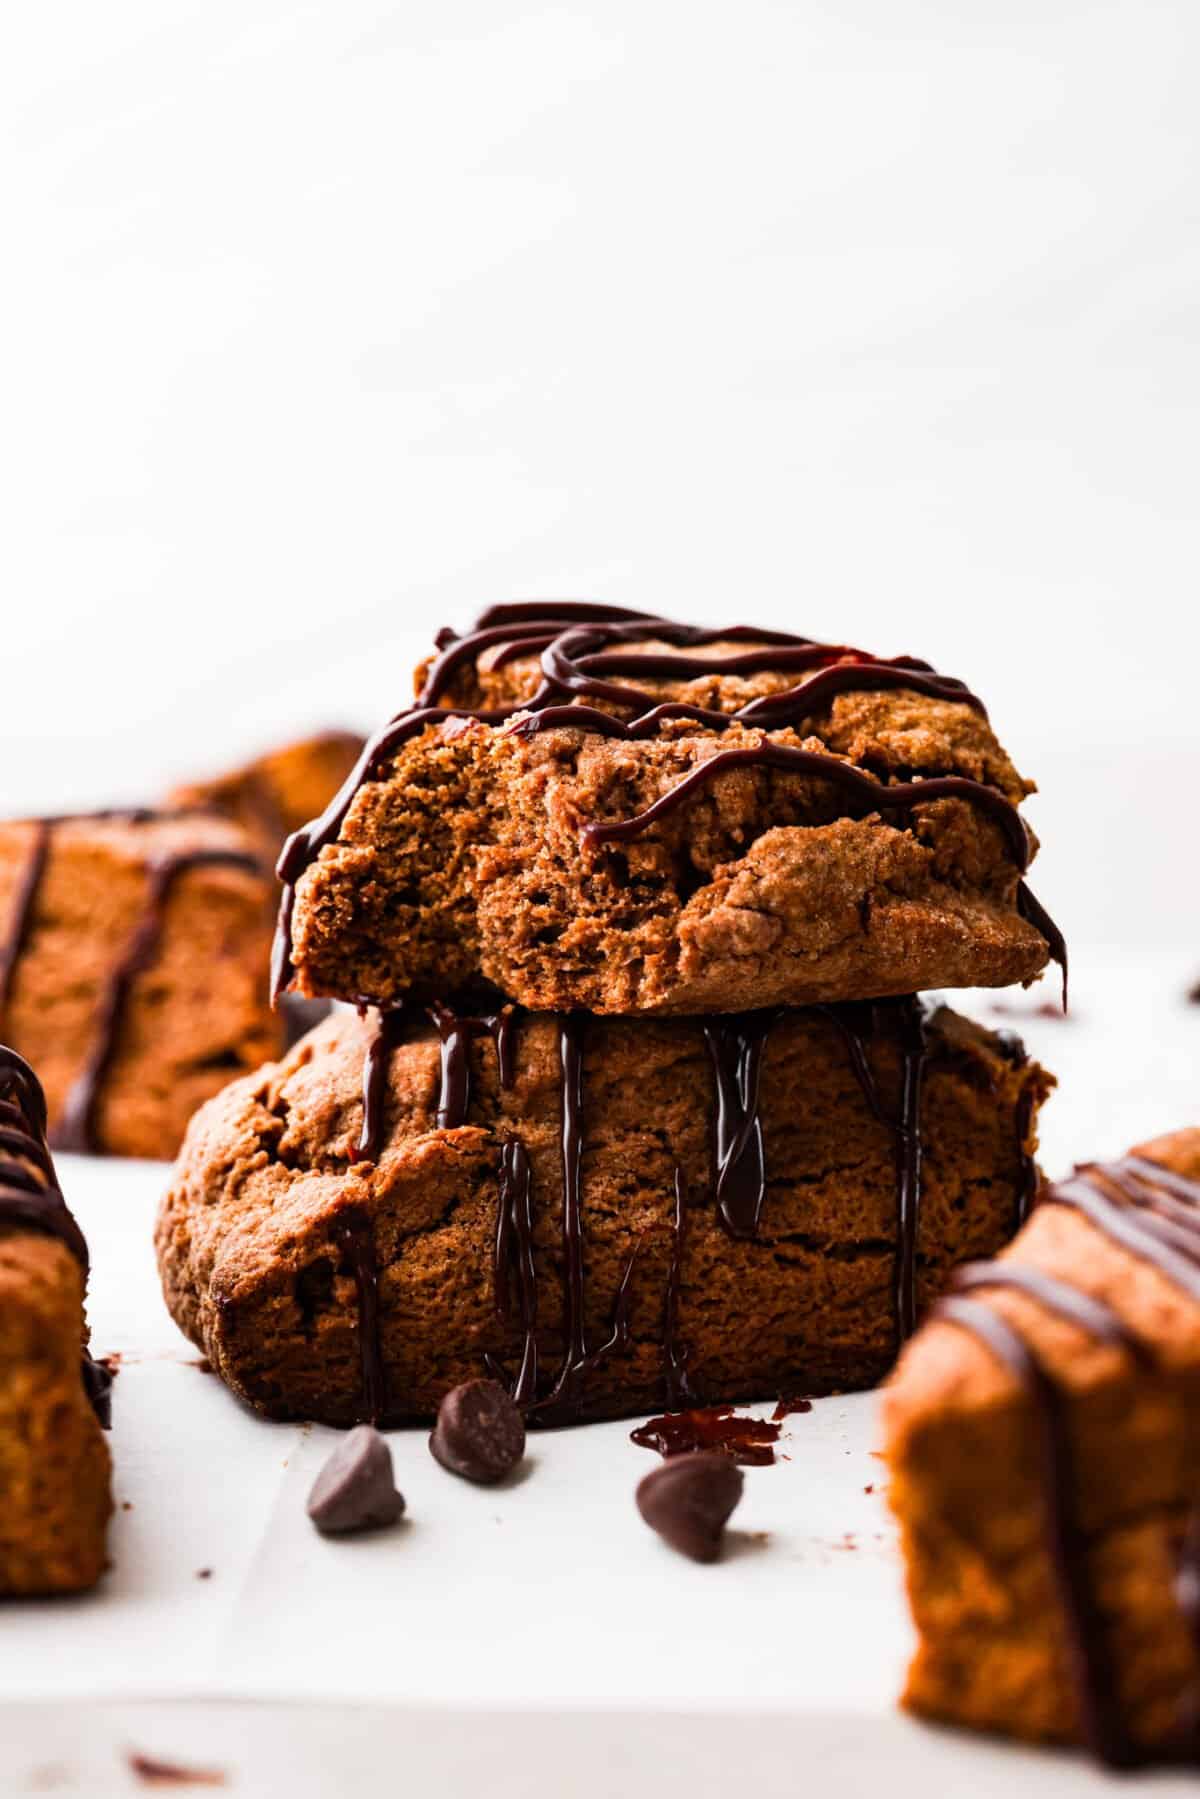
Soft, flaky, and drizzled with chocolate ganache, these homemade chocolate scones are the ultimate breakfast indulgence! Perfect for having alongside your morning coffee.
Homemade scones are seriously the best. They’re so tender, flaky, and are absolutely dreamy fresh out of the oven. If you love these chocolate scones, you’ll also have to try these peach scones, pumpkin scones, or blueberry scones. They’re perfect for breakfast, brunch, or whenever you’re wanting a sweet treat!


Chocolate Scone Recipe
Ever tried making homemade chocolate scones? If not, no worries! This recipe is for everyone, whether you’re new to baking or a pro! These scones are pure chocolatey goodness that you can bake yourself without much fuss. They’re rich with a tad of coffee flavor and super soft. My mouth is watering just thinking about them!
What makes these scones stand out? Well, it’s the mix of flavors and textures. You’ve got the deep chocolatey flavor with a hint of coffee, and the butter and cream make them nice and soft. Plus, the chocolate sauce on top? It’s the perfect finishing touch. You really can’t go wrong with chocolate ganache. These scones are seriously every chocolate lover’s dream! Time to gather up your ingredients and get baking. This is one recipe you don’t want to miss.
Ingredients Needed
Time to break out those pantry staples and make a delicious batch of chocolate scones! I love how simple the ingredients are, you may not even need to make a trip to the grocery store! Note: measurements are in the recipe card below.
- All-Purpose Flour: This is the main dry ingredient in the scones. It gives them their structure.
- Granulated Sugar: Sugar adds sweetness to the scones and enhances their flavor. It also makes them nice and tender once they’re baked!
- Unsweetened Cocoa Powder: Cocoa powder is responsible for the rich chocolate flavor in the scones. It adds that deep, chocolatey taste we all love.
- Instant Espresso Powder: Espresso powder actually works to enhance the chocolate flavor. You can omit this if you like, but I love the extra rich flavor it adds!
- Baking Powder: Helps the scones become light and fluffy.
- Salt: Boosts the overall flavor of the chocolate scones. Regular table salt works fine.
- Unsalted Butter: Grated and worked into the dough, it creates a flaky texture.
- Heavy Cream: Heavy cream makes the scones tender and moist thanks to its high fat content. Half and half also works.
- Large Egg: The egg acts as a binding agent to hold all of the ingredients together.
- Vanilla Extract: So your scones have an extra pop of sweet, warm flavor!
- Chocolate Chips: These create pockets of melted chocolate in the scones.
- Additional Heavy Cream for Ganache: This extra heavy cream is used to make the ganache drizzle, which adds a glossy, chocolatey topping to the scones.
Let’s Make Chocolate Scones!
Follow these simple steps and you’ll end up with the most tender and delicious chocolate scones every time! The best part is they only take 30 minutes from start to finish.
Preparing the Dough
- Preheat Oven, Prepare Pan: Preheat the oven to 400 degrees Fahrenheit and then line a baking sheet with parchment paper. Set aside.
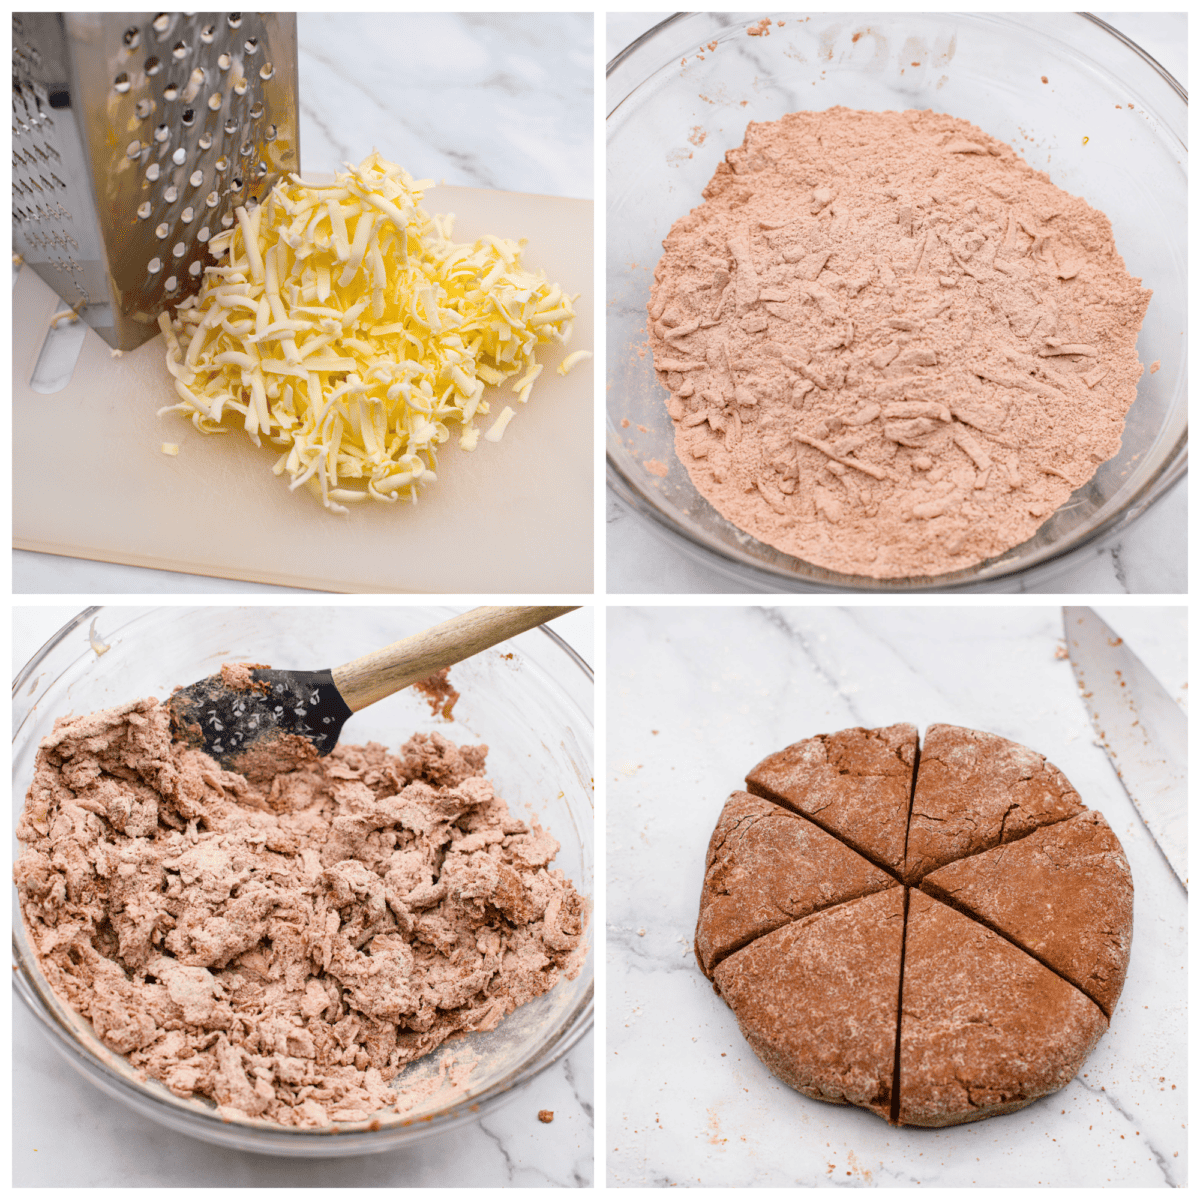
- Mix Dry Ingredients: Then in a large bowl, whisk together the flour, sugar, cocoa powder, espresso powder, baking powder, and salt.
- Grate Butter: Use a box grater to grate the cold butter into the dry ingredients. Then use your hands to lightly toss the butter in the flour mixture.
- Mix Wet Ingredients, Combine: In a medium bowl, combine the cream, egg, and vanilla. Pour over the flour mixture. Gently stir until combined, using a rubber spatula to press the dough together.
- Shape: Turn the dough out onto a lightly floured surface and then work together into a ball. Try to work the dough as gently and as little as possible, going only just until you can bring it all together into a ball.
- Cut: Flatten the ball of dough into an 8-9 inch disc. Then use a sharp knife to cut the disc into 6-8 equal slices.
Baking and Making the Chocolate Ganache
- Add to Pan: Arrange the pieces on the parchment-lined baking sheet, leaving about 2 inches between each one. I recommend chilling them in the freezer for 15 minutes before baking to allow the butter to chill after being worked, but you may also bake them straight away.
- Bake: Bake for 18-20 minutes, until the edges are set. Then allow the chocolate scones to cool for 25-30 minutes before adding the ganache drizzle.
- Prepare Ganache: For the ganache, heat the cream in the microwave for 25 seconds. Then add the chocolate chips to a small bowl and pour the hot cream over them. Let it sit for 1 minute before carefully stirring until smooth.


Tips for Making the BEST Chocolate Scones
Here are a few extra tips to keep in mind so you end up with bakery-worthy chocolate scones!
- Chill Your Ingredients: It’s important that your ingredients are chilled and cold when you bake. Because, if your butter melts too soon while it’s baking then you won’t get that soft and tender crumb. This is also why it is recommended to chill the scones before baking. If you choose to skip the chilling step, the scones may not rise as tall.
- Don’t Overmix: You don’t want to overwork your dough. Make sure that everything is thoroughly combined and then leave it alone. It will make your scones be dense and tough, not soft and flakey.
- More Mix-Ins: For some variation, try adding 1/3 cup of chopped walnuts or mini chocolate chips to the batter along with the butter. You can also add white chocolate chips, butterscotch chips, or peanut butter chips to switch up the flavor.
- Espresso Powder: The instant espresso powder is optional. Your scones won’t taste like coffee, it only helps to deepen the chocolate flavor.


Storing Leftovers
If you have leftovers of your tasty chocolate scones, don’t let them go to waste! Here are a couple of ways to keep them fresh:
- At Room Temperature: Store leftover scones at room temperature in an airtight container for up to 3 days.
Can Chocolate Scones Be Frozen?
Yes! Your scones can be frozen and stored for up to 3 months. Place them in an airtight container or a freezer bag before freezing. Let them sit at room temperature for an hour or two to thaw.


More Delicious Chocolate Desserts
Pin this now to find it later
-
Preheat the oven to 400 degrees Fahrenheit and line a baking sheet with parchment paper. Set aside.
-
In a large bowl, whisk together the flour, sugar, cocoa powder, espresso powder, baking powder, and salt.
-
Use a box grater to grate the cold butter into the dry ingredients. Use your hands to lightly toss the butter in the flour mixture.
-
In a medium bowl, combine the cream, egg, and vanilla. Pour over the flour mixture. Gently stir until combined, using a rubber spatula to press the dough together. Turn the dough out onto a lightly floured surface and work together into a ball. Try to work the dough as gently and as little as possible, going only just until you can bring it all together into a ball.
-
Flatten the ball of dough into an 8-9 inch disc. Use a sharp knife to cut the disc into 6-8 equal slices.
-
Arrange the pieces on the prepared baking sheet, leaving about 2 inches between each one. I recommend chilling them in the freezer for 15 minutes before baking to allow the butter to chill after being worked, but you may also bake them straight away.
-
Bake for 18-20 minutes, until the edges are set. Allow the scones to cool for 25-30 minutes before adding the ganache drizzle.
-
For the ganache, heat the cream in the microwave for 25 seconds. Add the chocolate chips to a small bowl and pour the hot cream over them. Let it sit for 1 minute before carefully stirring until smooth.
Calories: 542kcalCarbohydrates: 60gProtein: 8gFat: 32gSaturated Fat: 20gPolyunsaturated Fat: 1gMonounsaturated Fat: 8gTrans Fat: 1gCholesterol: 108mgSodium: 226mgPotassium: 306mgFiber: 3gSugar: 24gVitamin A: 1034IUVitamin C: 0.3mgCalcium: 113mgIron: 3mg
Nutrition information is automatically calculated, so should only be used as an approximation.
This story originally appeared on TheRecipeCritic

