


November 10, 2026
Planting Garlic for Next Year’s Harvest
Homegrown garlic has a wonderfully robust, fresh, and complex flavor that’s hard to match – and fall is the perfect time to plant it.
While garlic can also be planted in spring as soon as the ground is workable, fall planting is generally recommended. It gives the cloves time to establish roots before winter dormancy, resulting in well-developed bulbs ready for harvest the following summer. Every year, I plant a generous crop of garlic from Keene Garlic, a family-owned farm in Wisconsin that specializes in certified organic and naturally grown gourmet varieties for both eating and planting. Garlic is not only a great ingredient in the kitchen, but it offers a number of health benefits. And knowing that the garlic is also grown right here at my farm makes it even more rewarding.
Enjoy these photos.
-
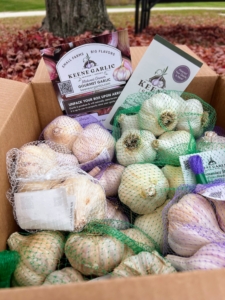
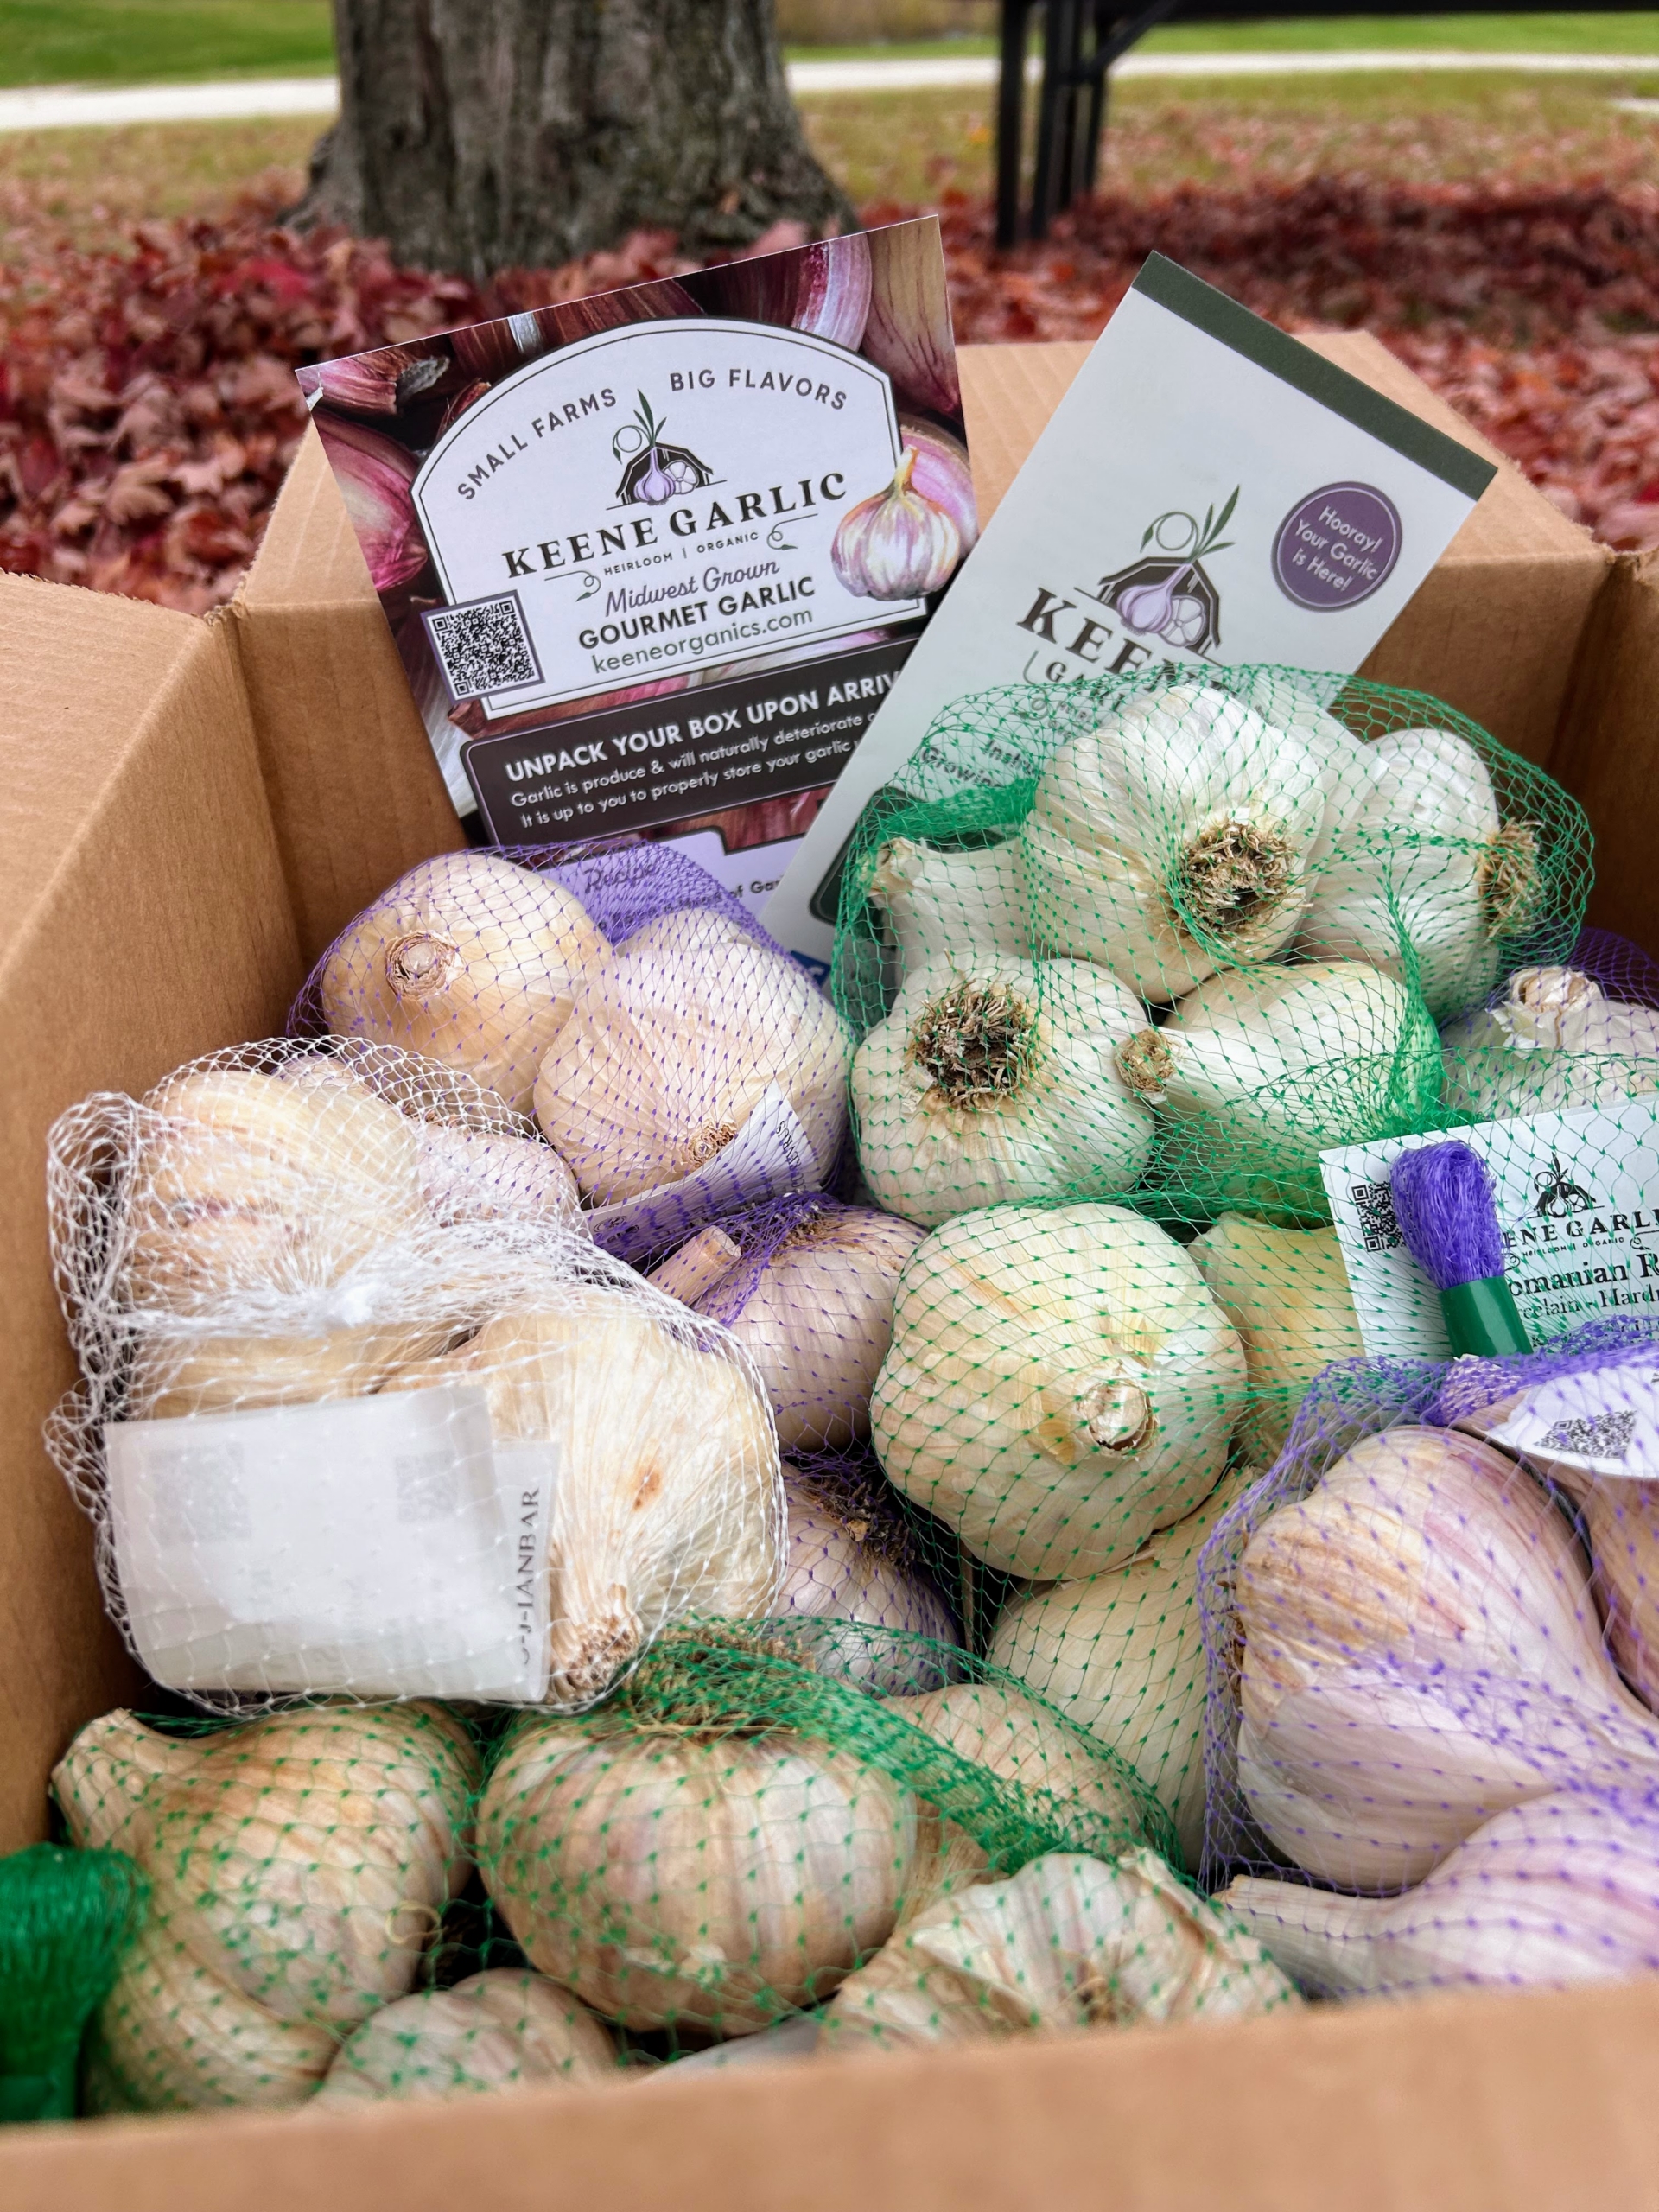
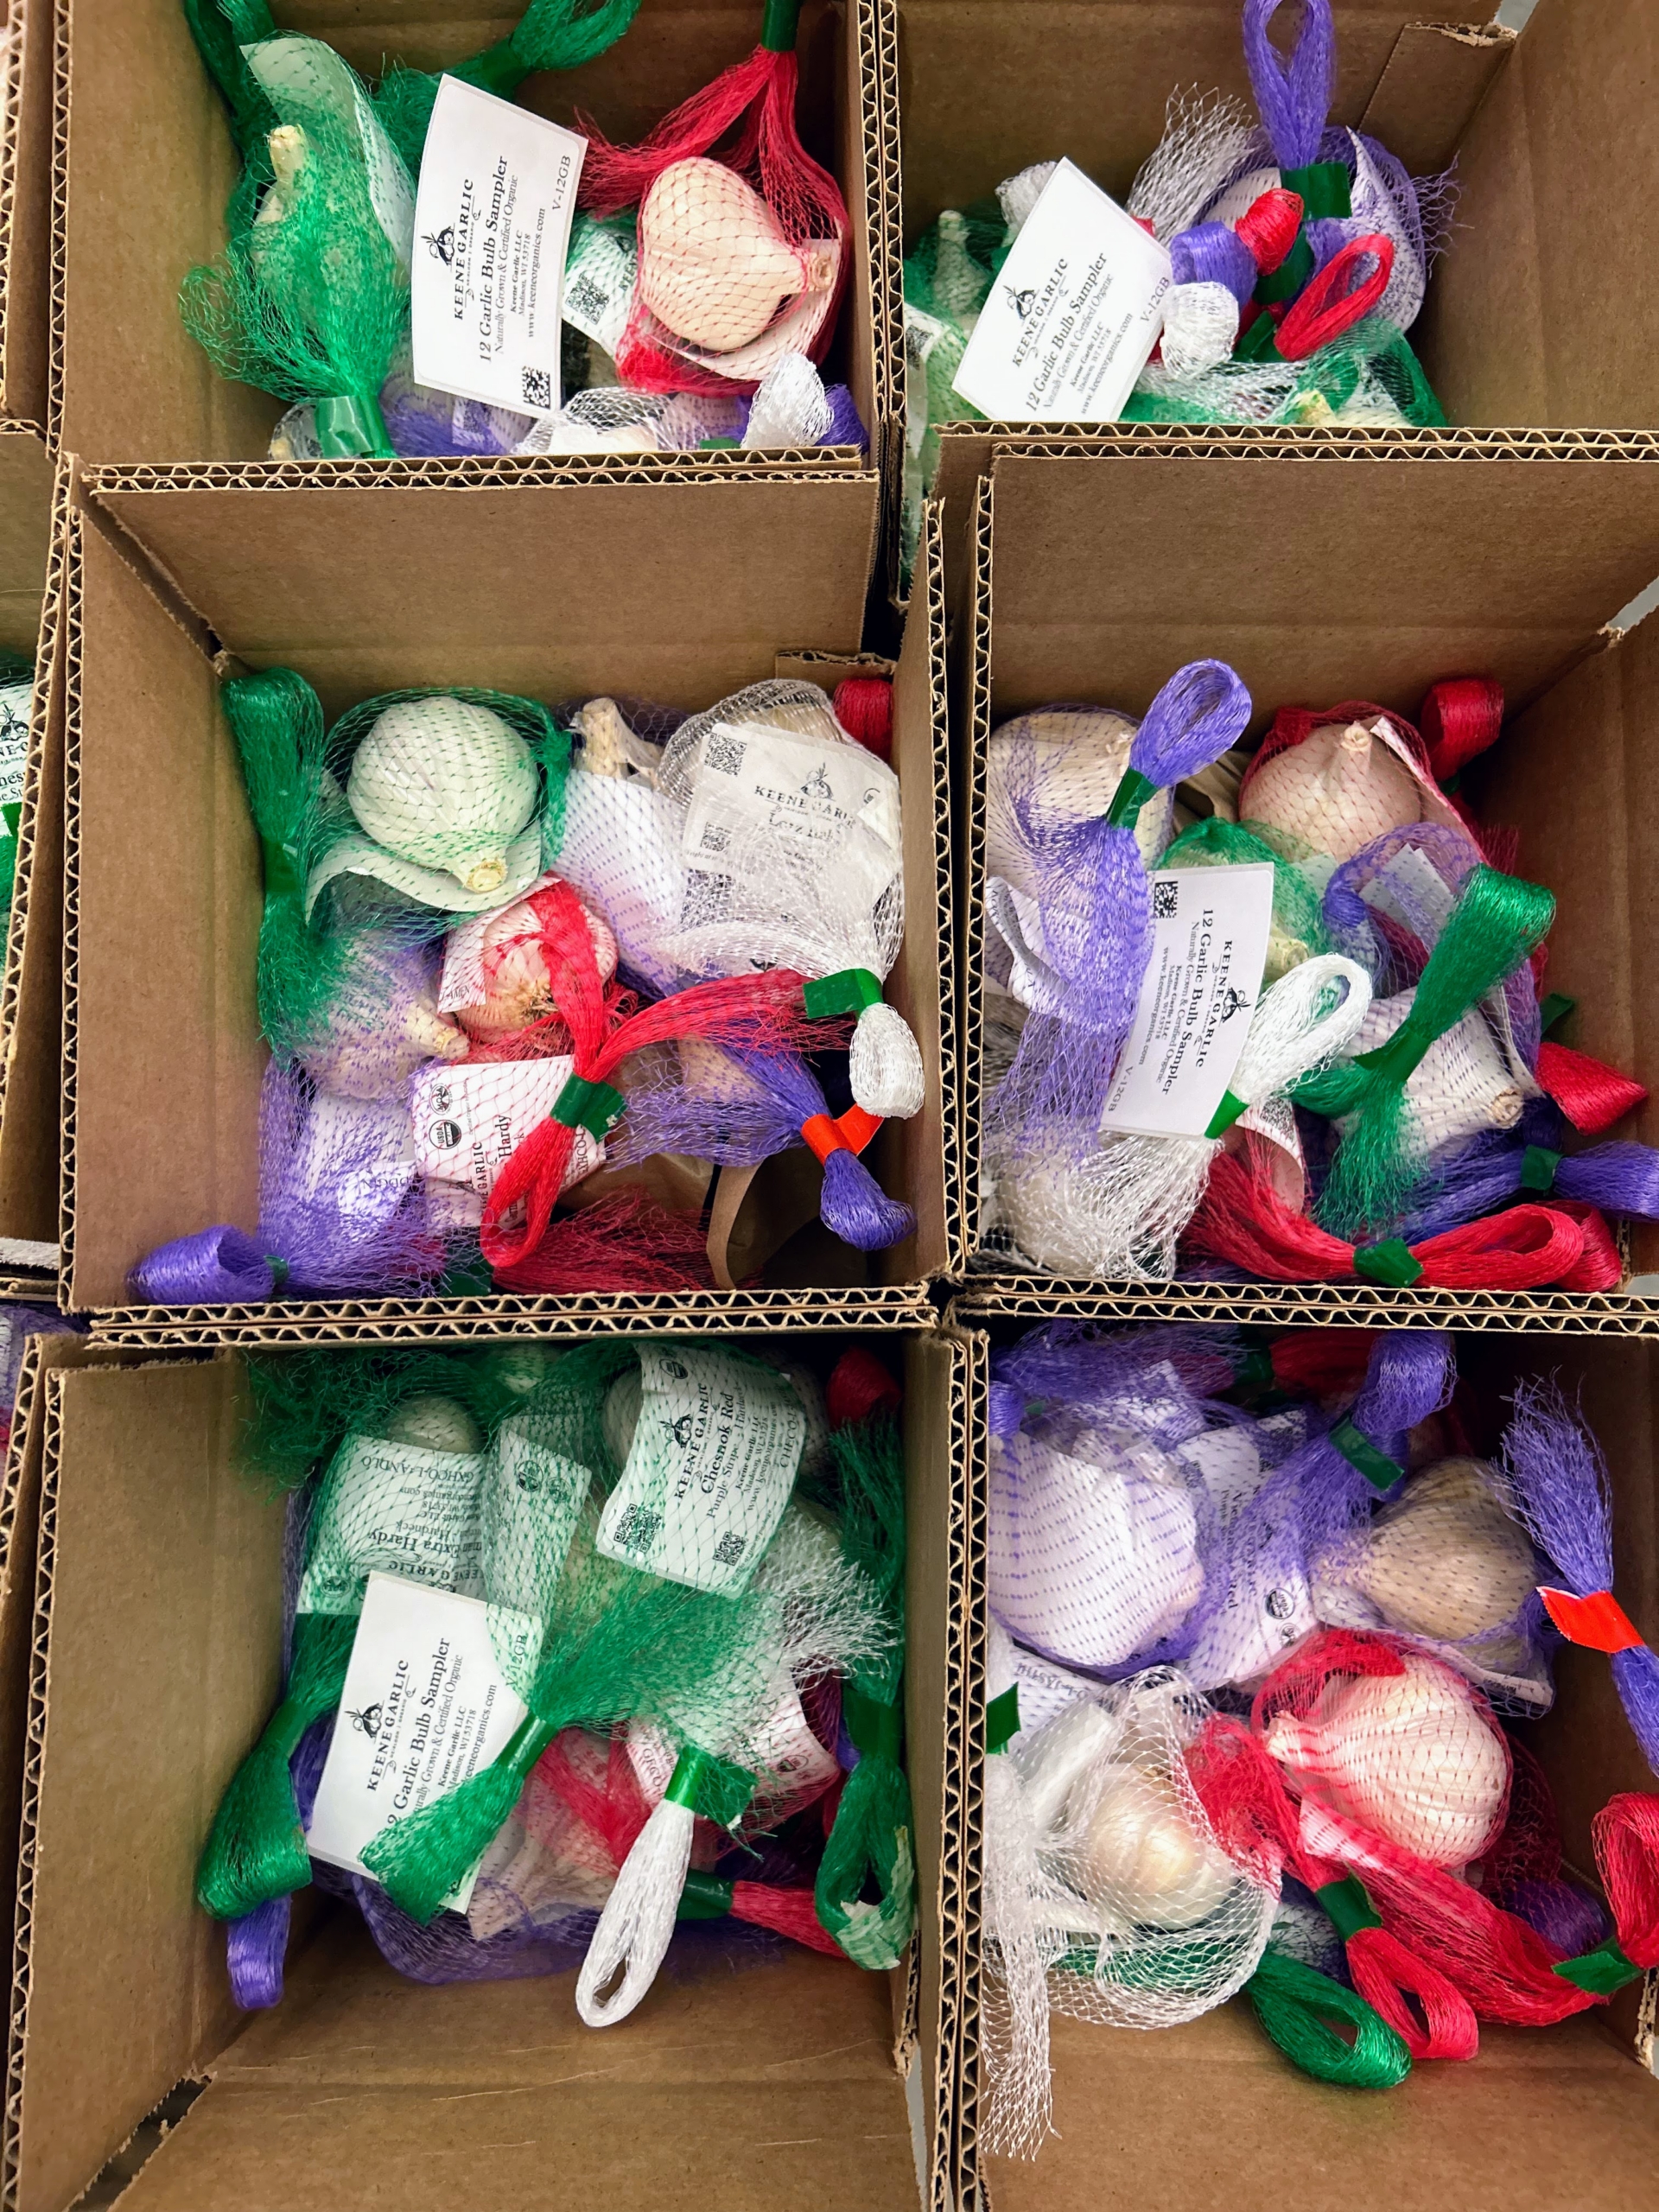
- I have been planting Keene Garlic for several years and am always so pleased with their growth and taste. Here’s my box containing several different varieties for planting ready to be shipped from Keene to my farm. (Photo courtesy Keene Garlic)
-
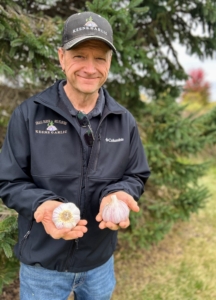
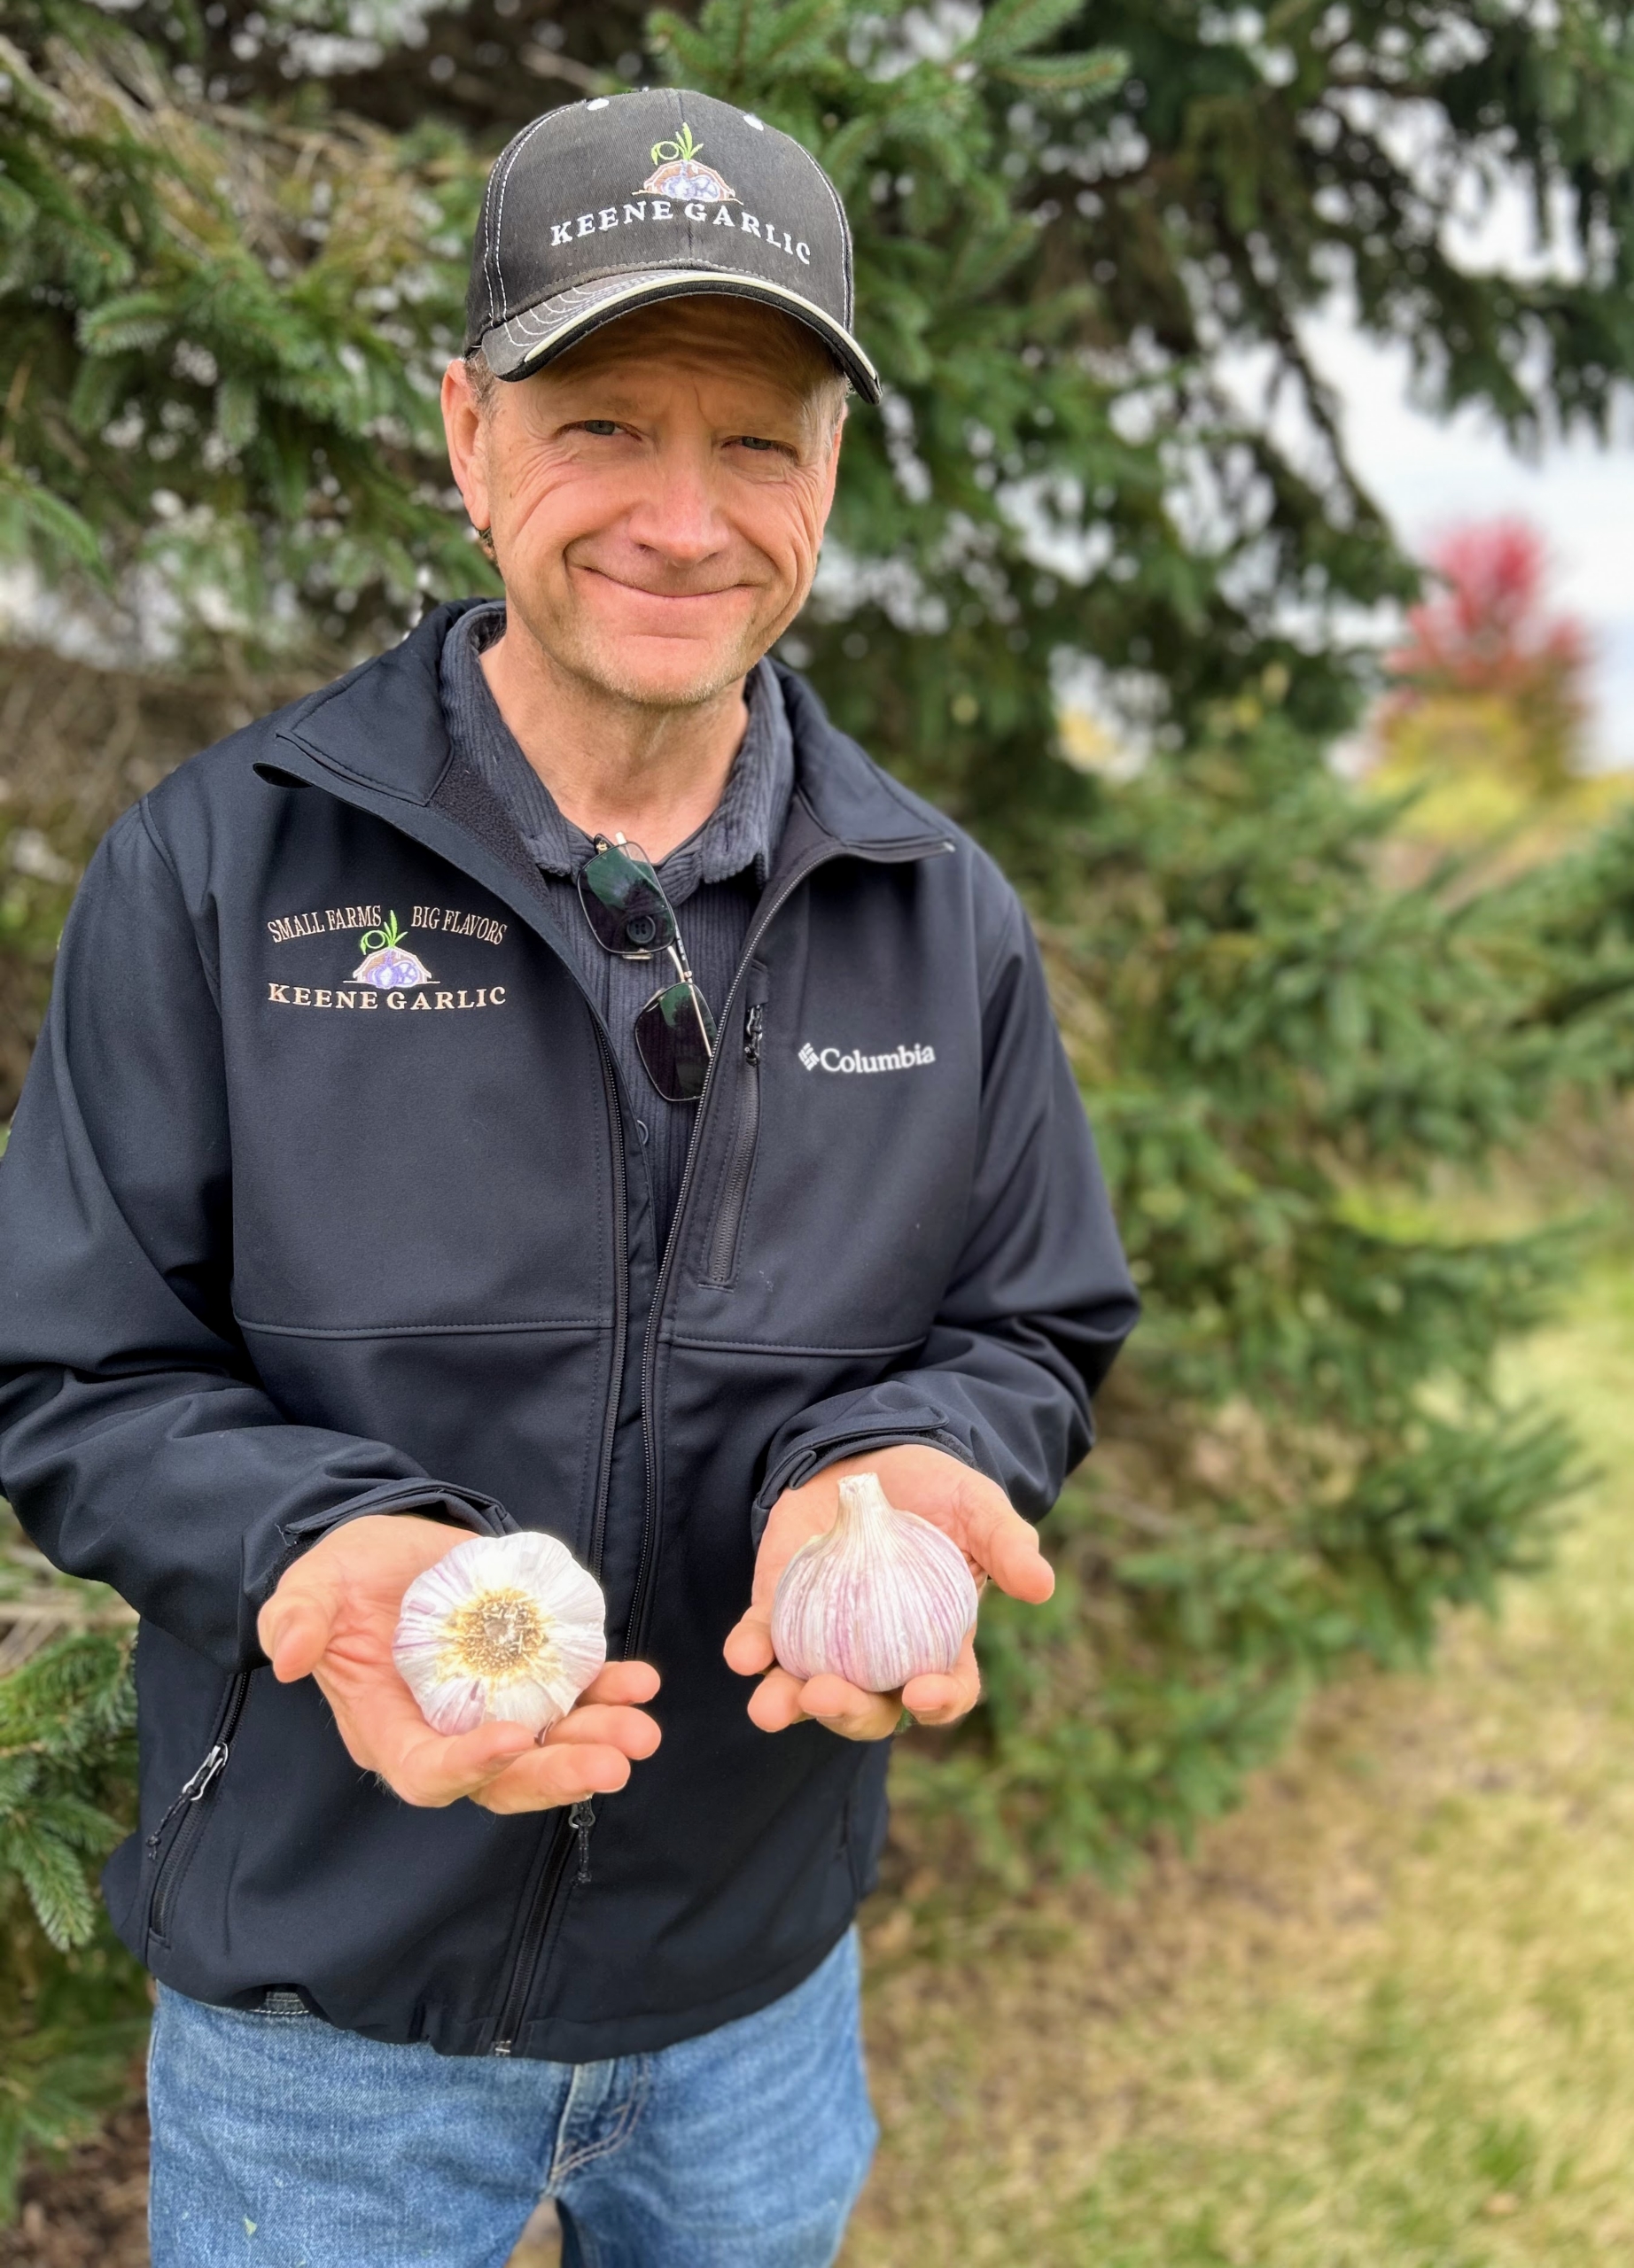
- This is Keene. Every one of Keene’s bulbs goes through an inspection process. The entire staff at Keene is trained to check for good quality and feel. Keene is holding one of his favorite varieties – Chesnok Red, which has great flavor and is easy to grow. (Photo courtesy Keene Garlic)
-
- Keene Garlic ships across the entire United States. There are two main types of garlic that can be grown – hardneck and softneck. Hardneck garlic grows best in colder climates, while softneck garlic thrives in warmer areas such as California and Texas. (Photo courtesy Keene Garlic)
-
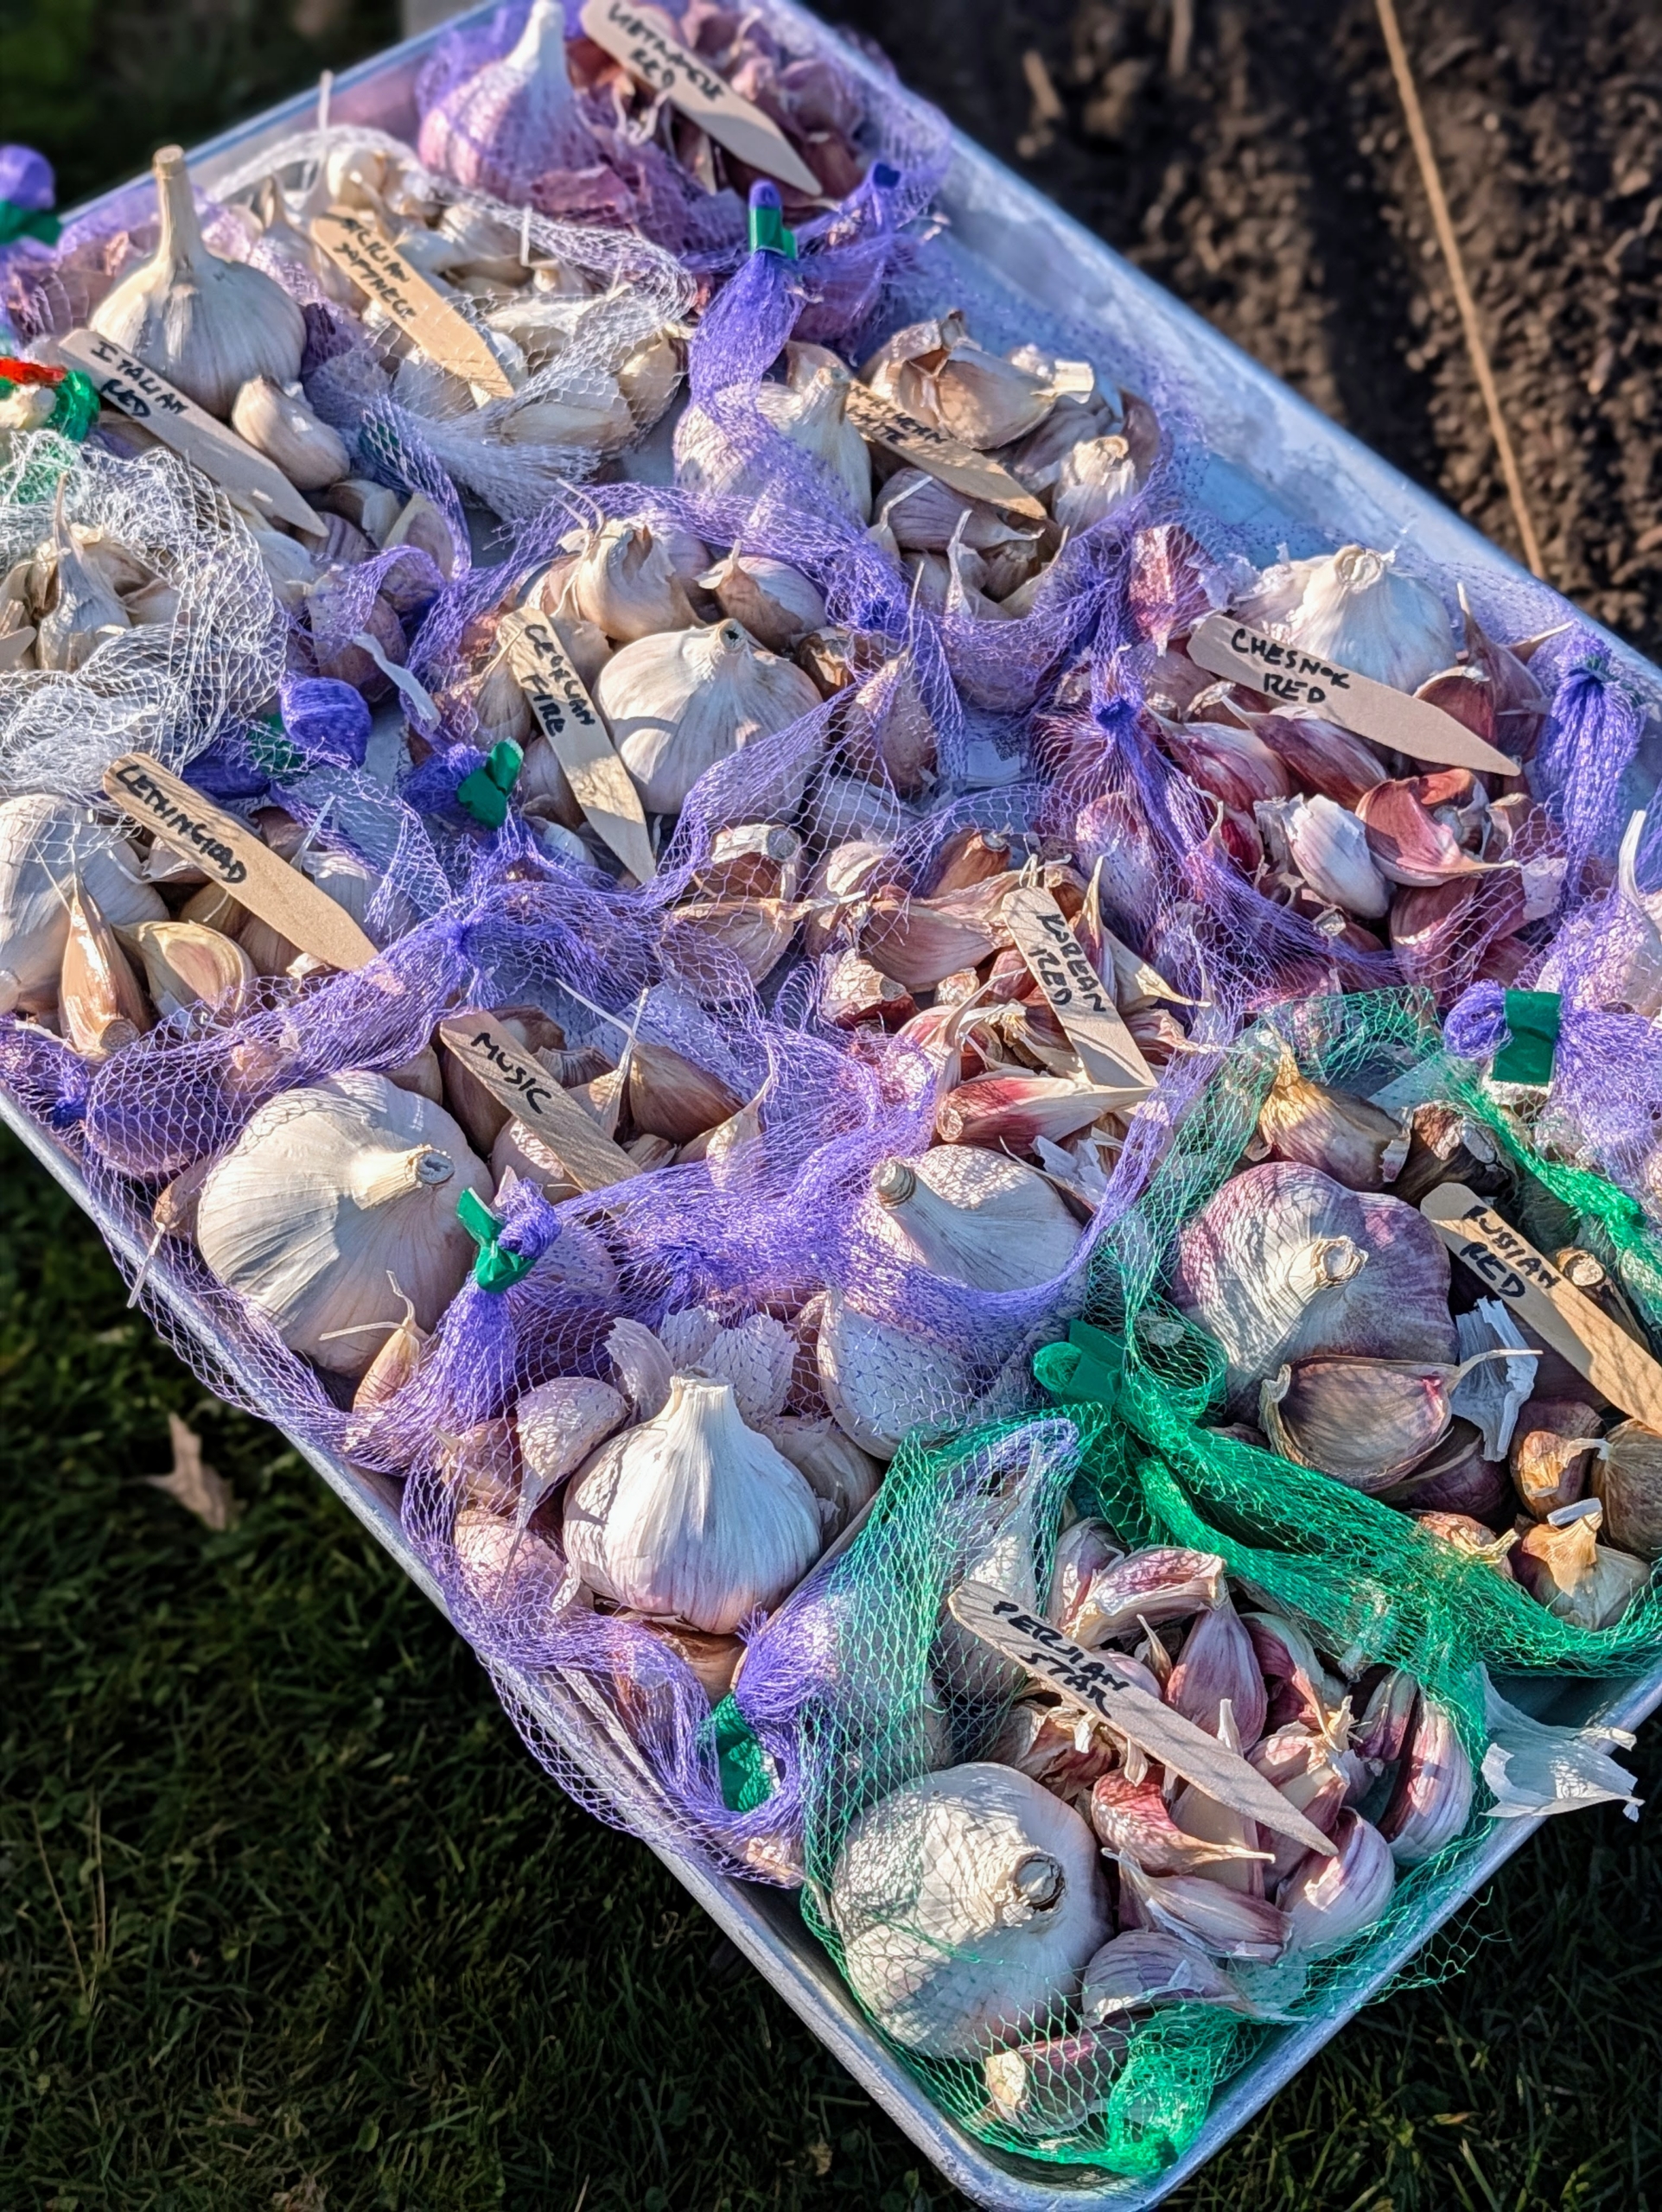
- Once it is at my farm, the garlic is prepared for planting. Each bulb is carefully broken to separate all the cloves – the largest cloves for planting and the smaller ones for eating. These cloves were placed in a special bioactive liquid garlic soak the day before to help produce larger, healthier bulbs and improve nutrient absorption.
-
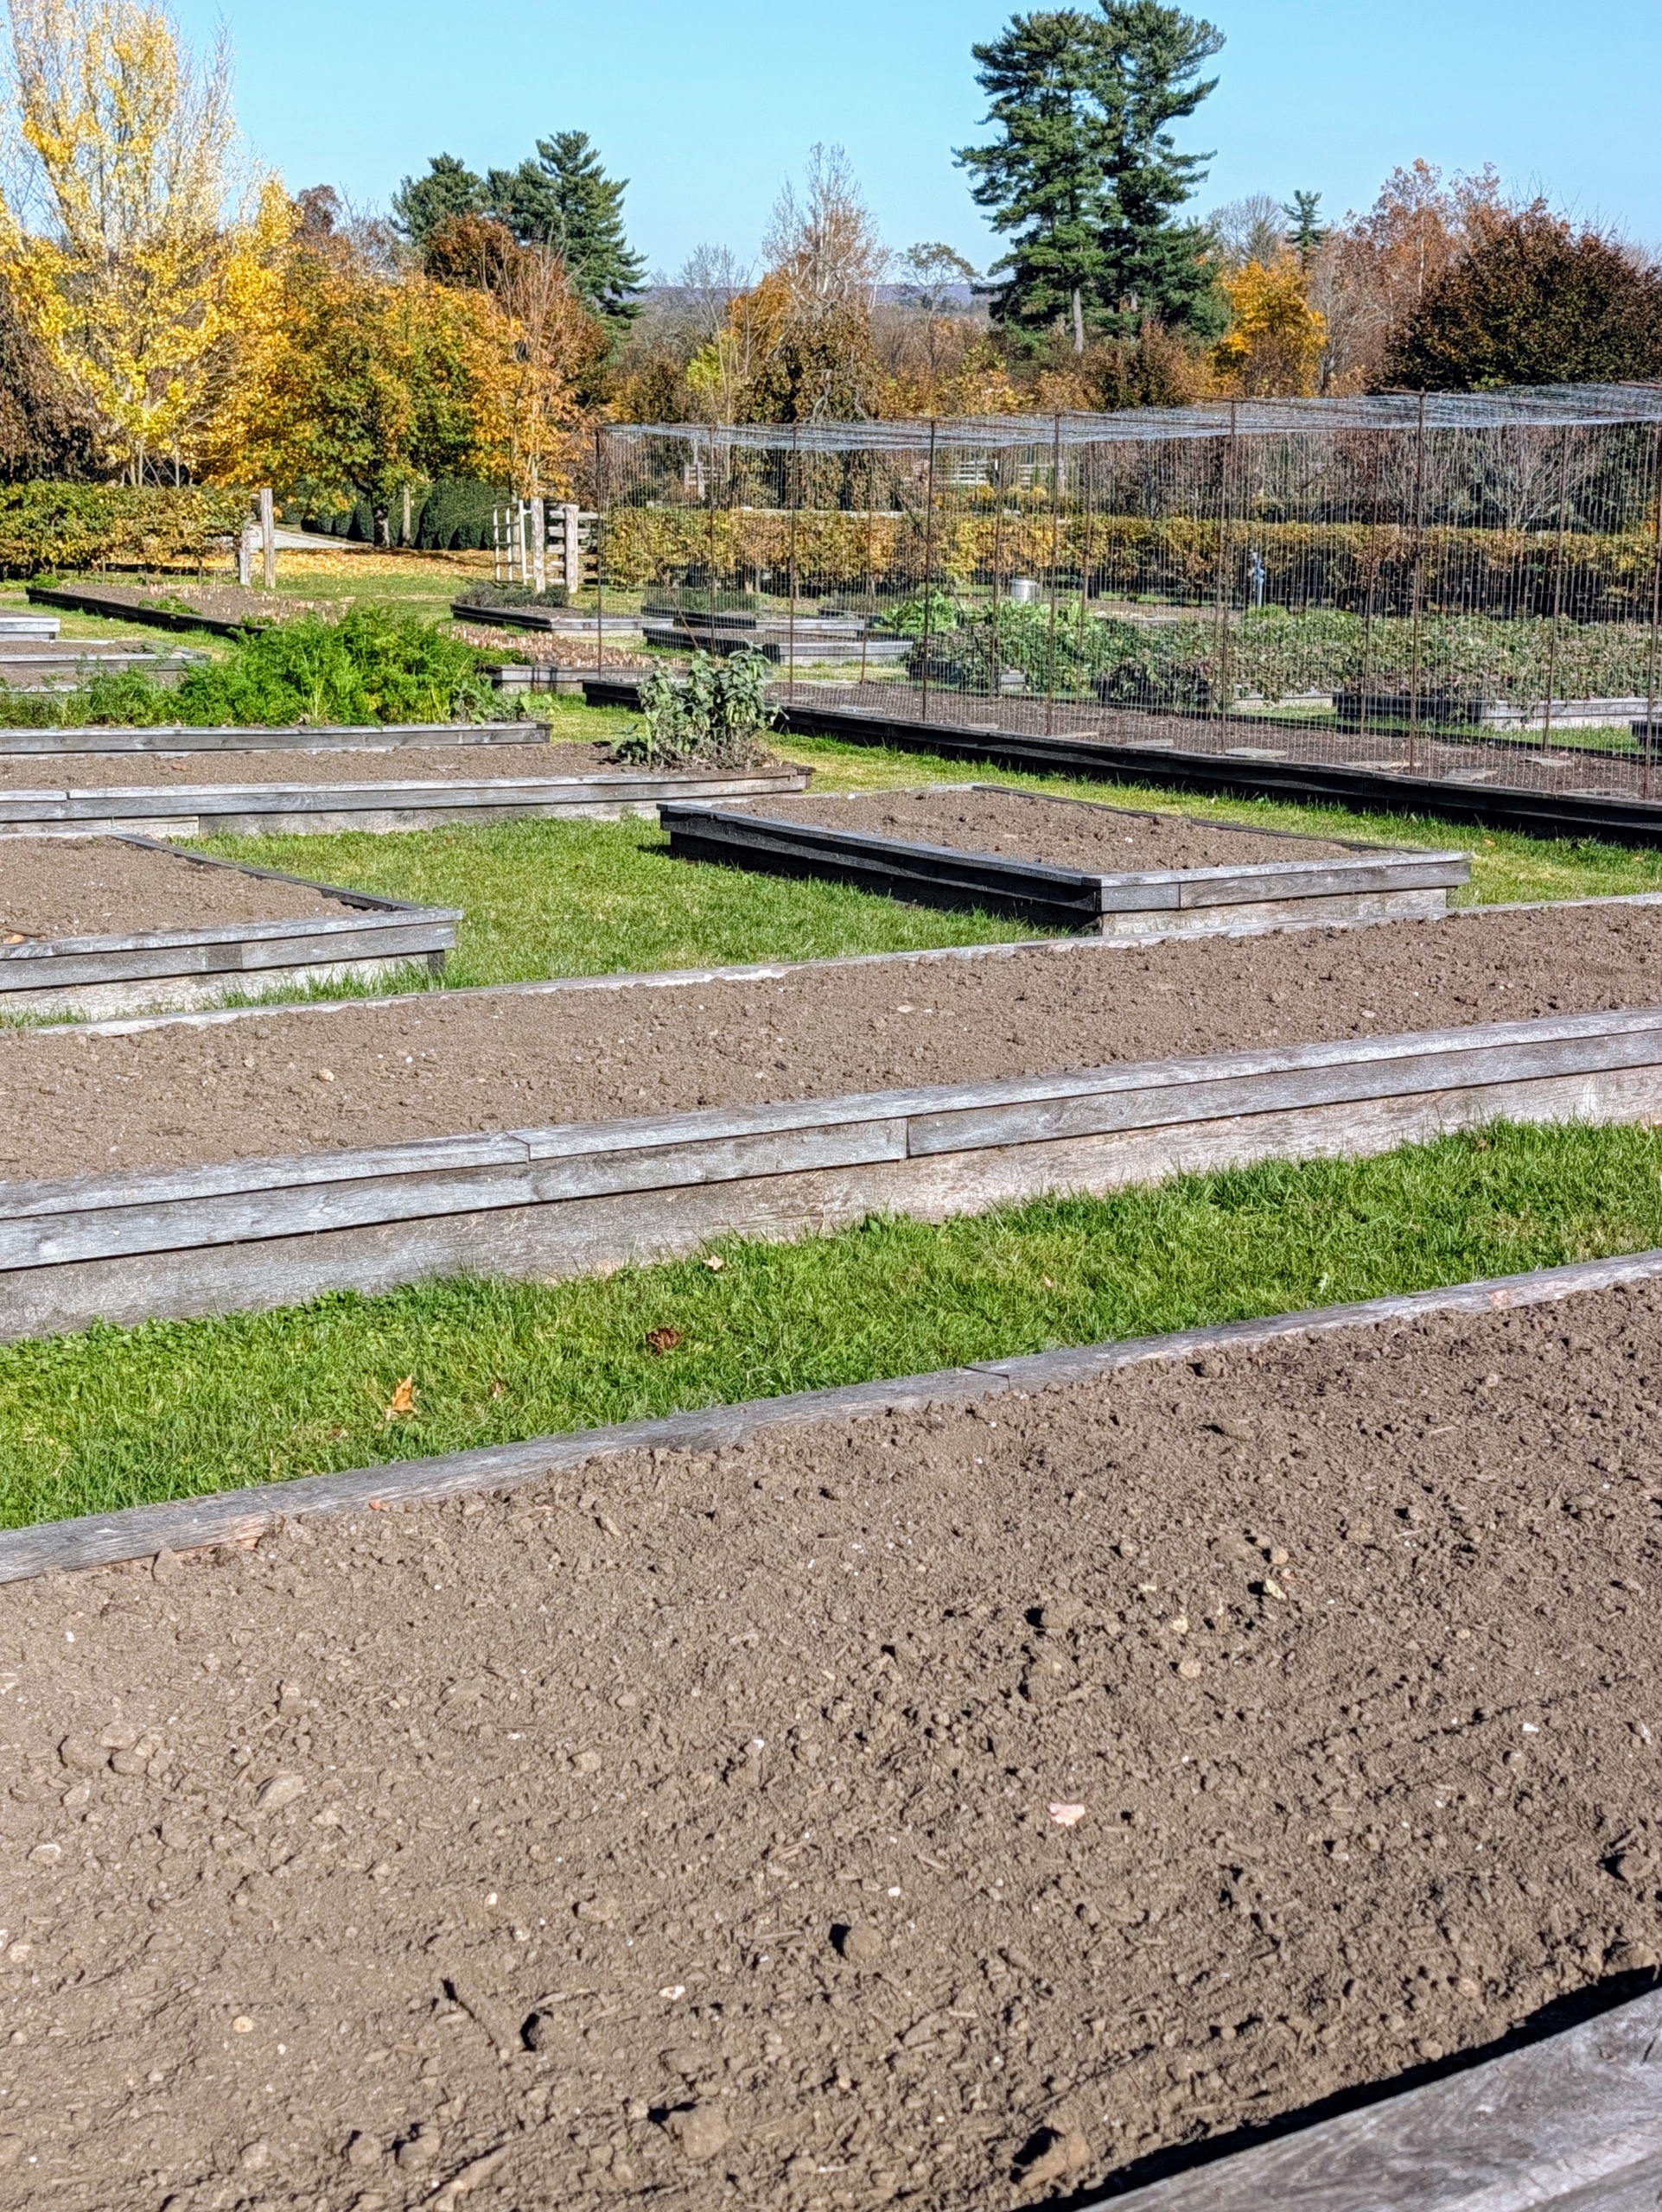
- Most of the beds in my half-acre garden are already cleaned for the cold season, but it’s a great place to plant the garlic, where it can get full sun.
-
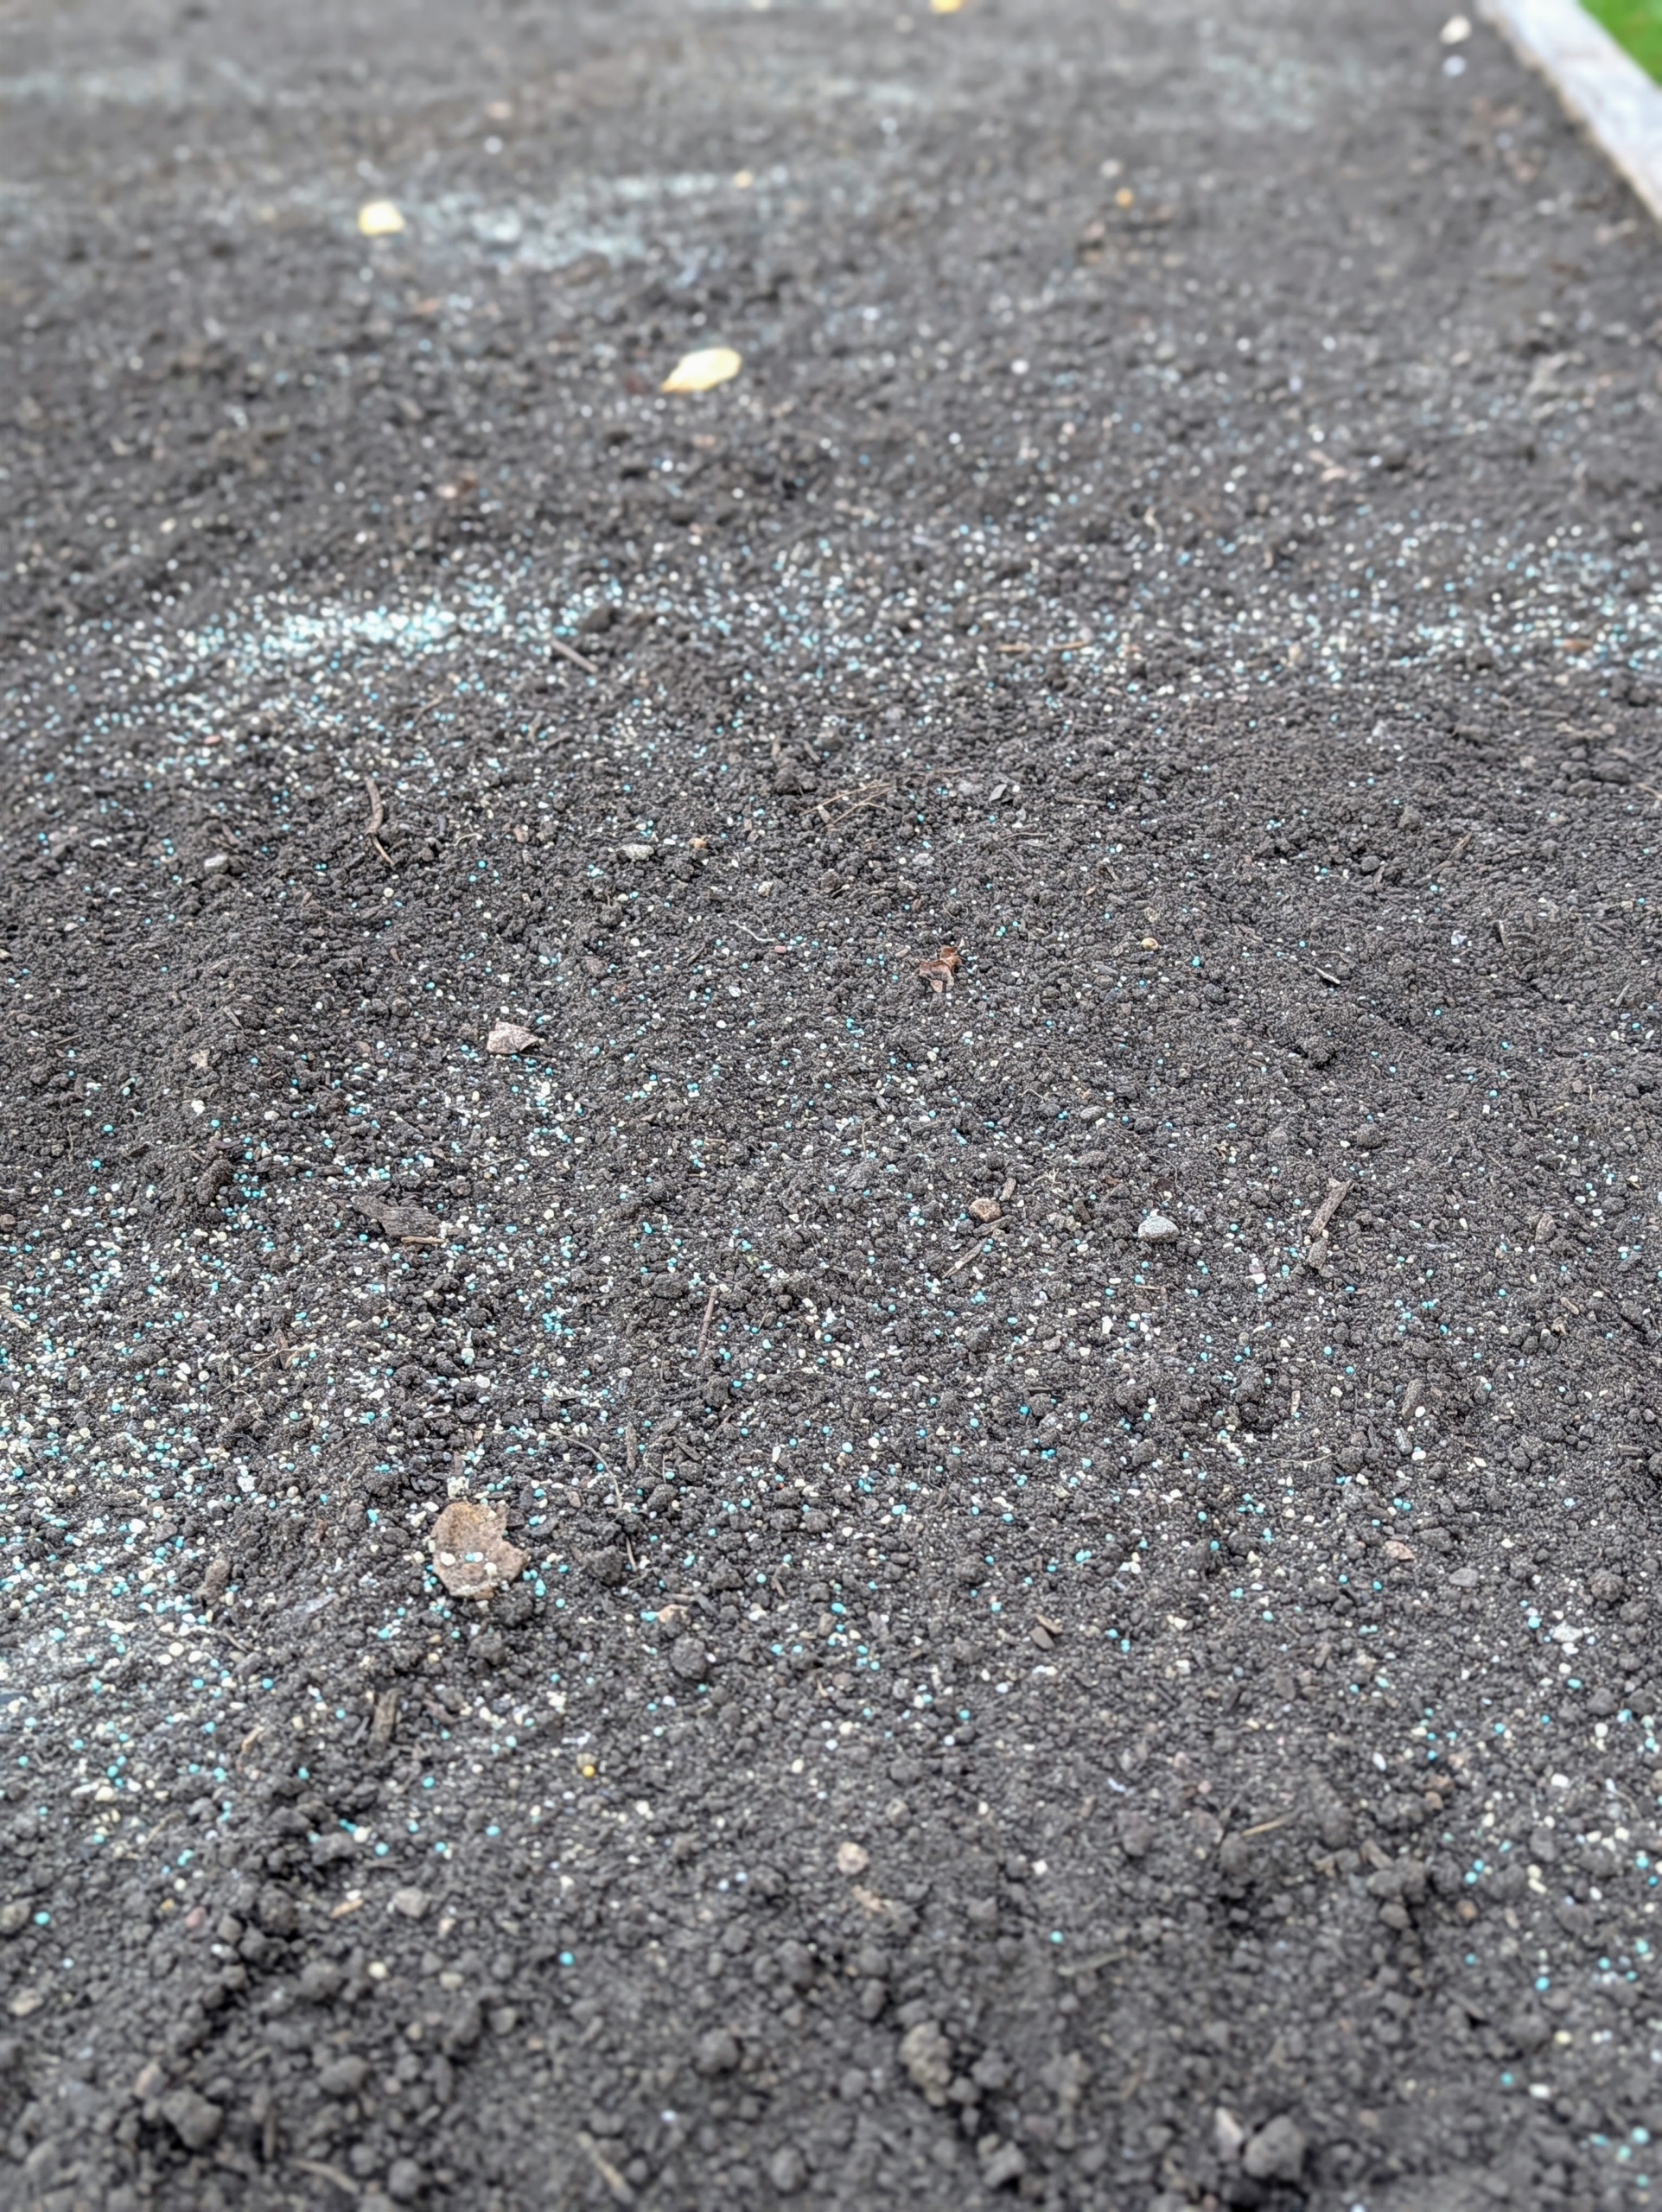
- The designated bed is sprinkled with fertilizer specially made for garlic and alliums.
-
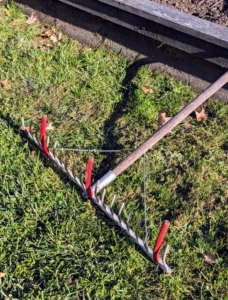
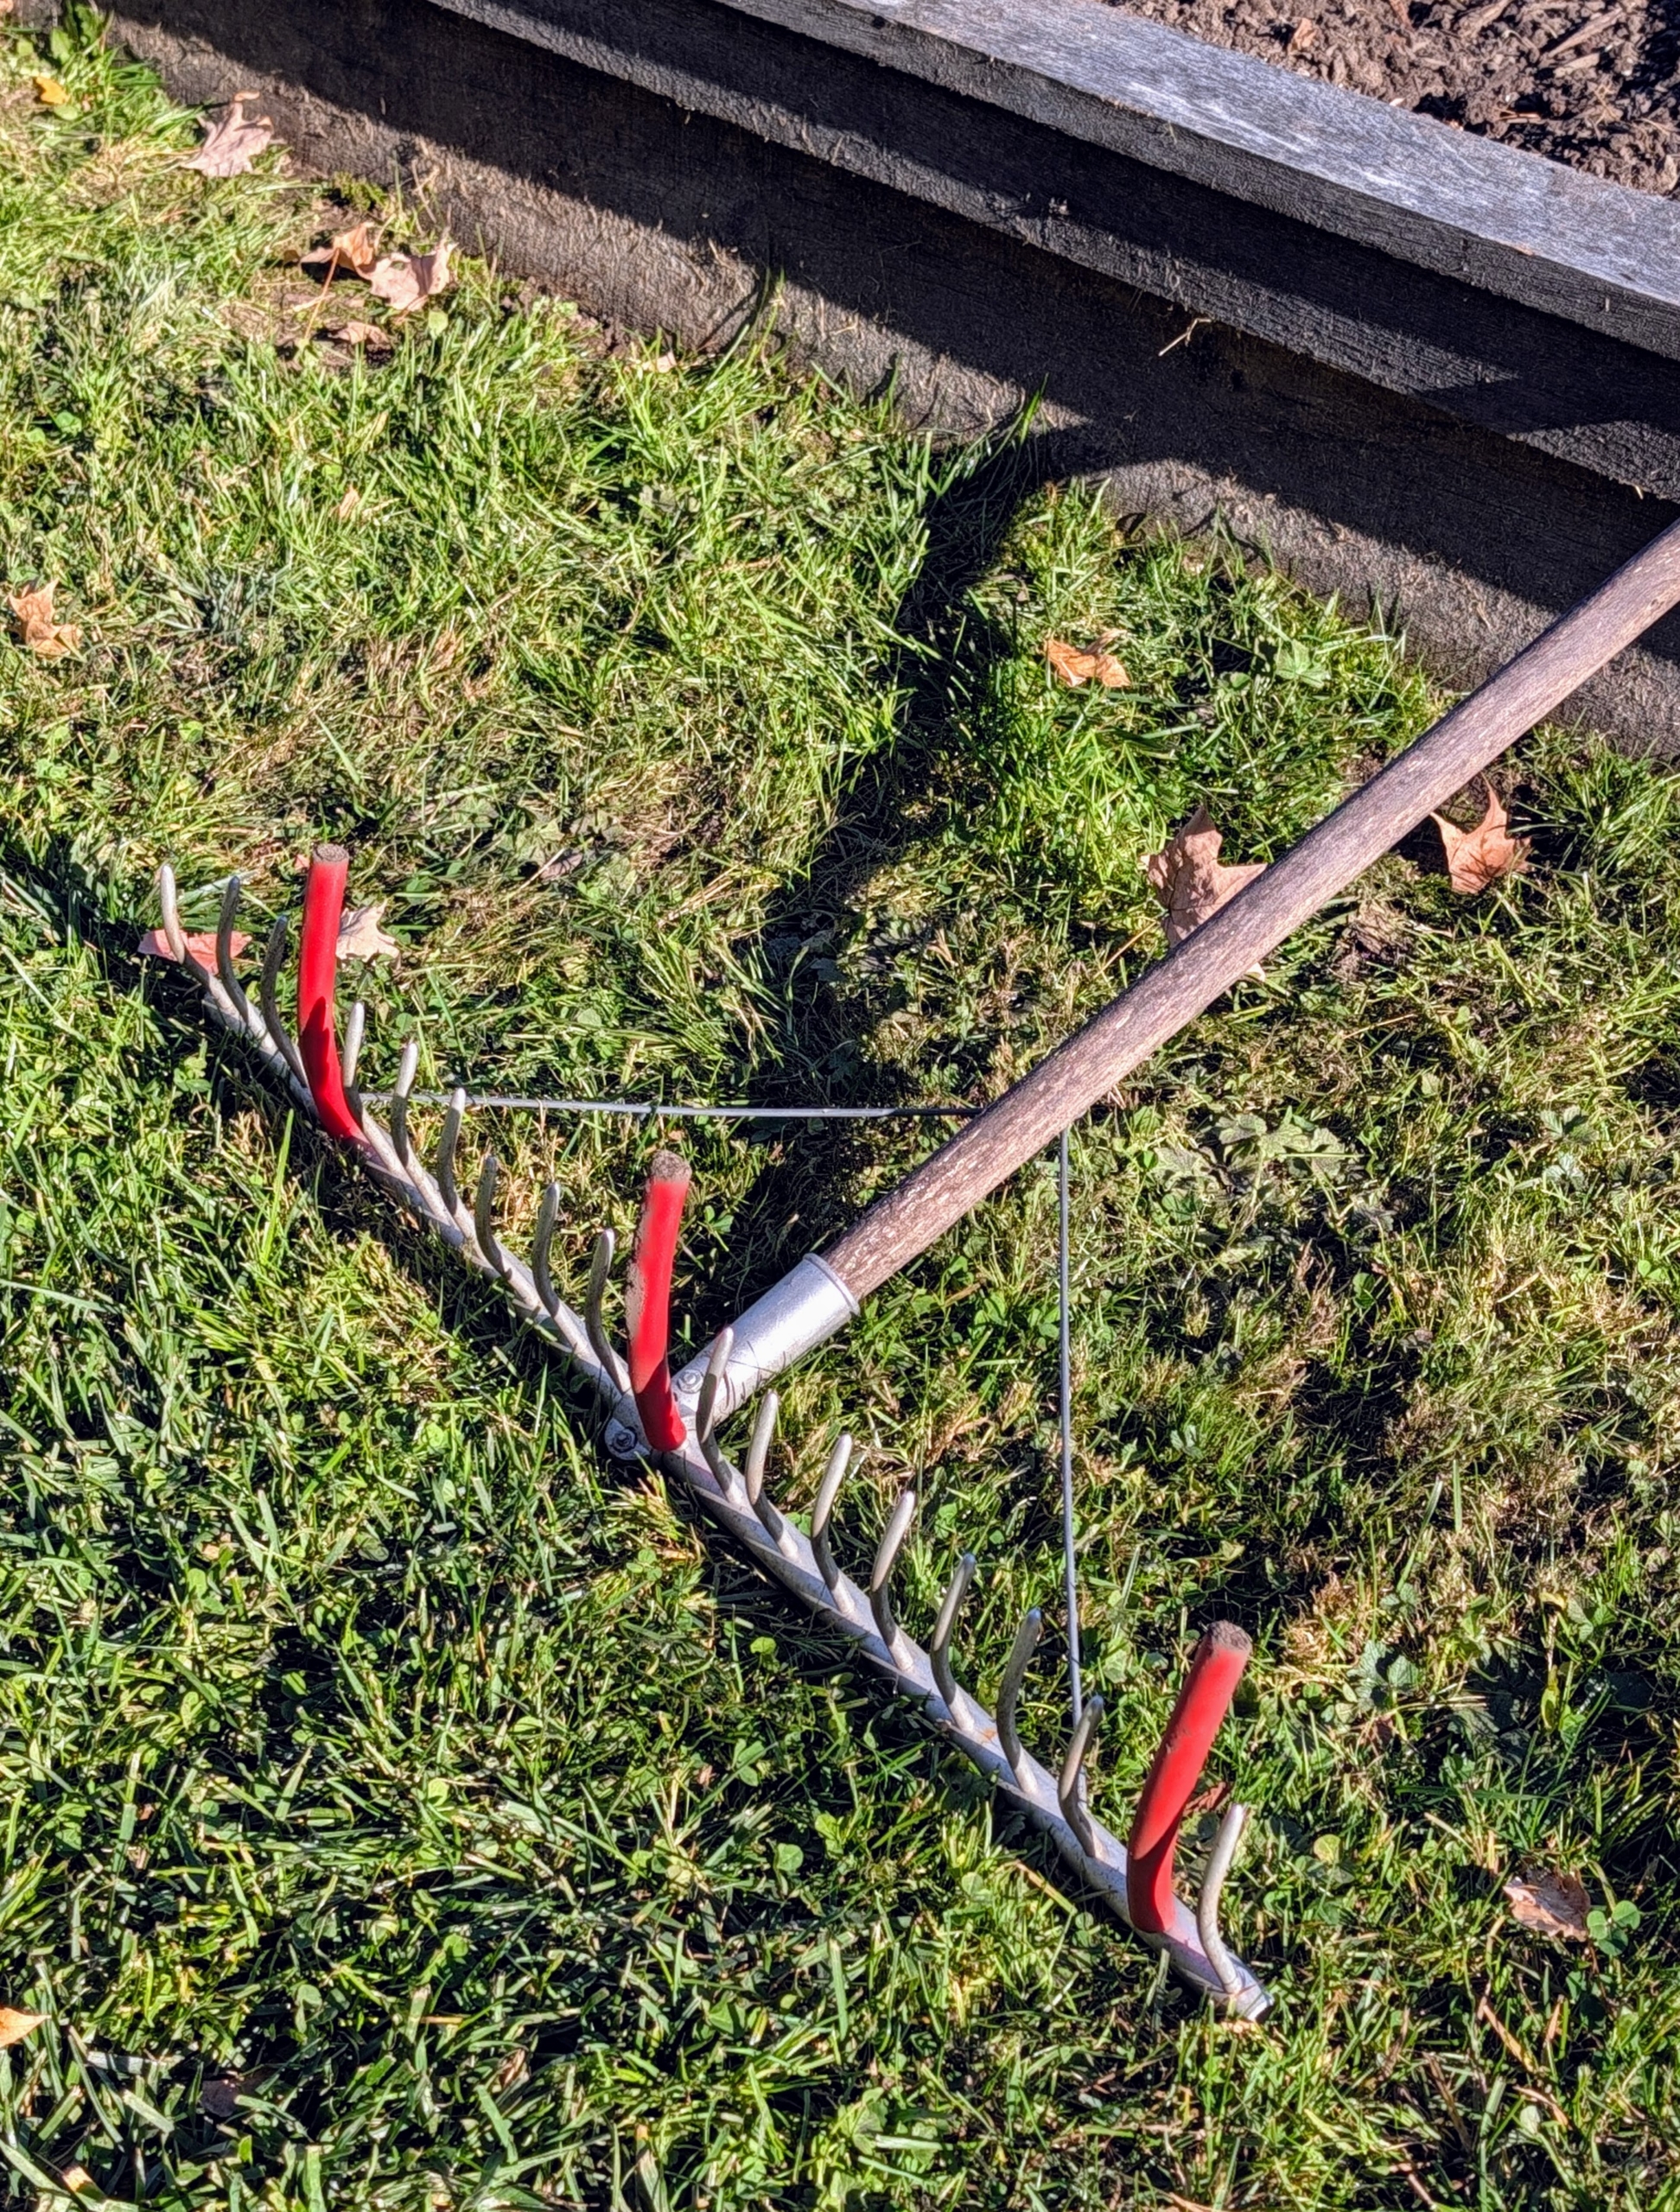
- Ryan uses a Bed Preparation Rake from Johnny’s Selected Seeds to create furrows in the soil. Hard plastic red tubes slide onto selected teeth of the rake to mark the rows.
-
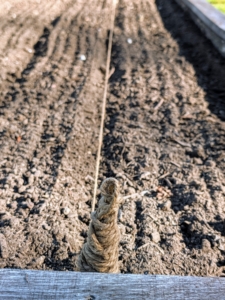
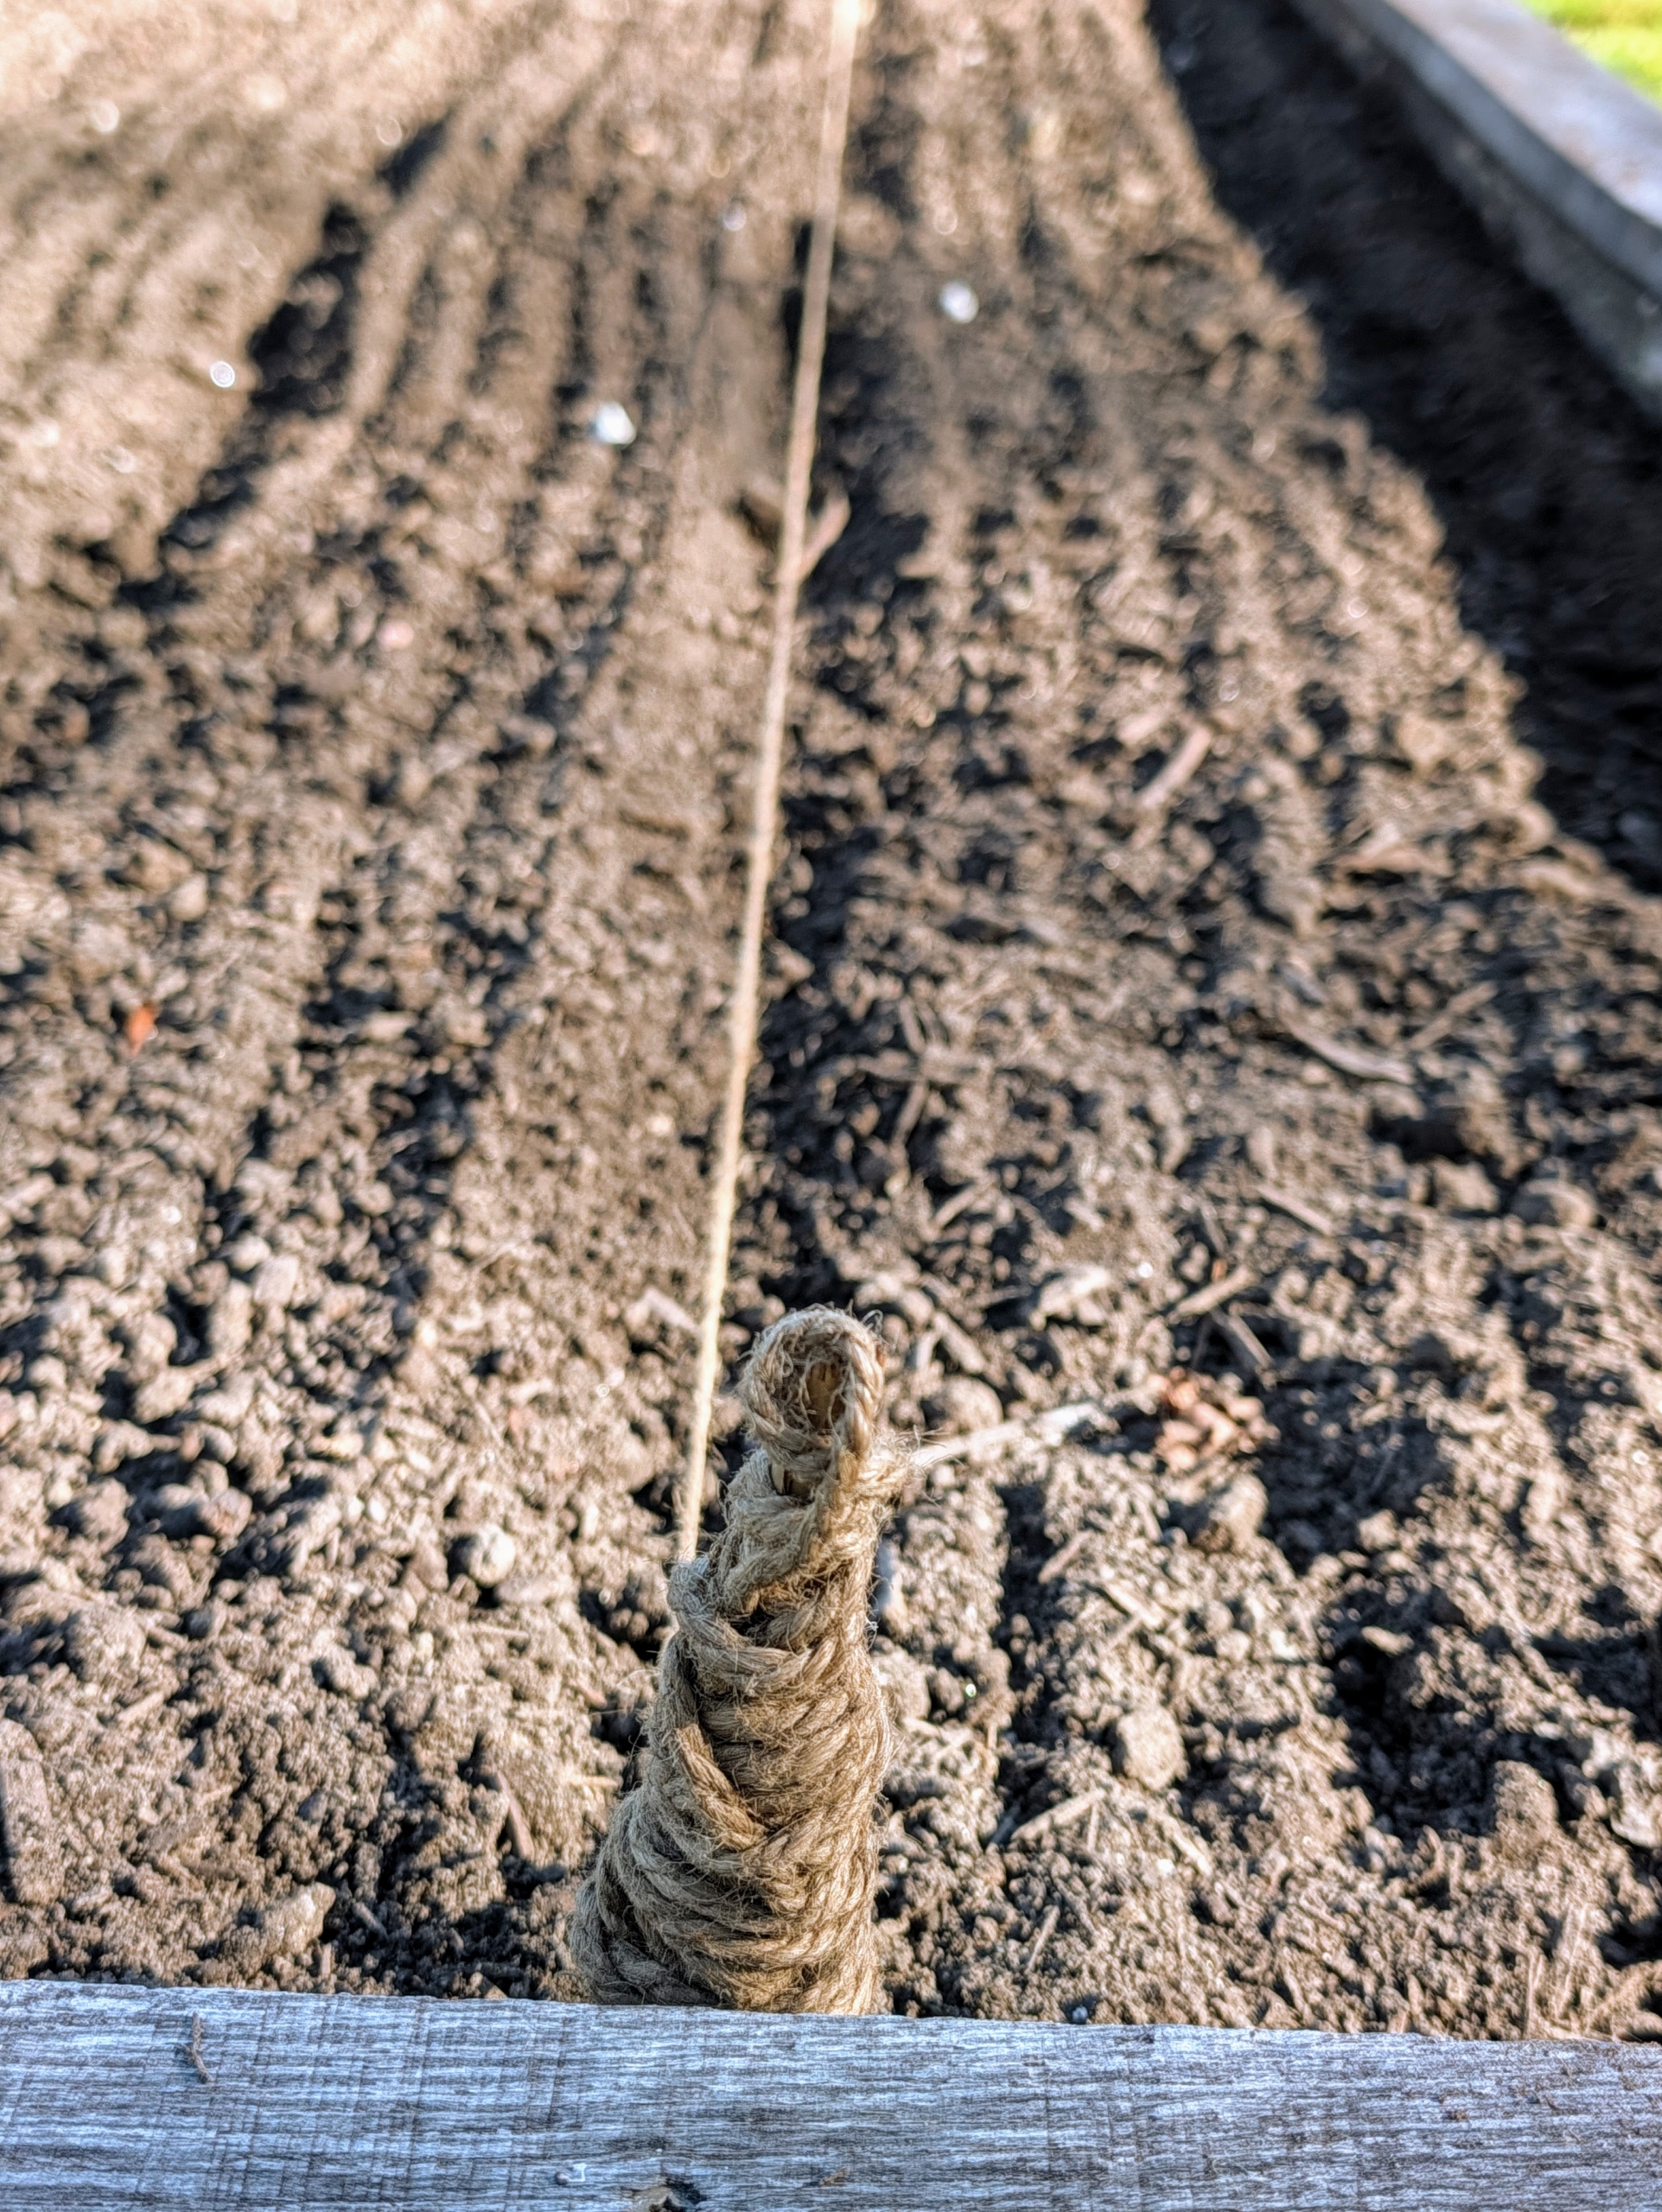
- Jute twine is secured at one end to ensure the rows are perfectly straight. This is a guide for all the other rows in the bed. Ryan already determined how many rows would fit in this bed and how many garlic cloves would be planted in each row.
-
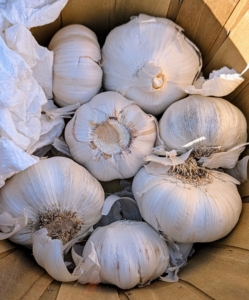
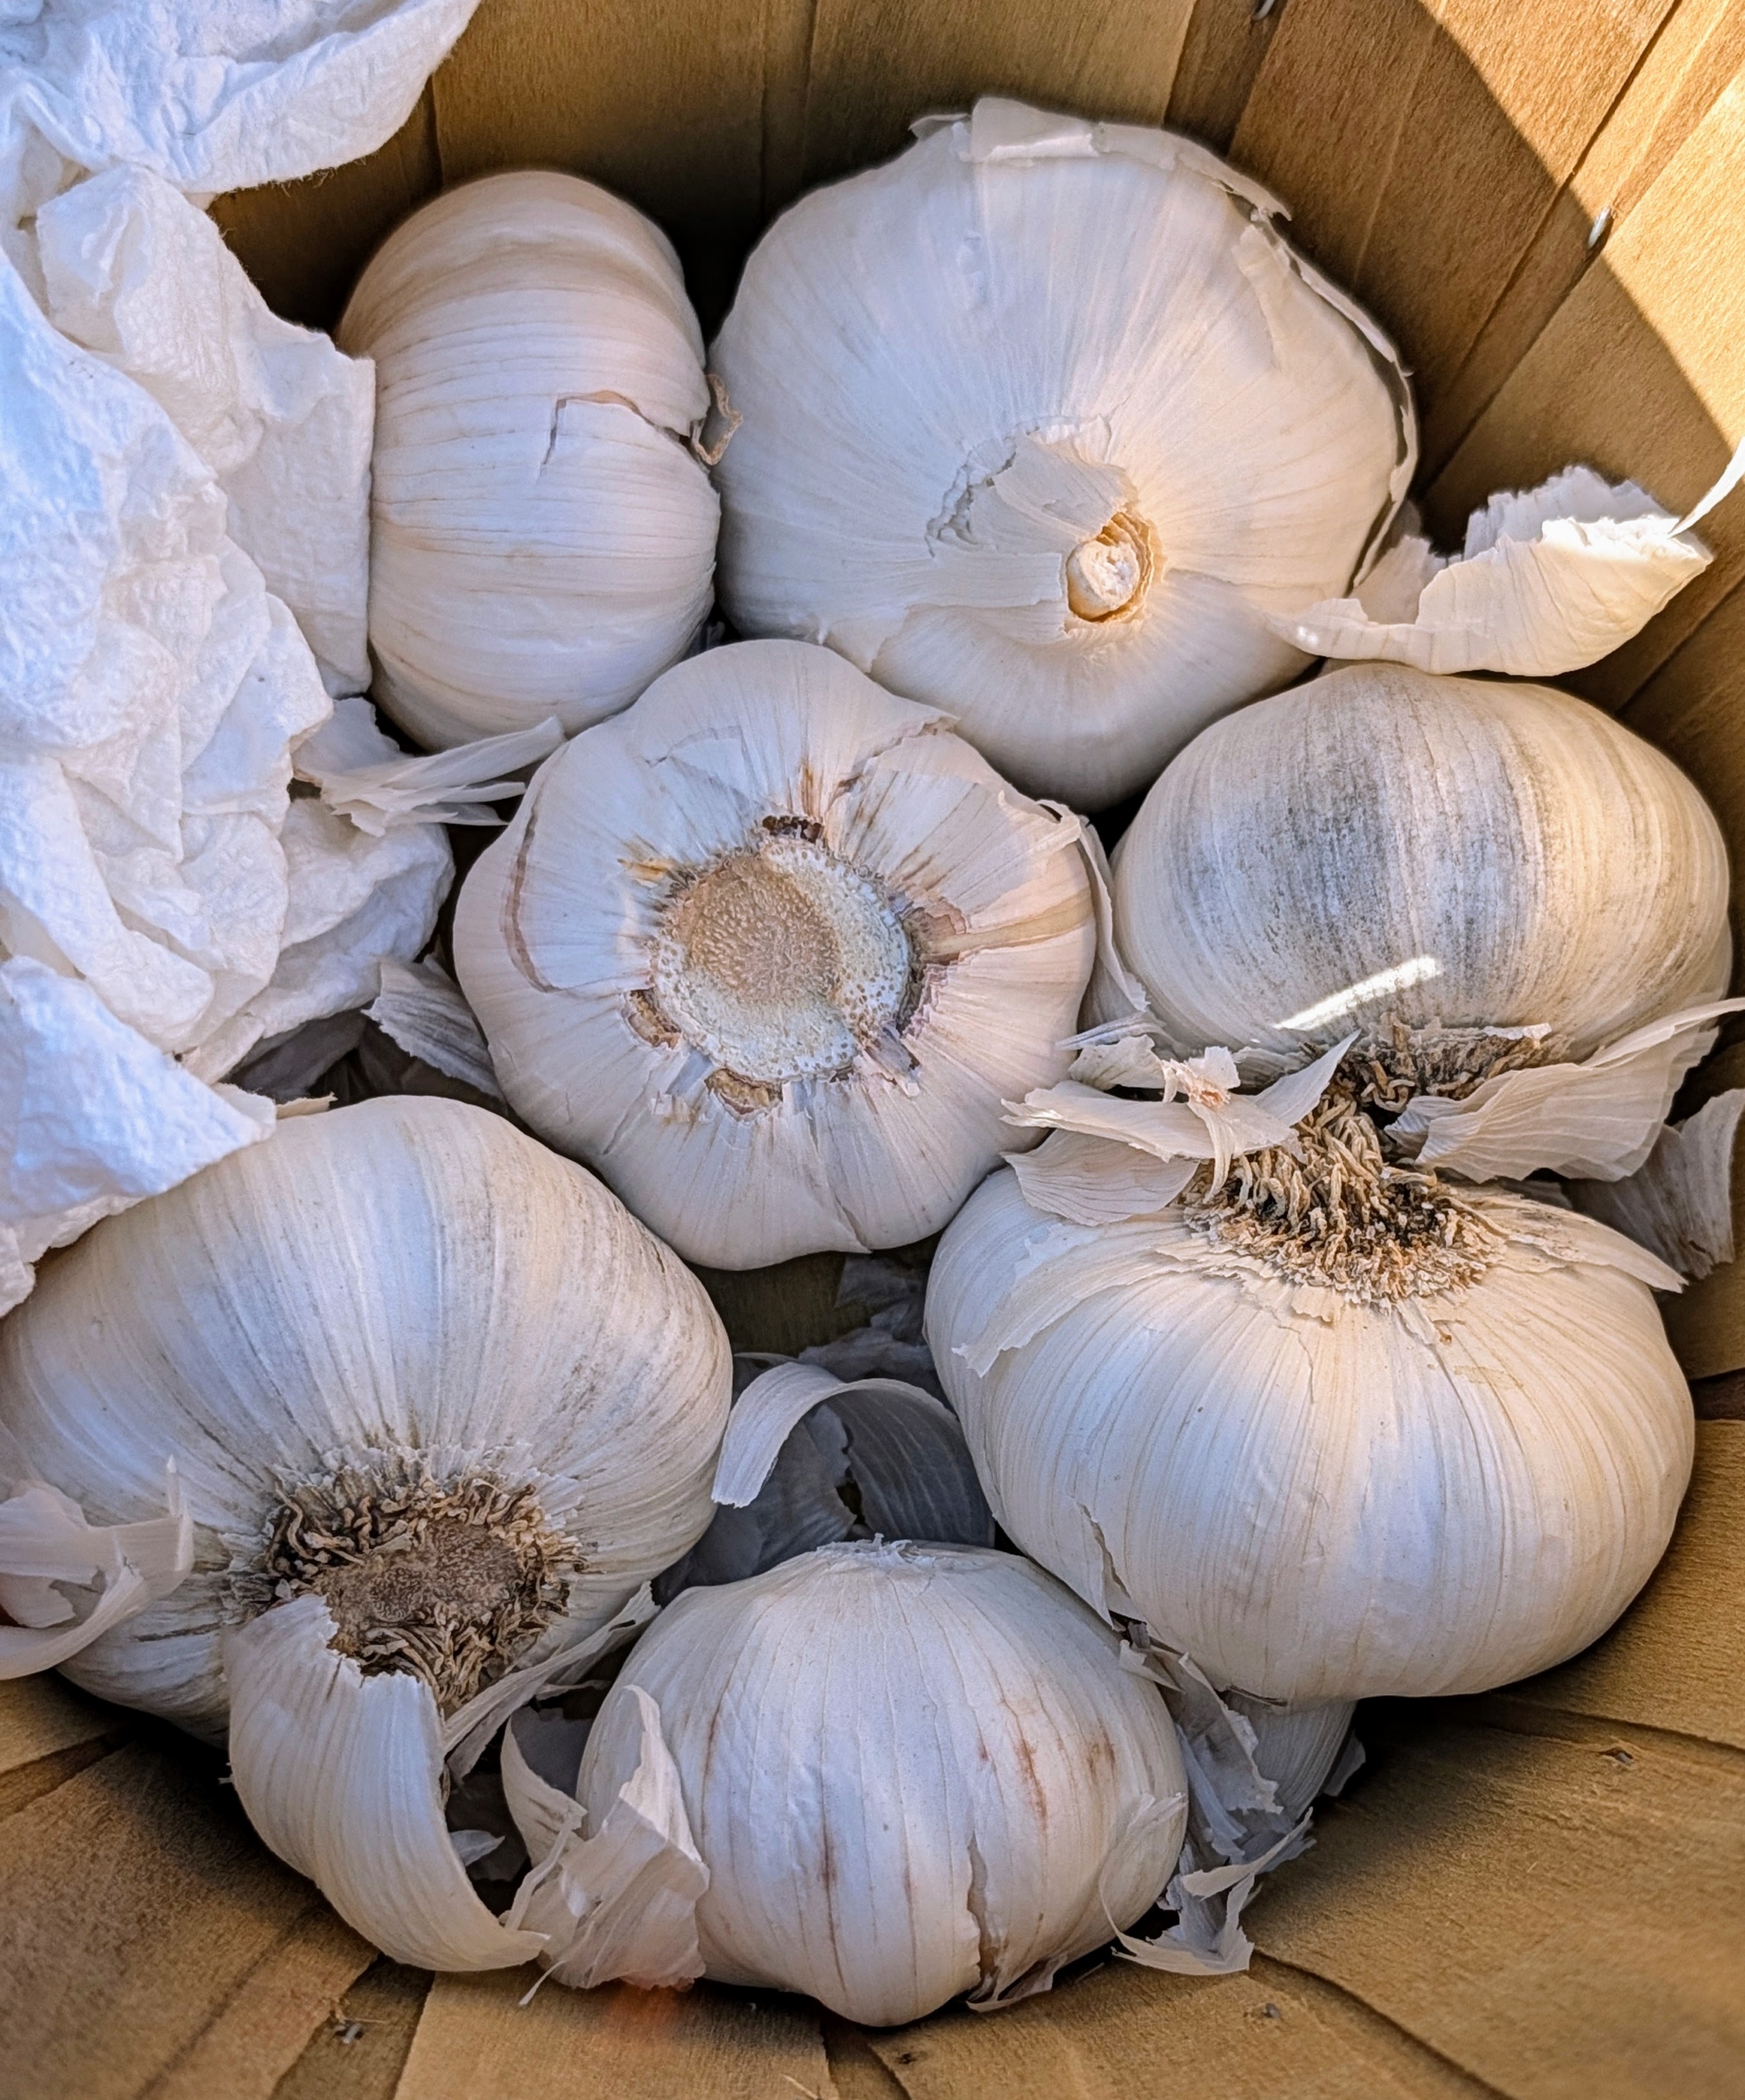
- Remember the terminology – a head of garlic and a bulb of garlic refer to the entire structure that contains multiple individual segments.
-
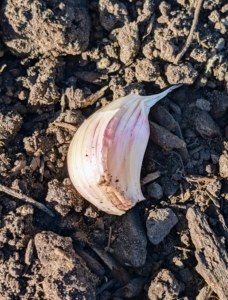
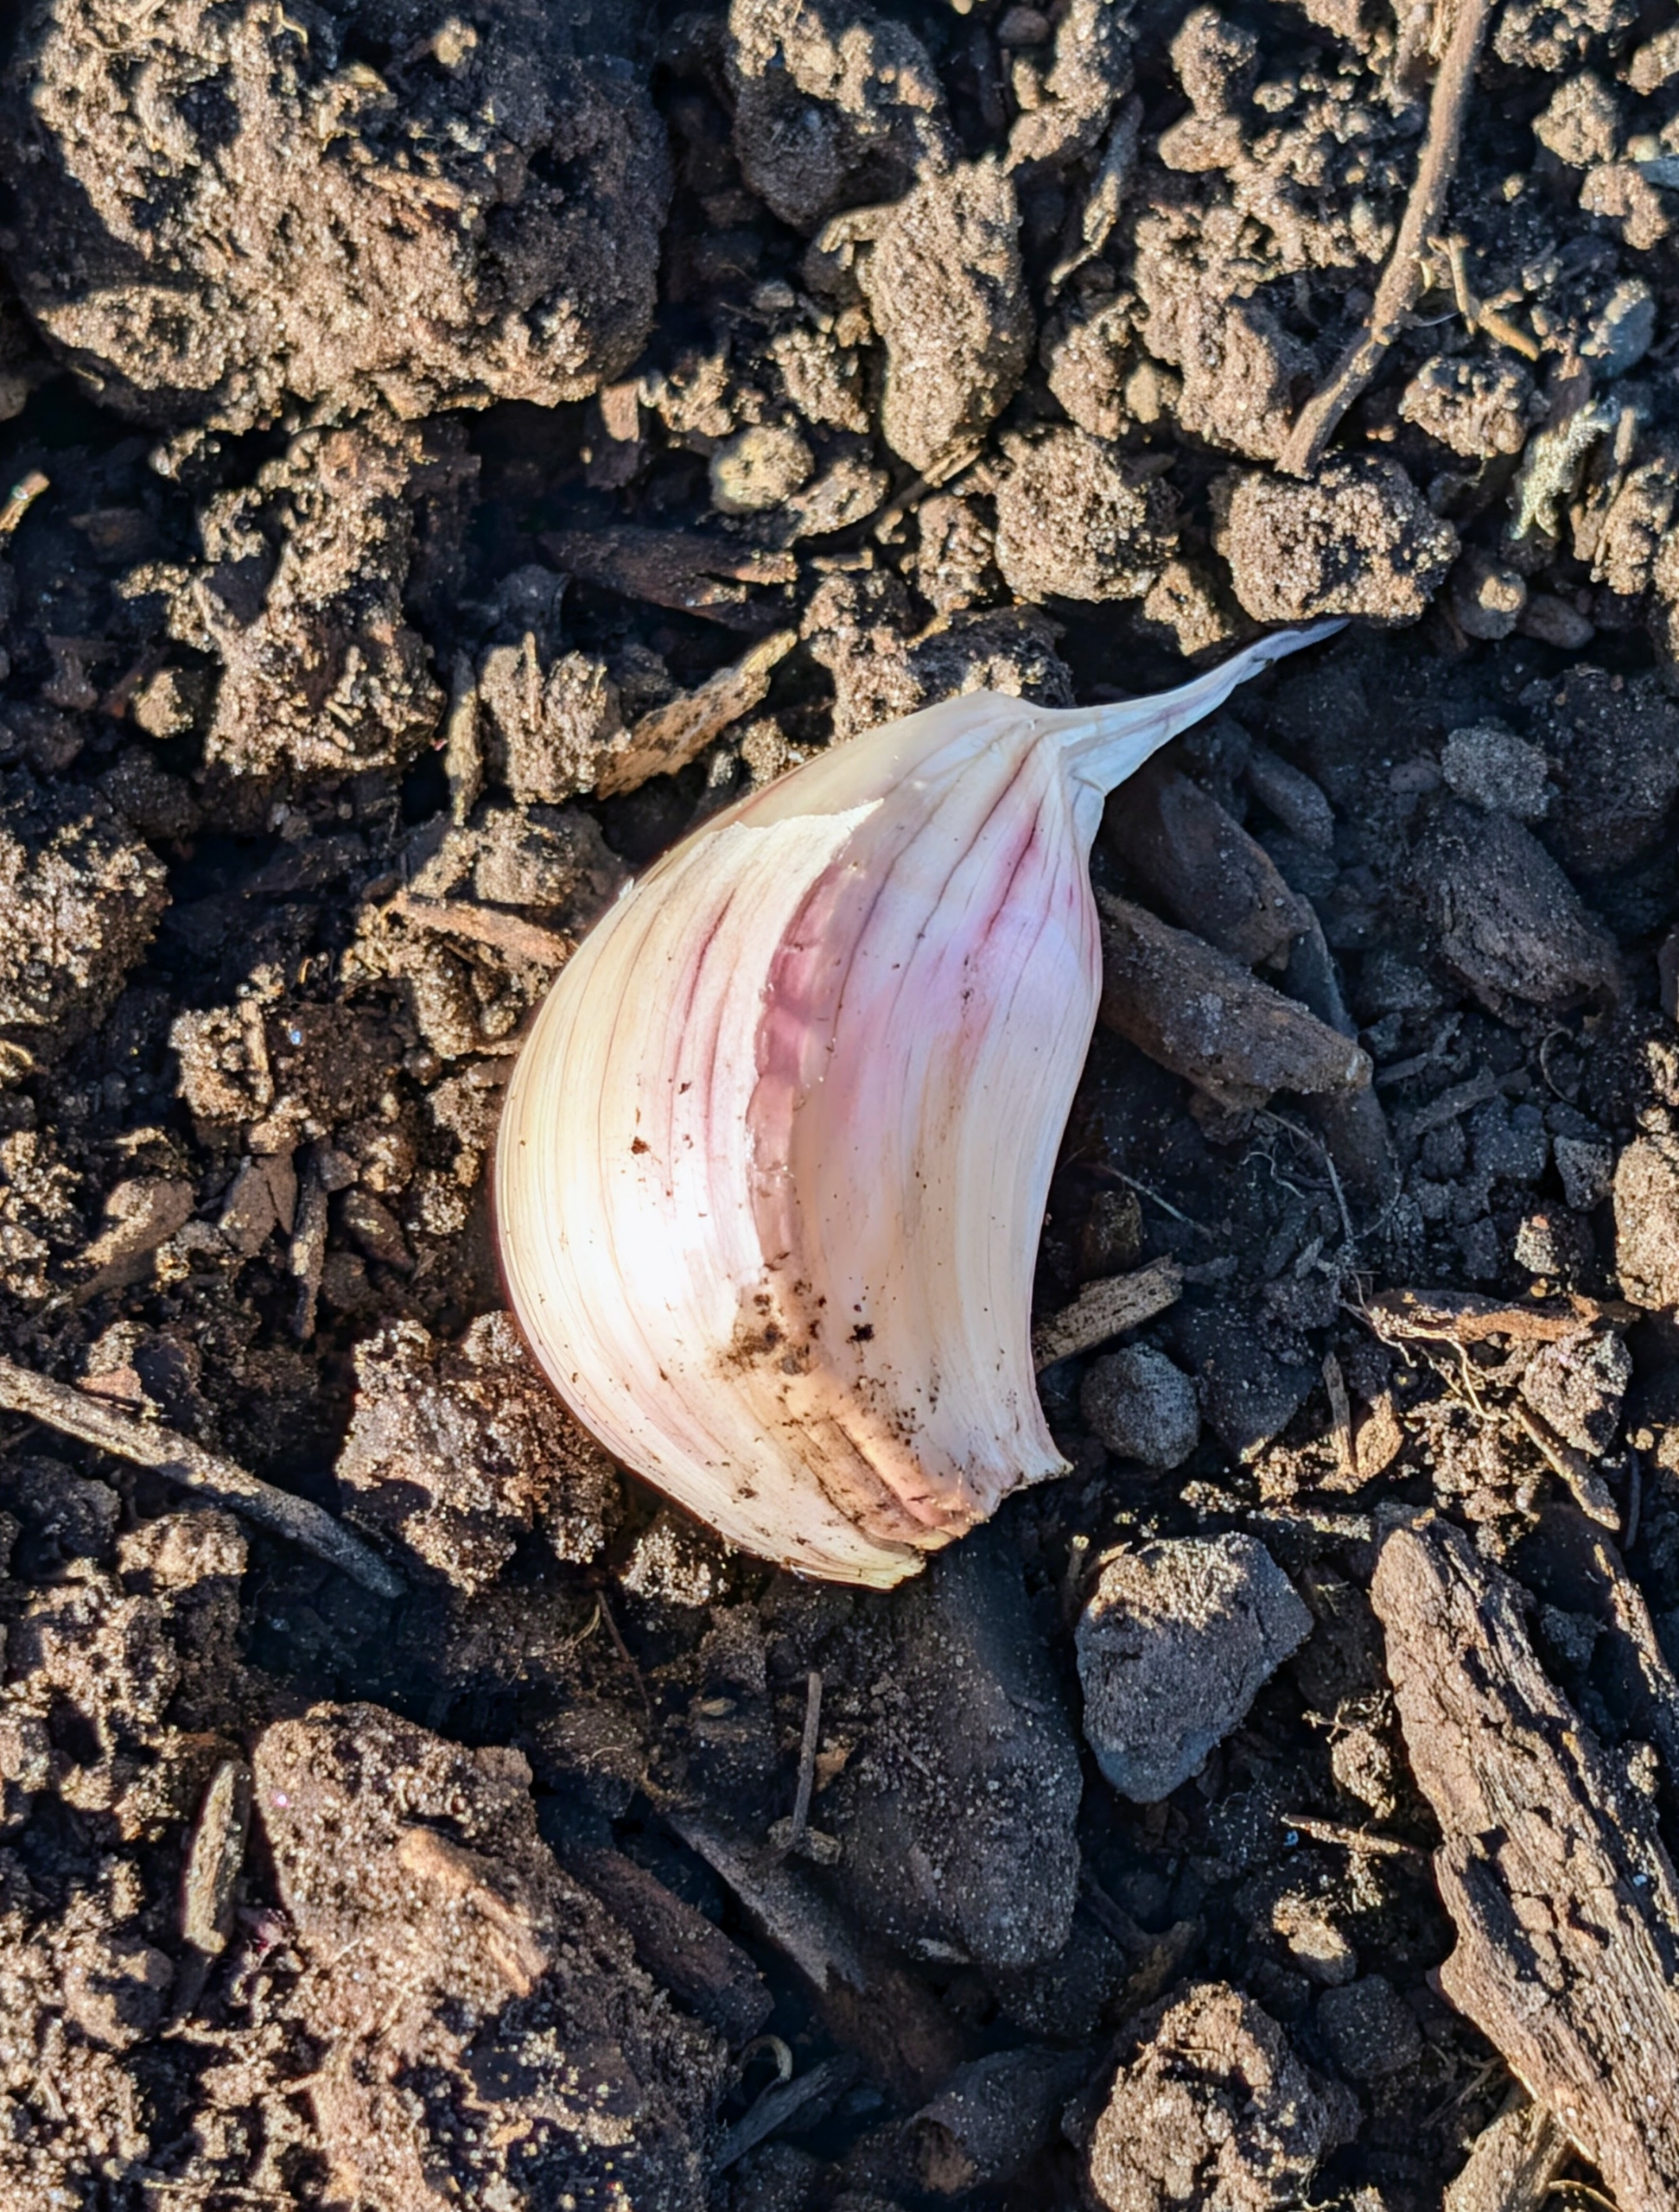
- And each of those segments is called a clove. A typical garlic bulb contains about 10 to 12 cloves, but this can vary depending on the size and variety. Some larger varieties may have only four cloves, while smaller bulbs can have up to 15 cloves.
-
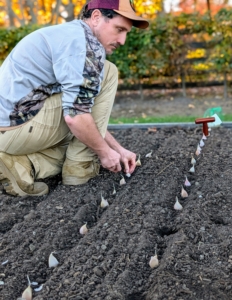
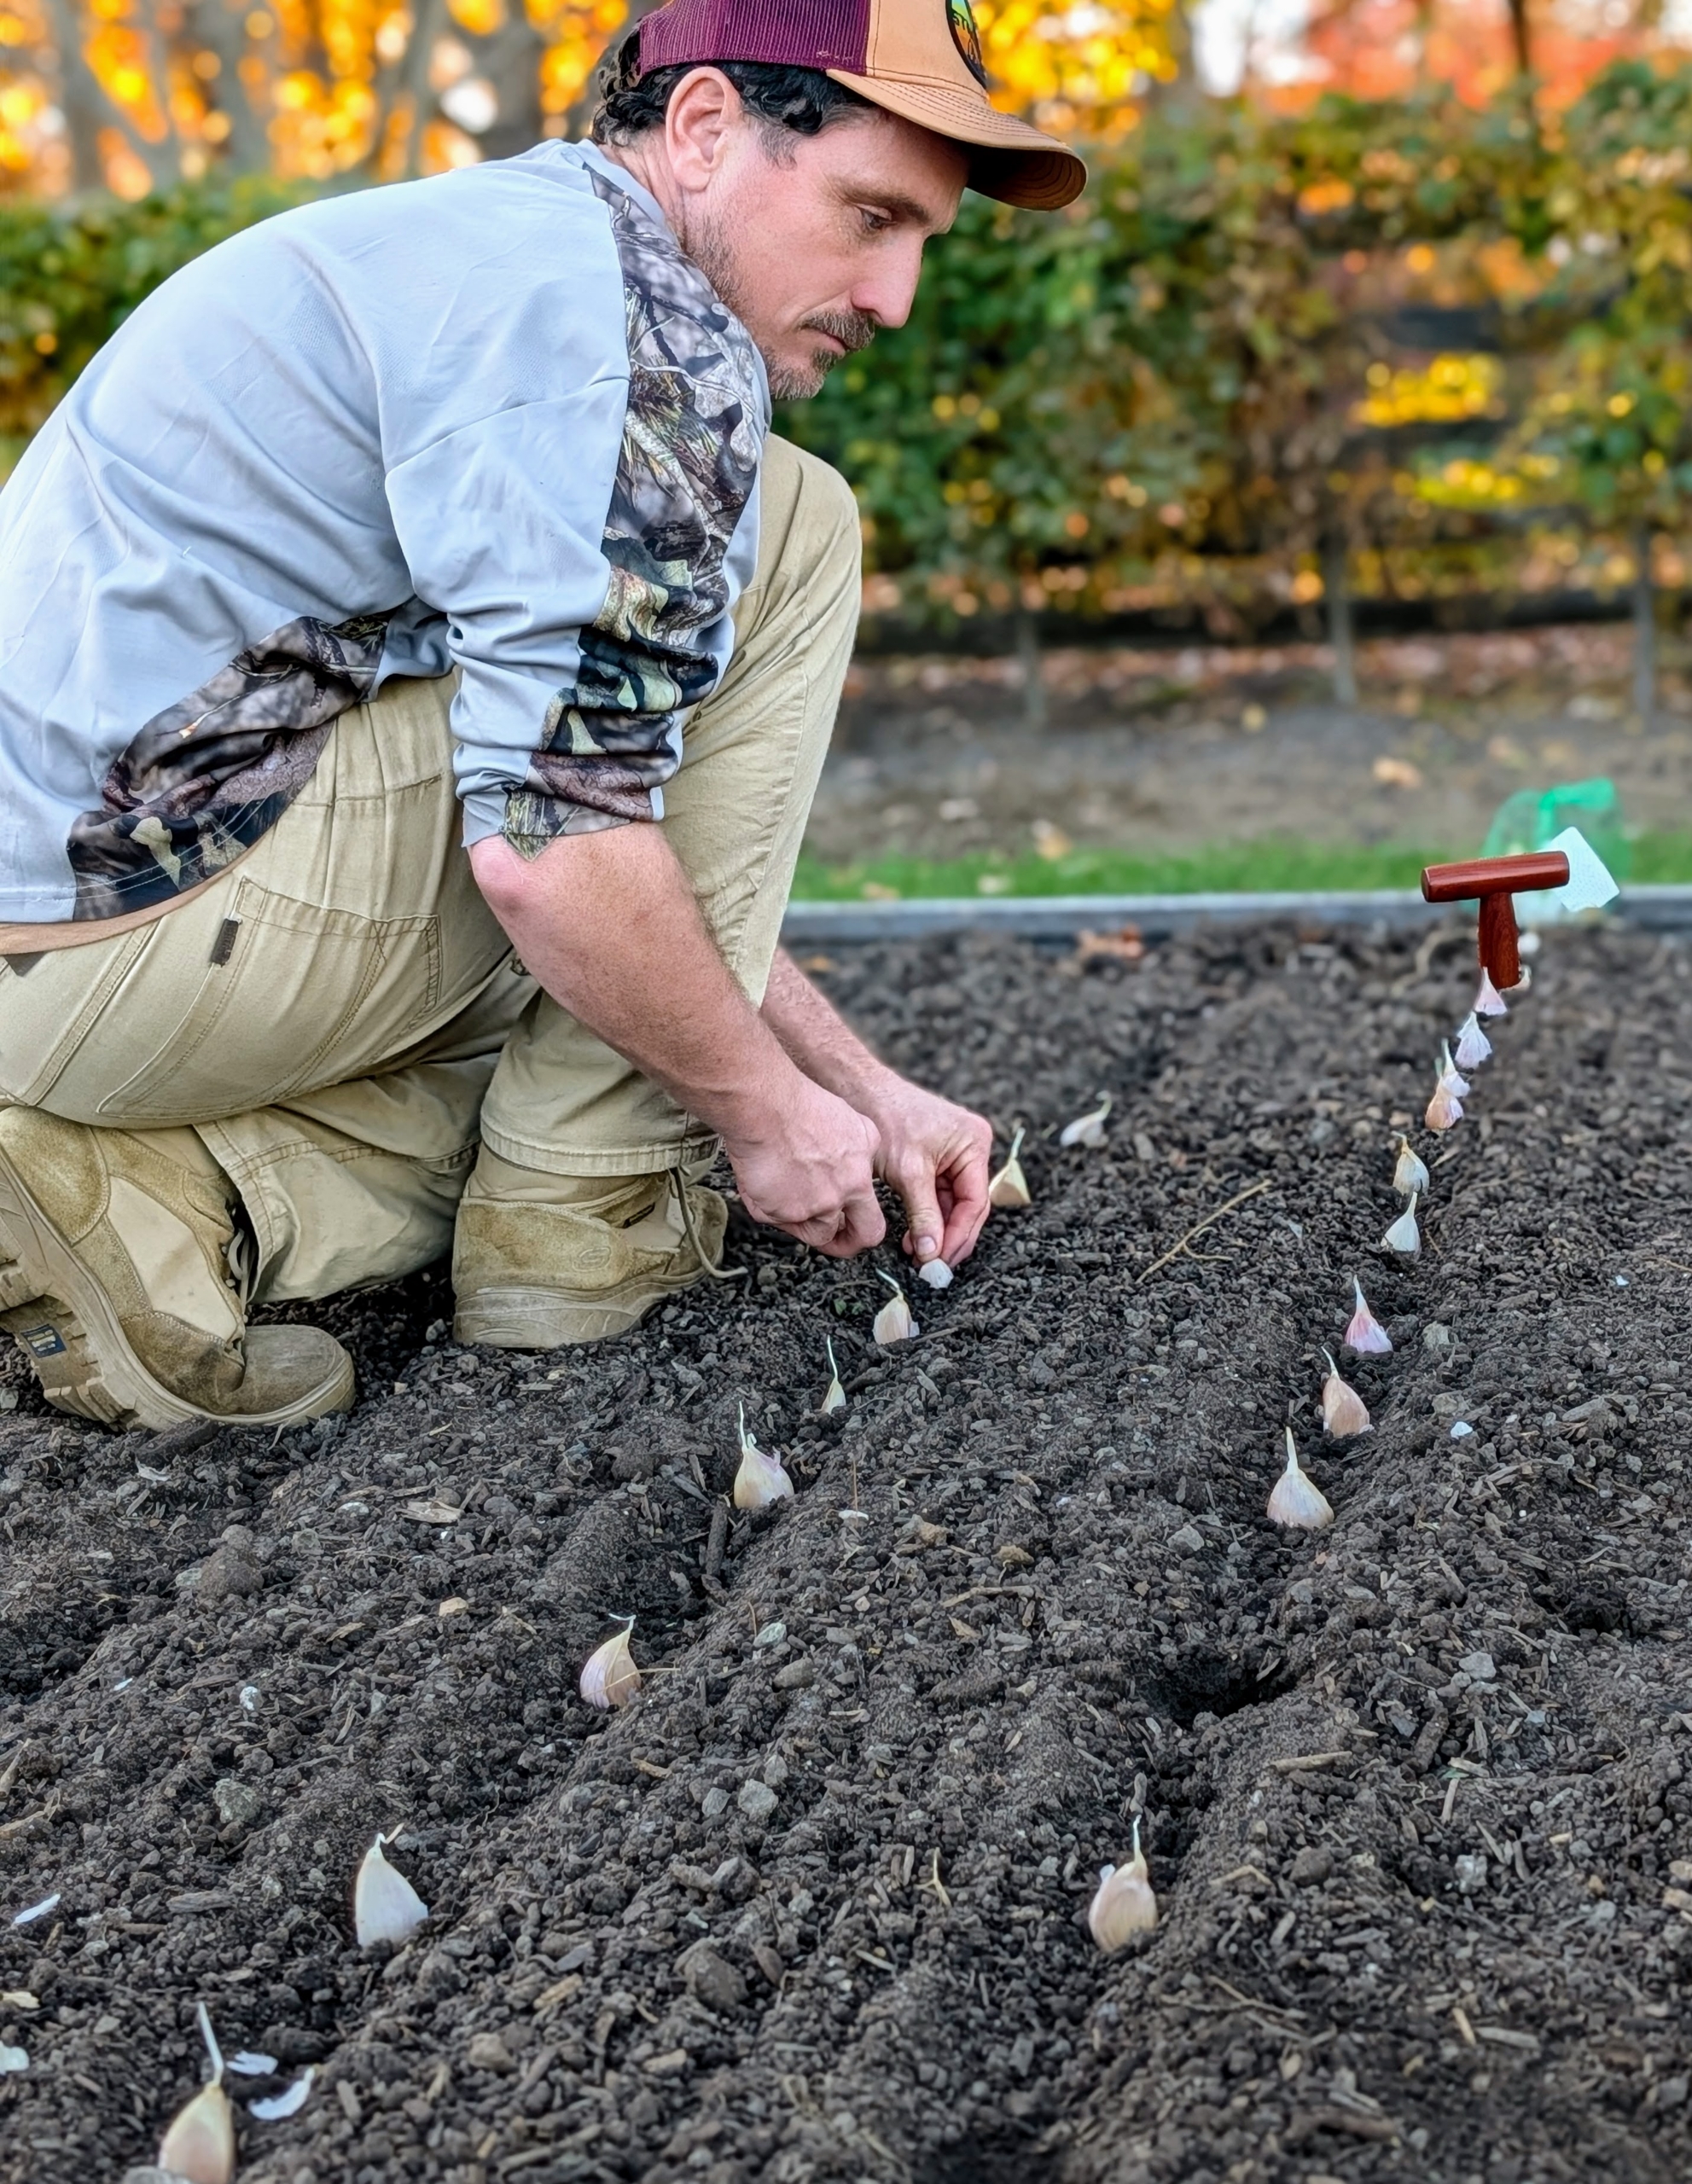
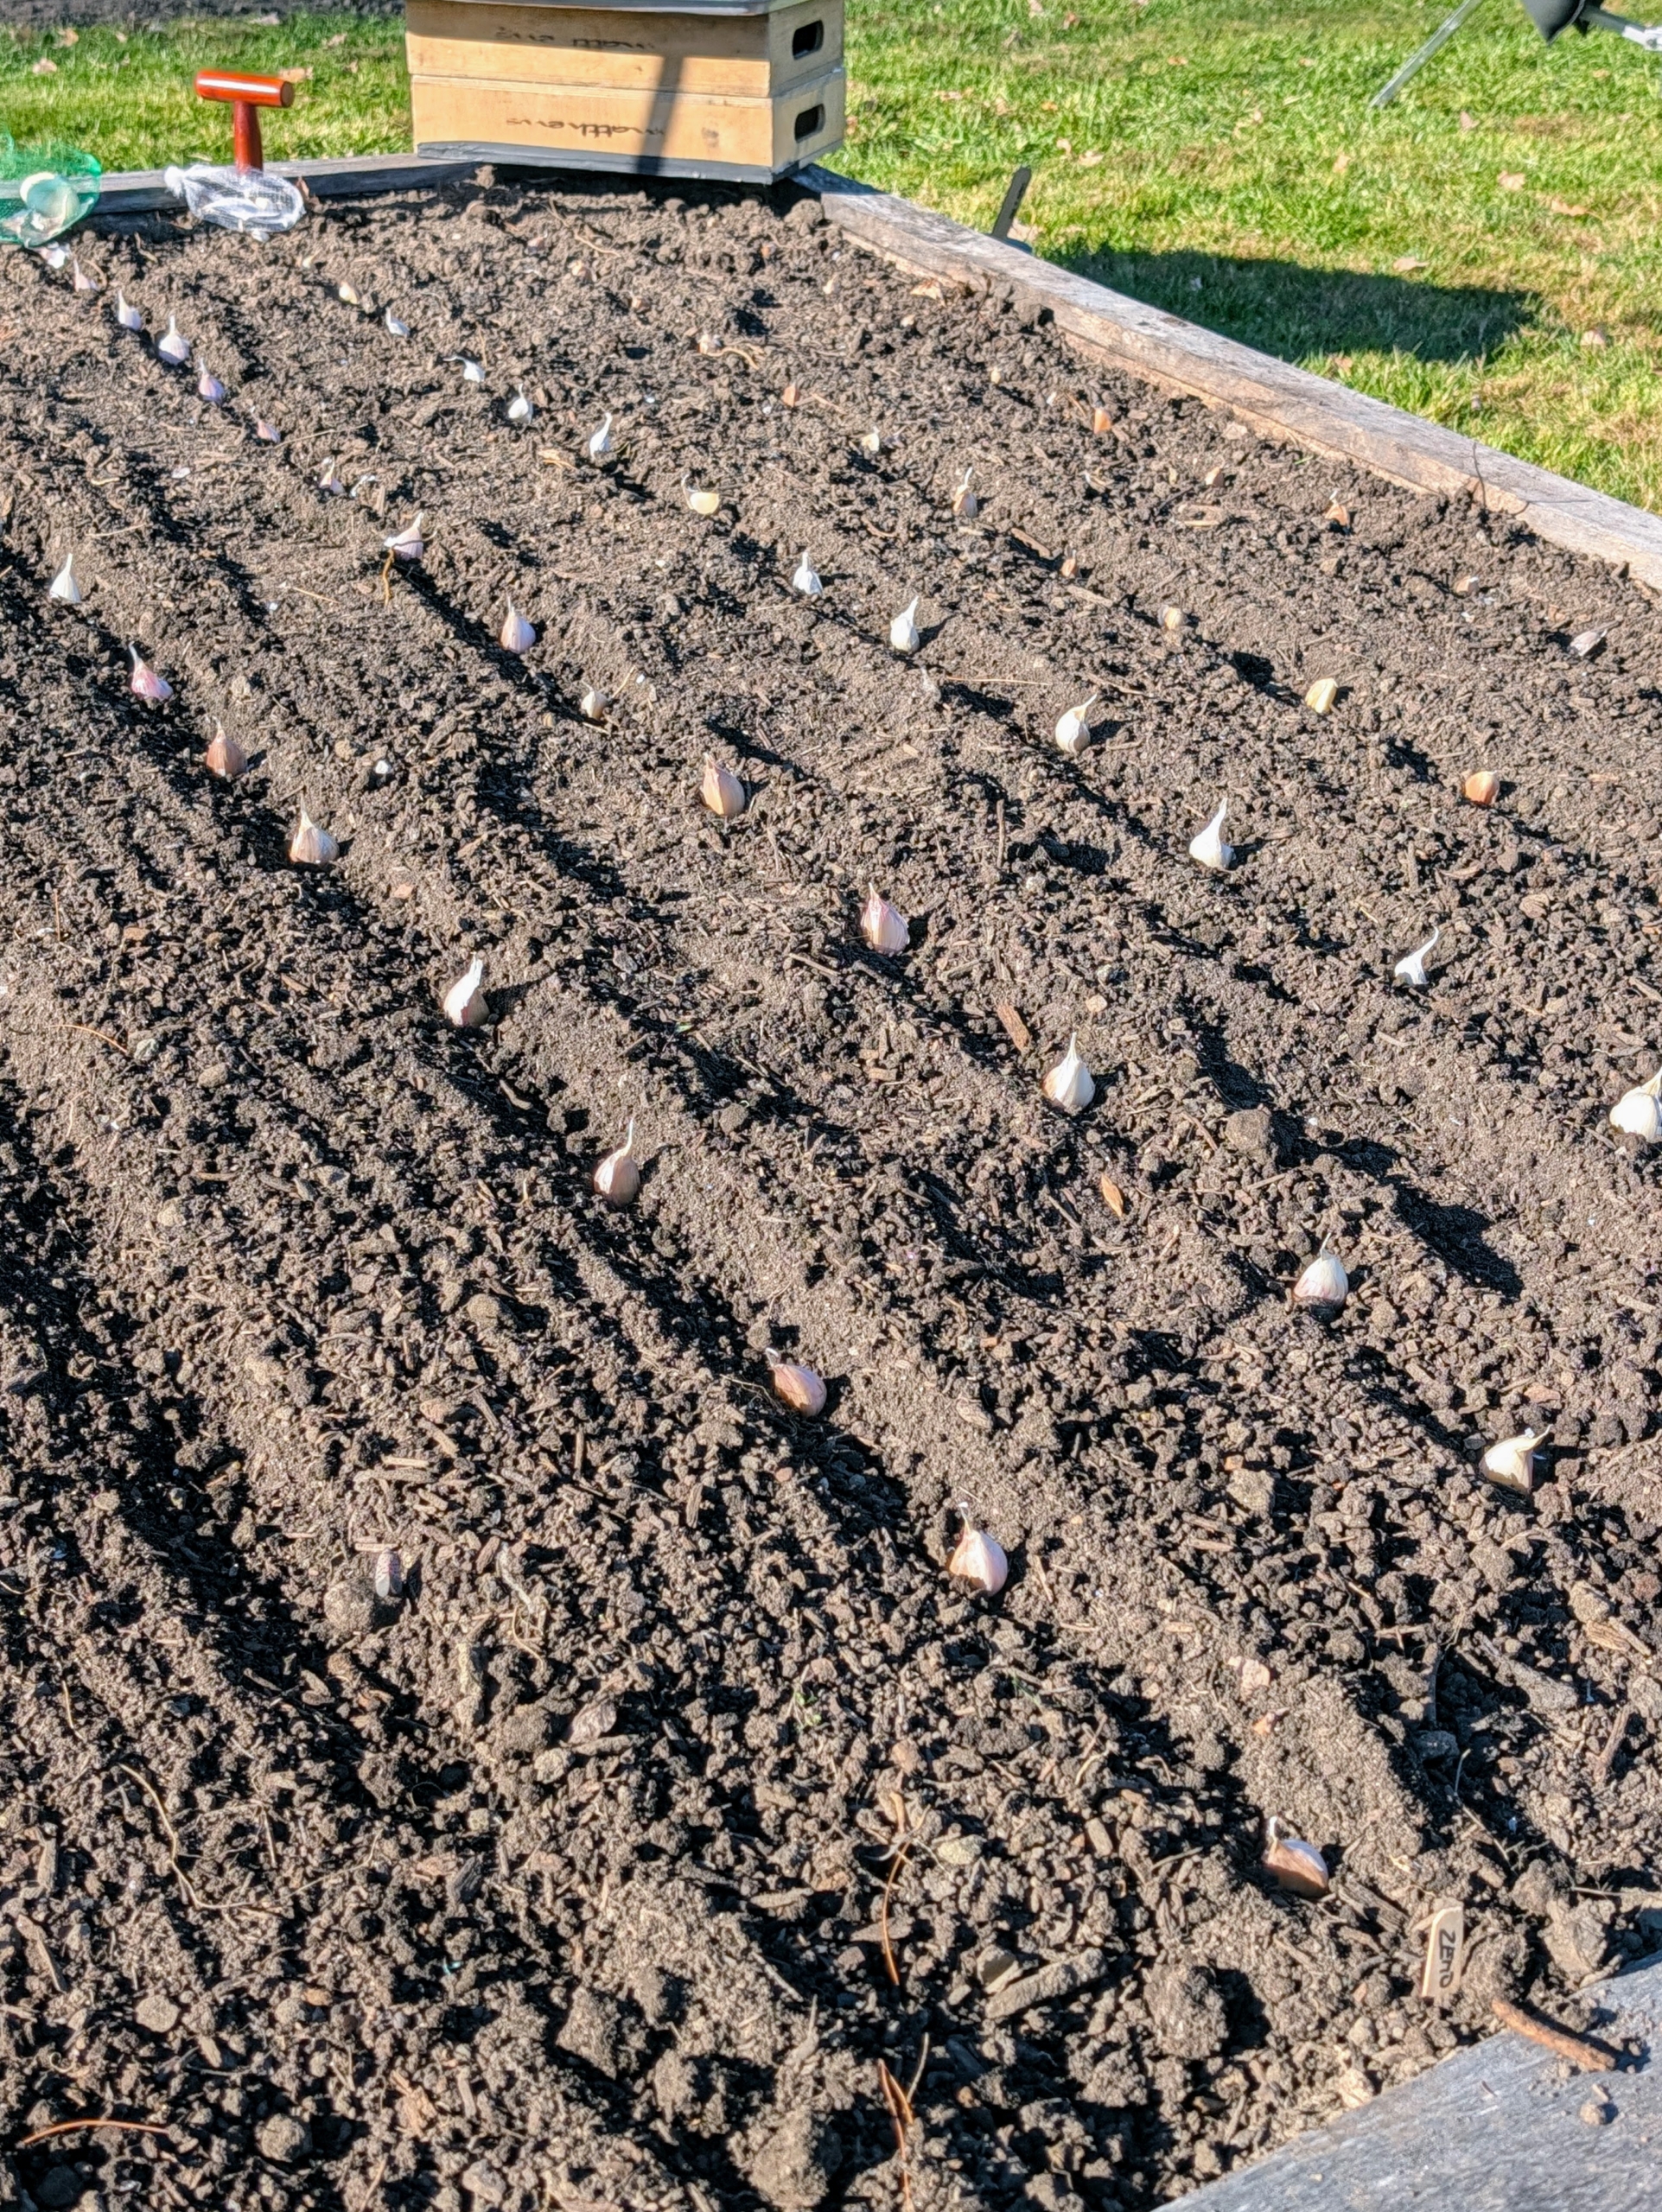
- Ryan positions each clove. When planting multiple rows of garlic, be sure the rows are at least one-foot apart.
-
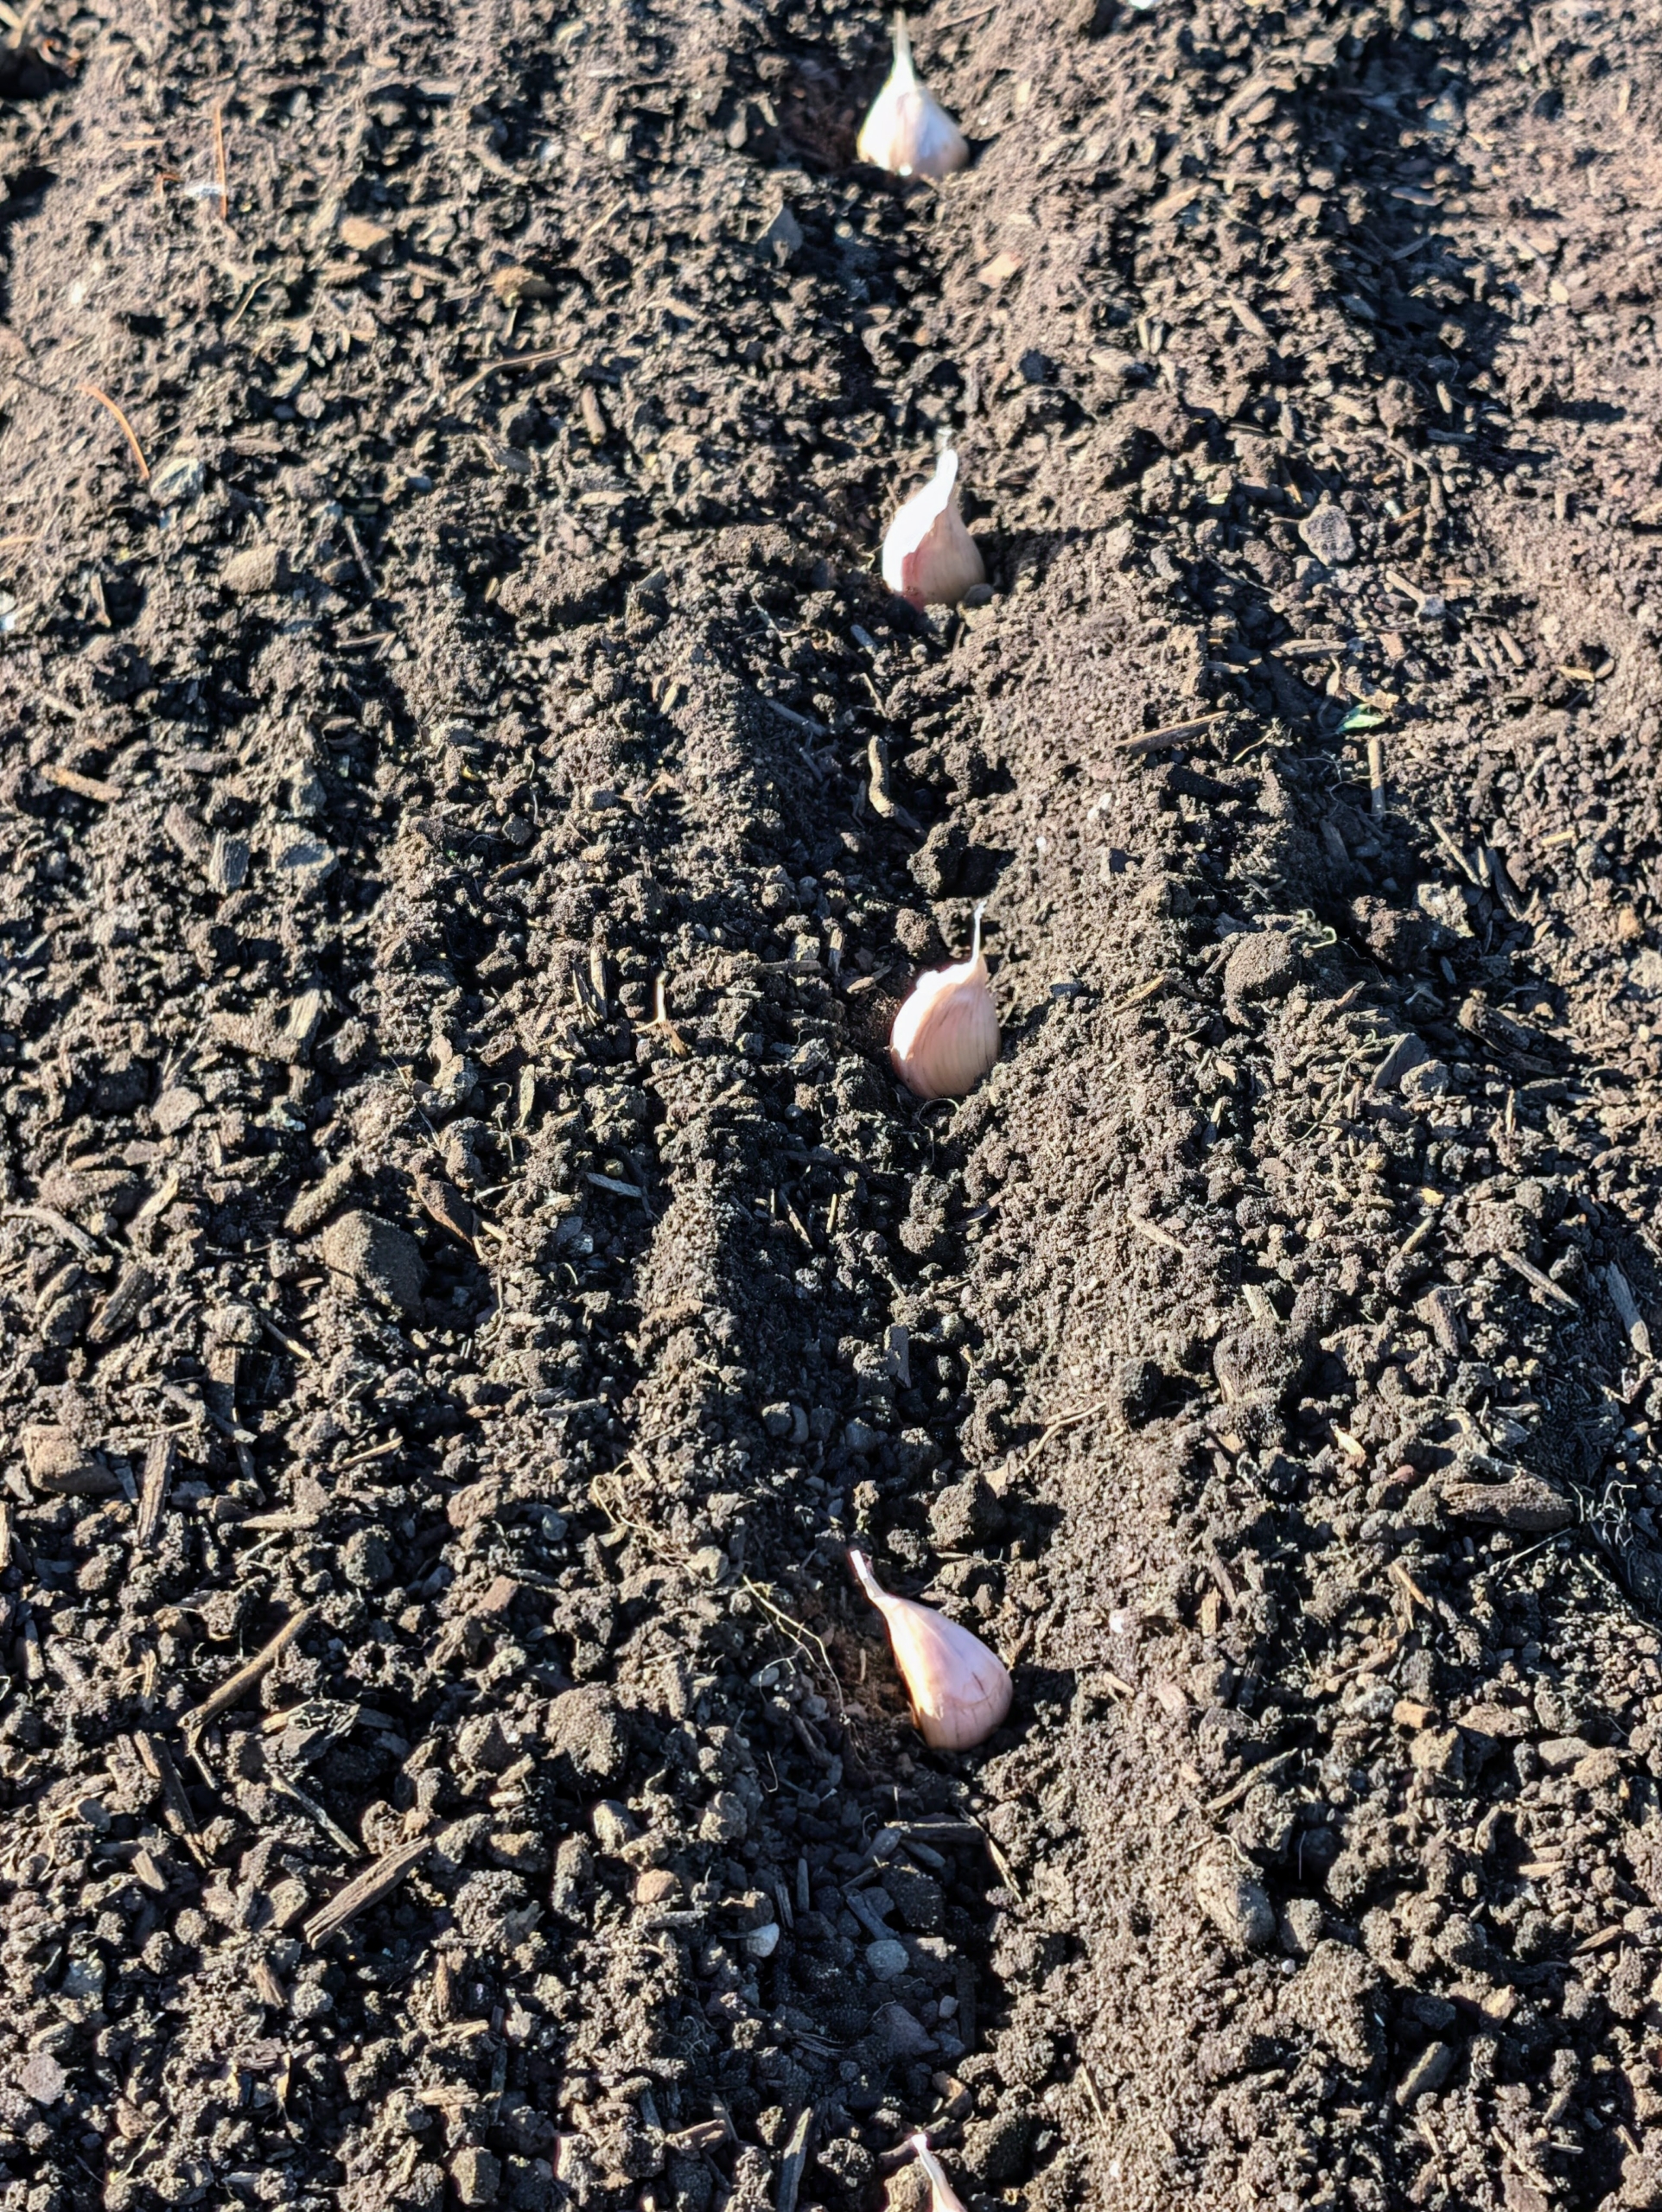
- It is also important to give each clove enough room to grow and develop. They should be planted at least several inches from each other.
-
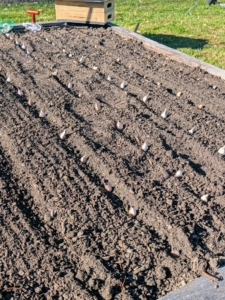
- Here are several rows well spaced for planting.
-
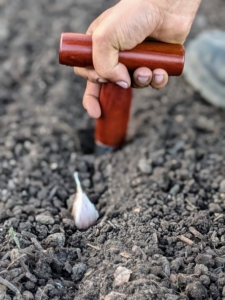
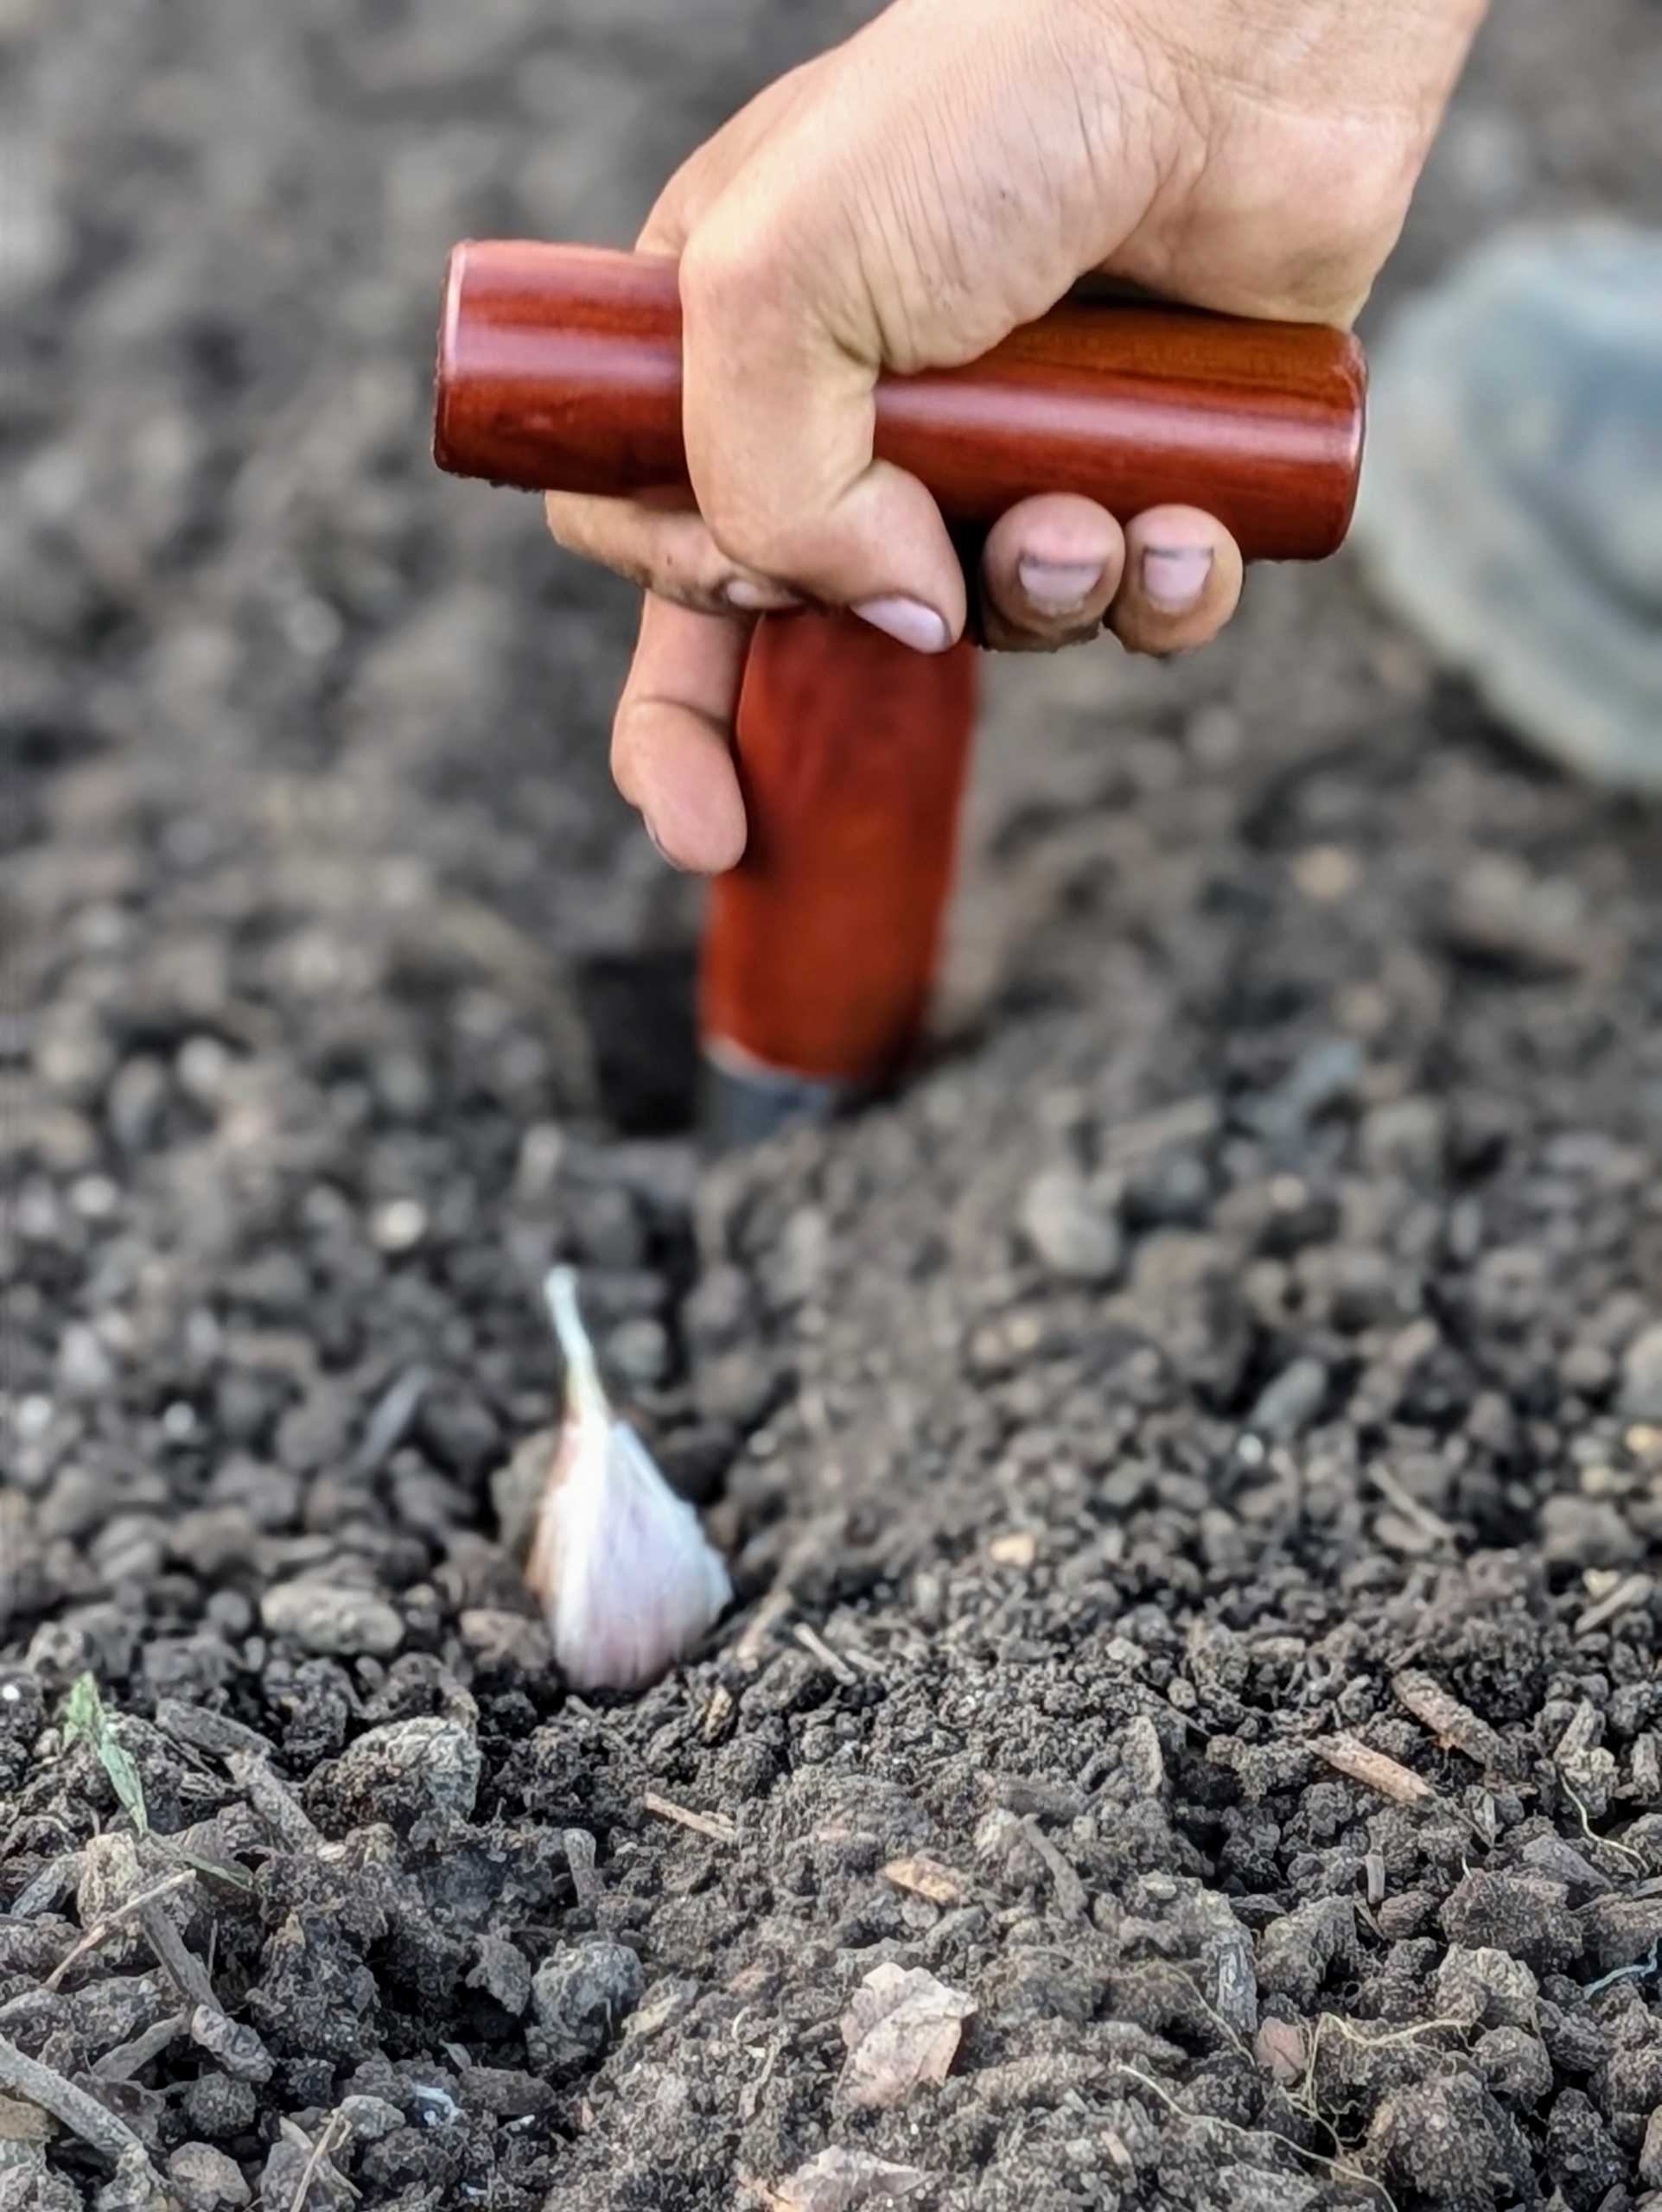
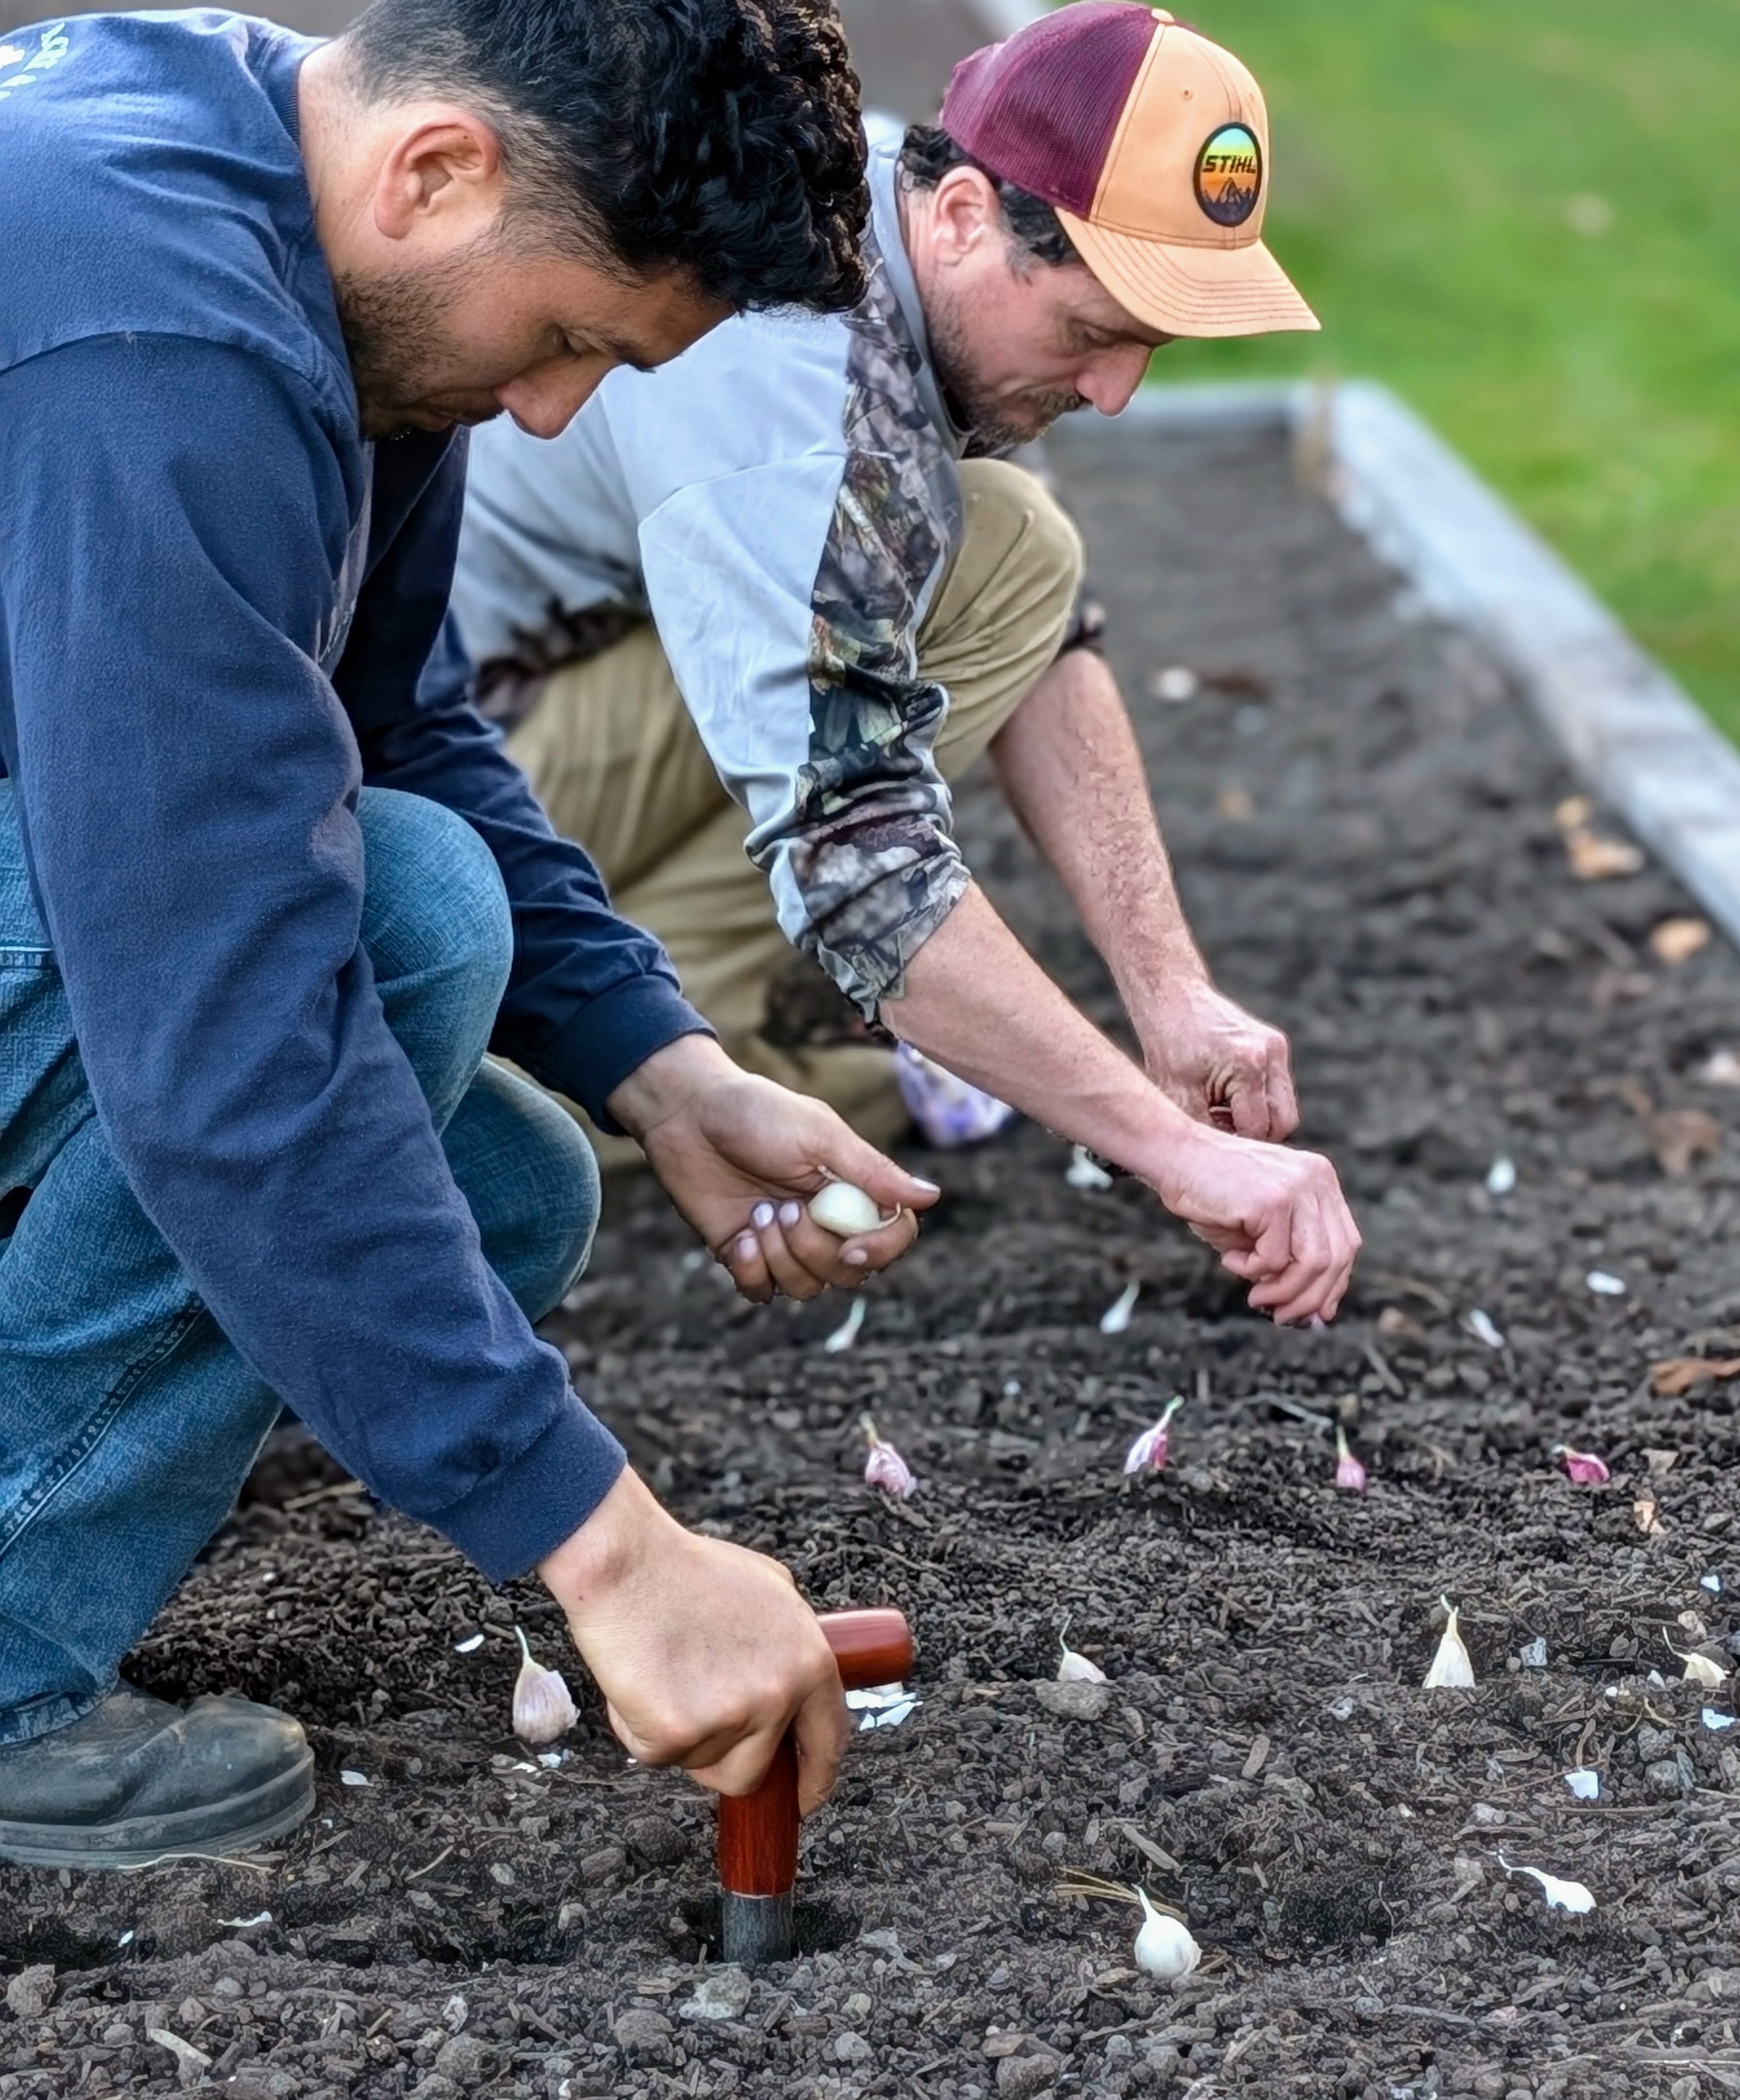
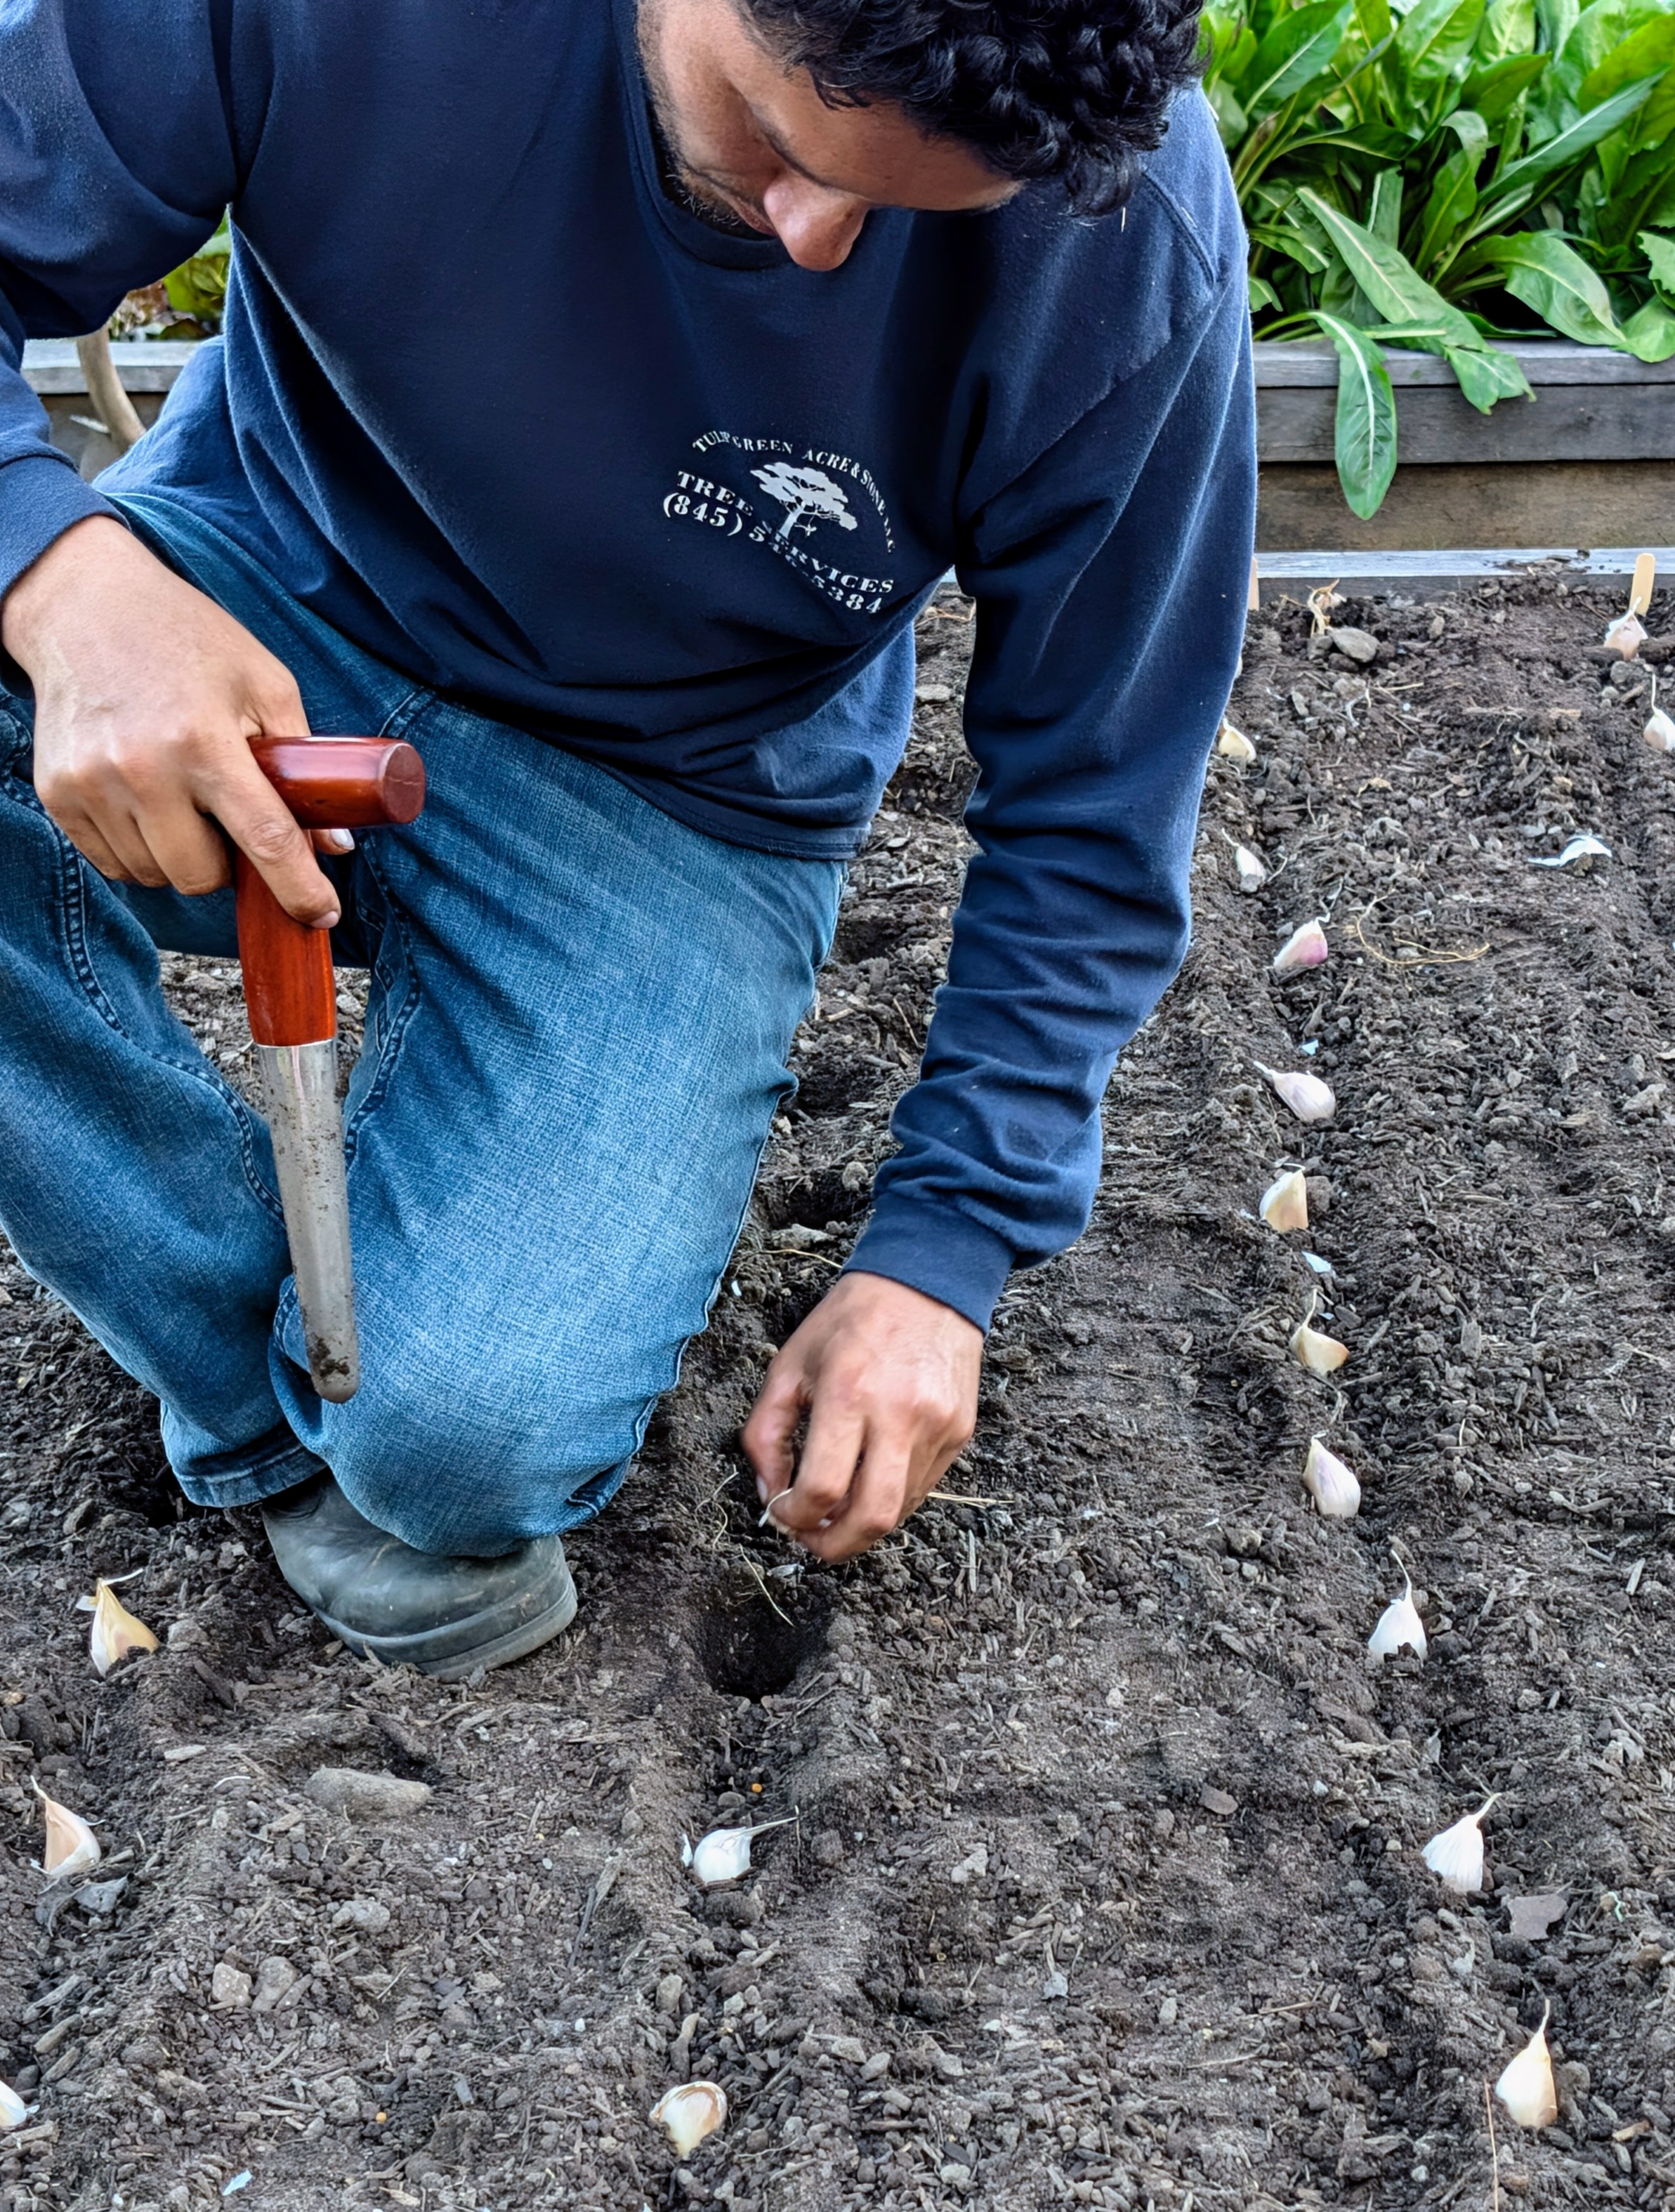
- To make the holes for planting garlic, Norman uses a dibble or a dibber. The T-grip on the dibber allows the planter to apply enough pressure to create a consistent depth for each hole.
-
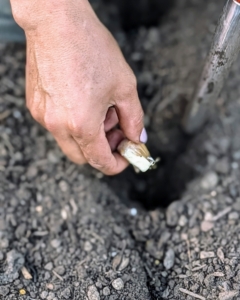
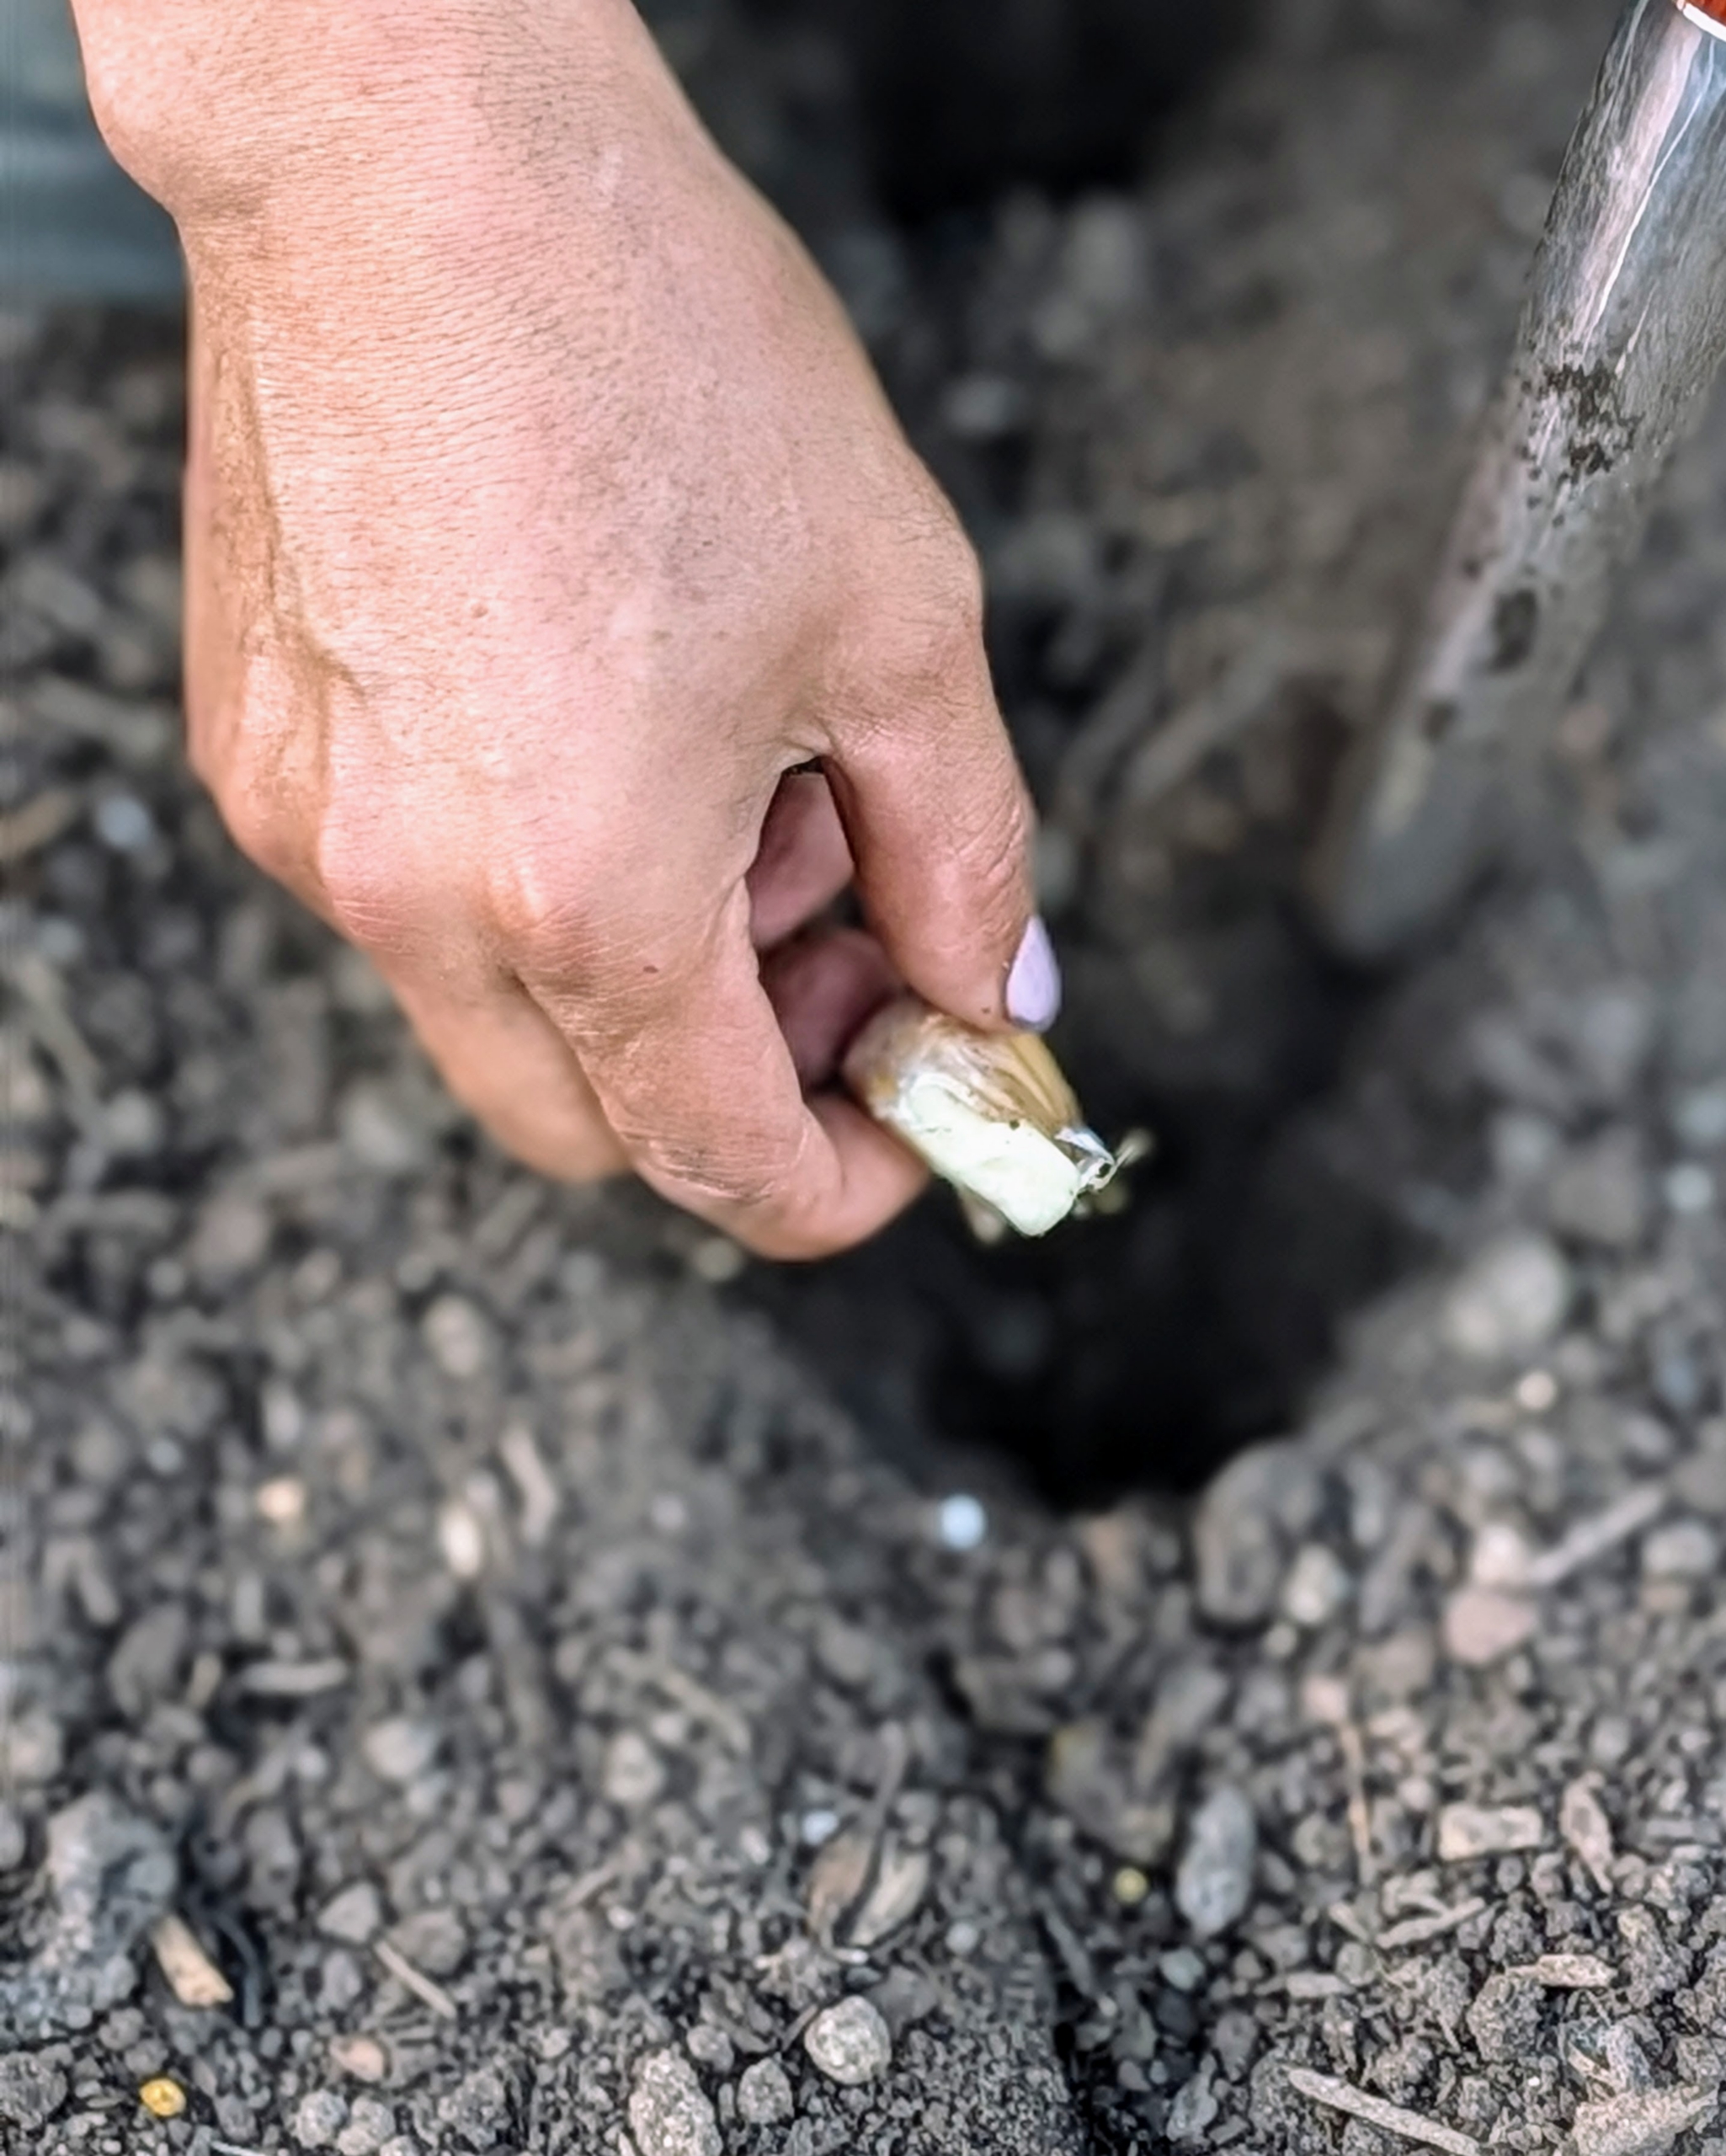
- Norman drops a seed garlic clove into the hole. It is planted with the pointed end faced up. The majority of garlic in the US is planted from mid-October through November before the ground freezes.
-
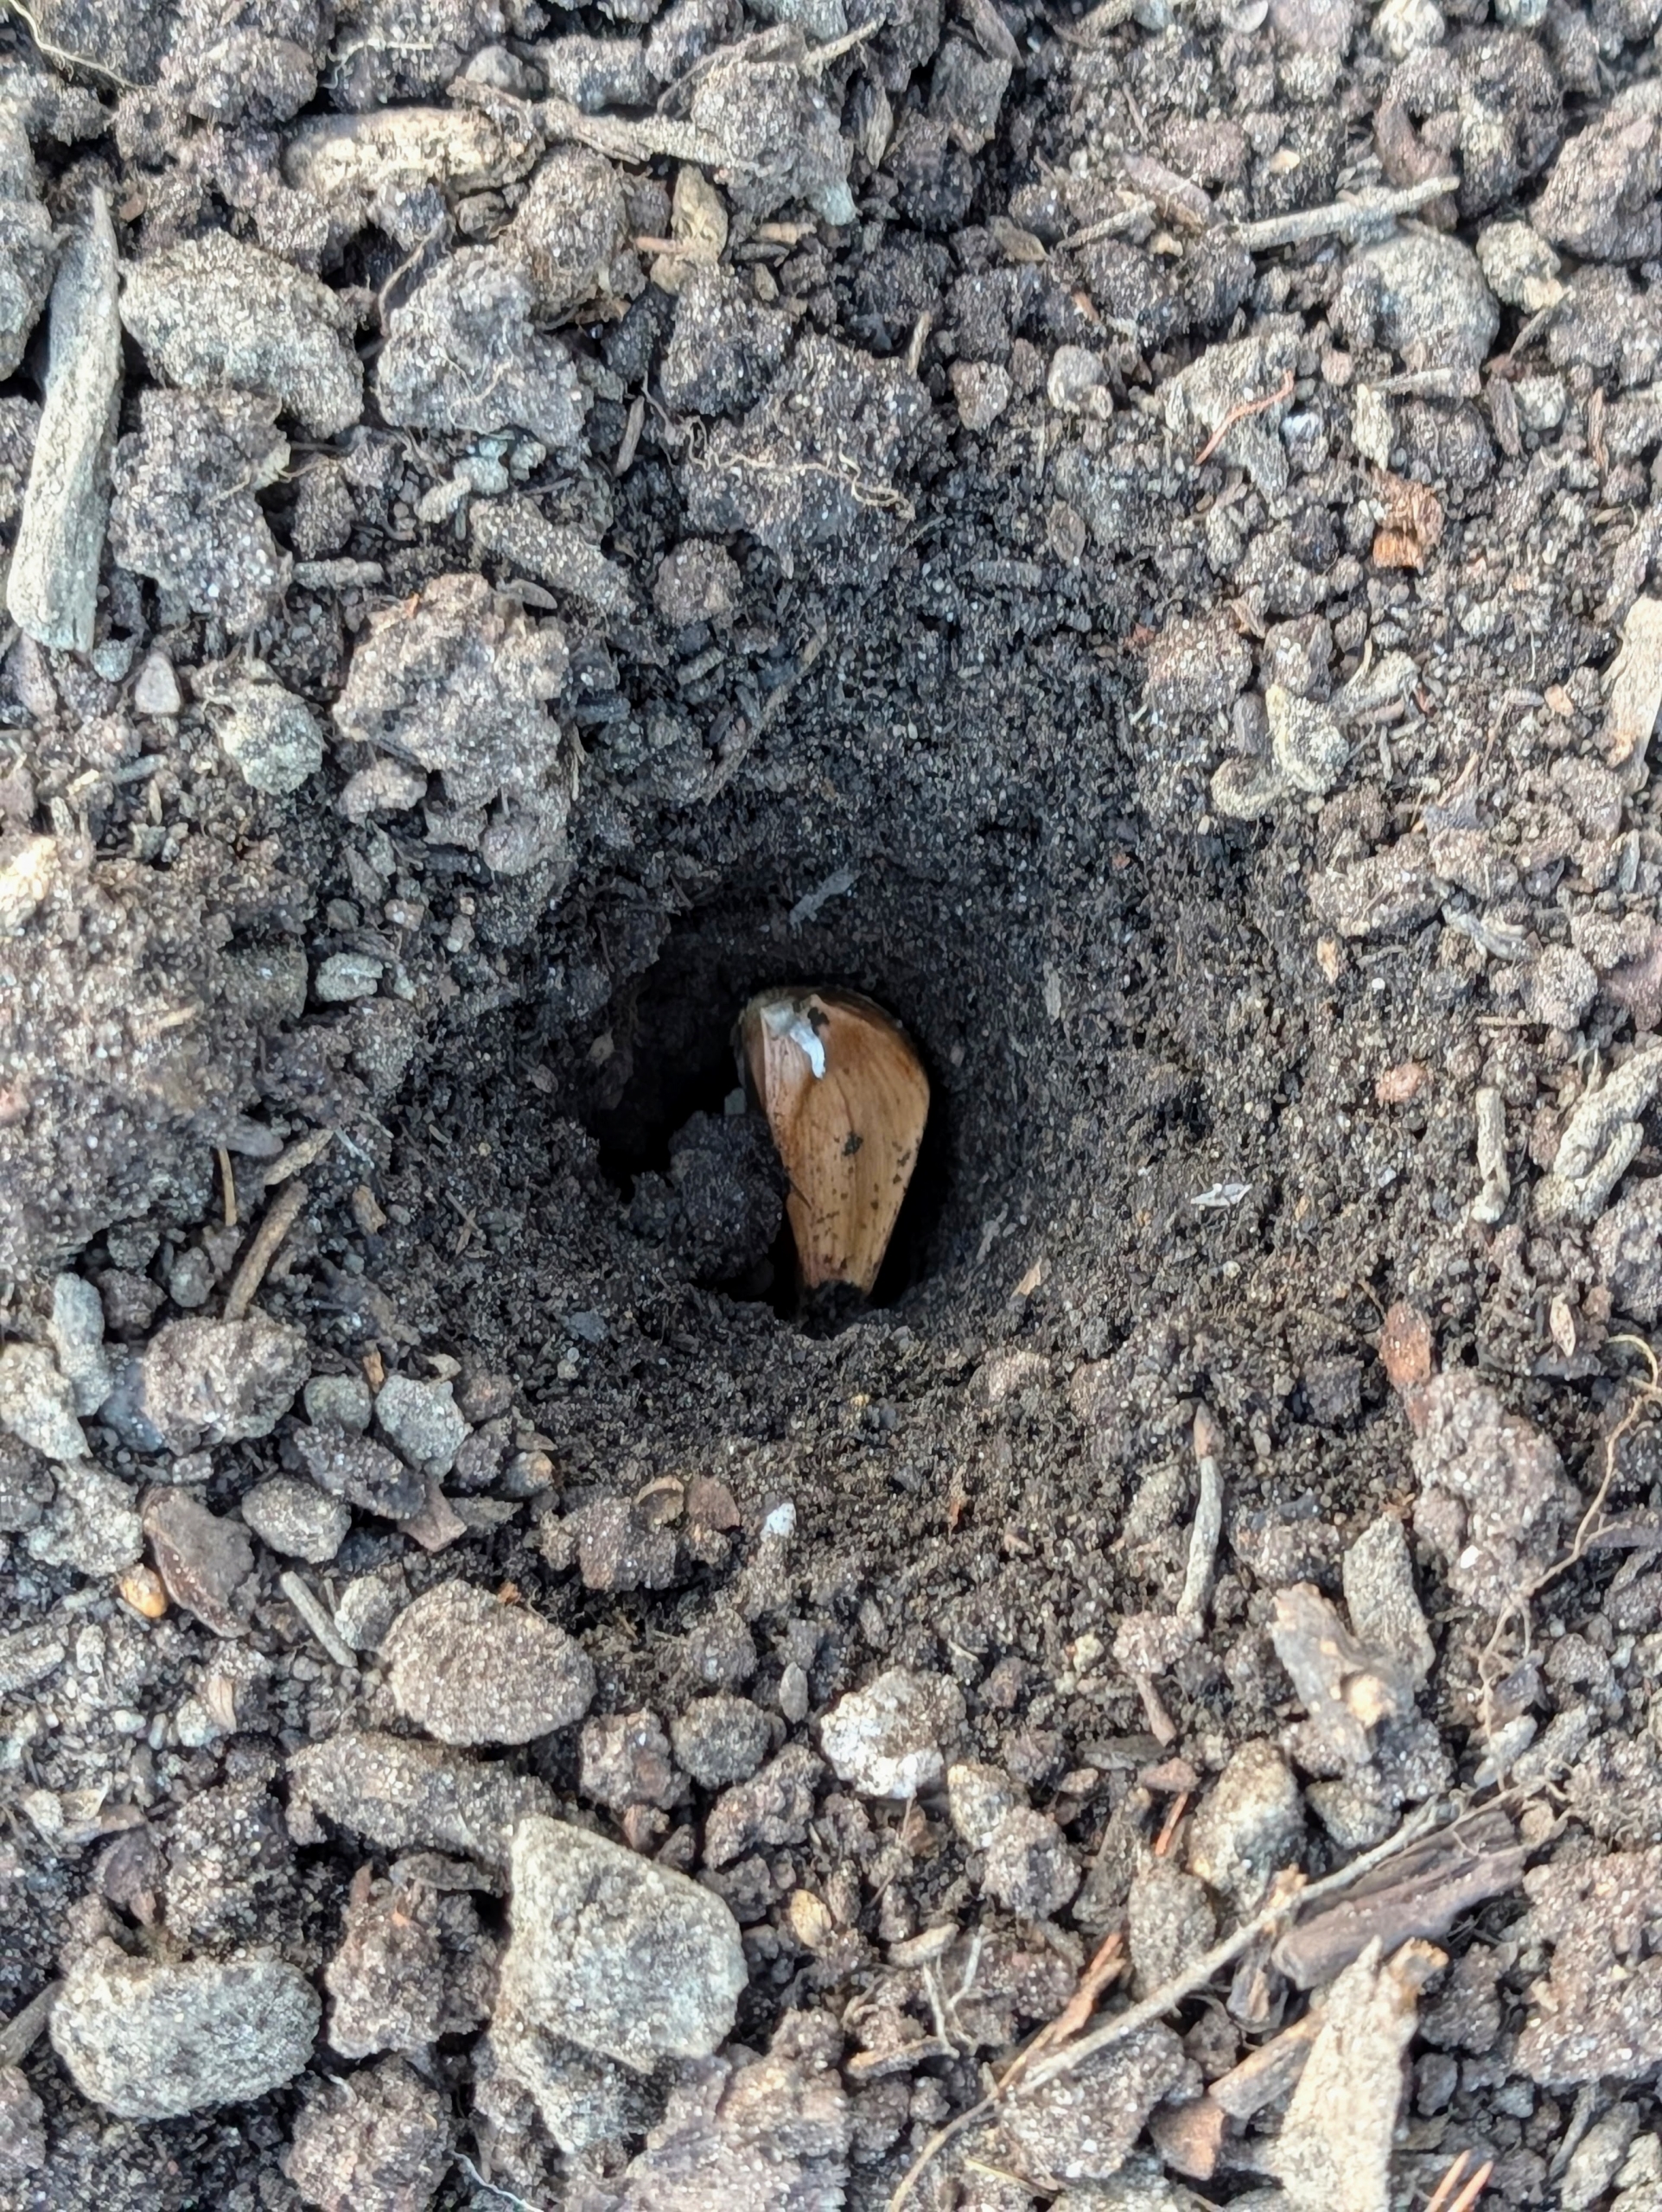
- Cloves should be pushed down at least three inches deep.
-
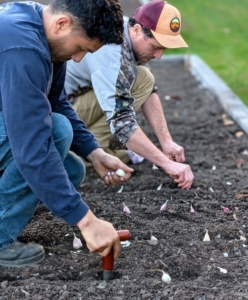
- Ryan and Norman work in tandem – as one places the seed garlic in the row, the other plants it. If the soil in the bed is well cultivated, this should be a fast and easy process.
-
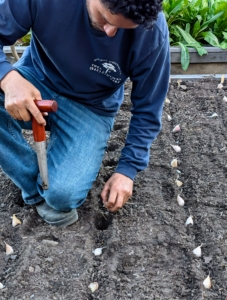
- Norman also makes sure to leave one row uncovered, so Ryan knows the proper placement of each clove.
-
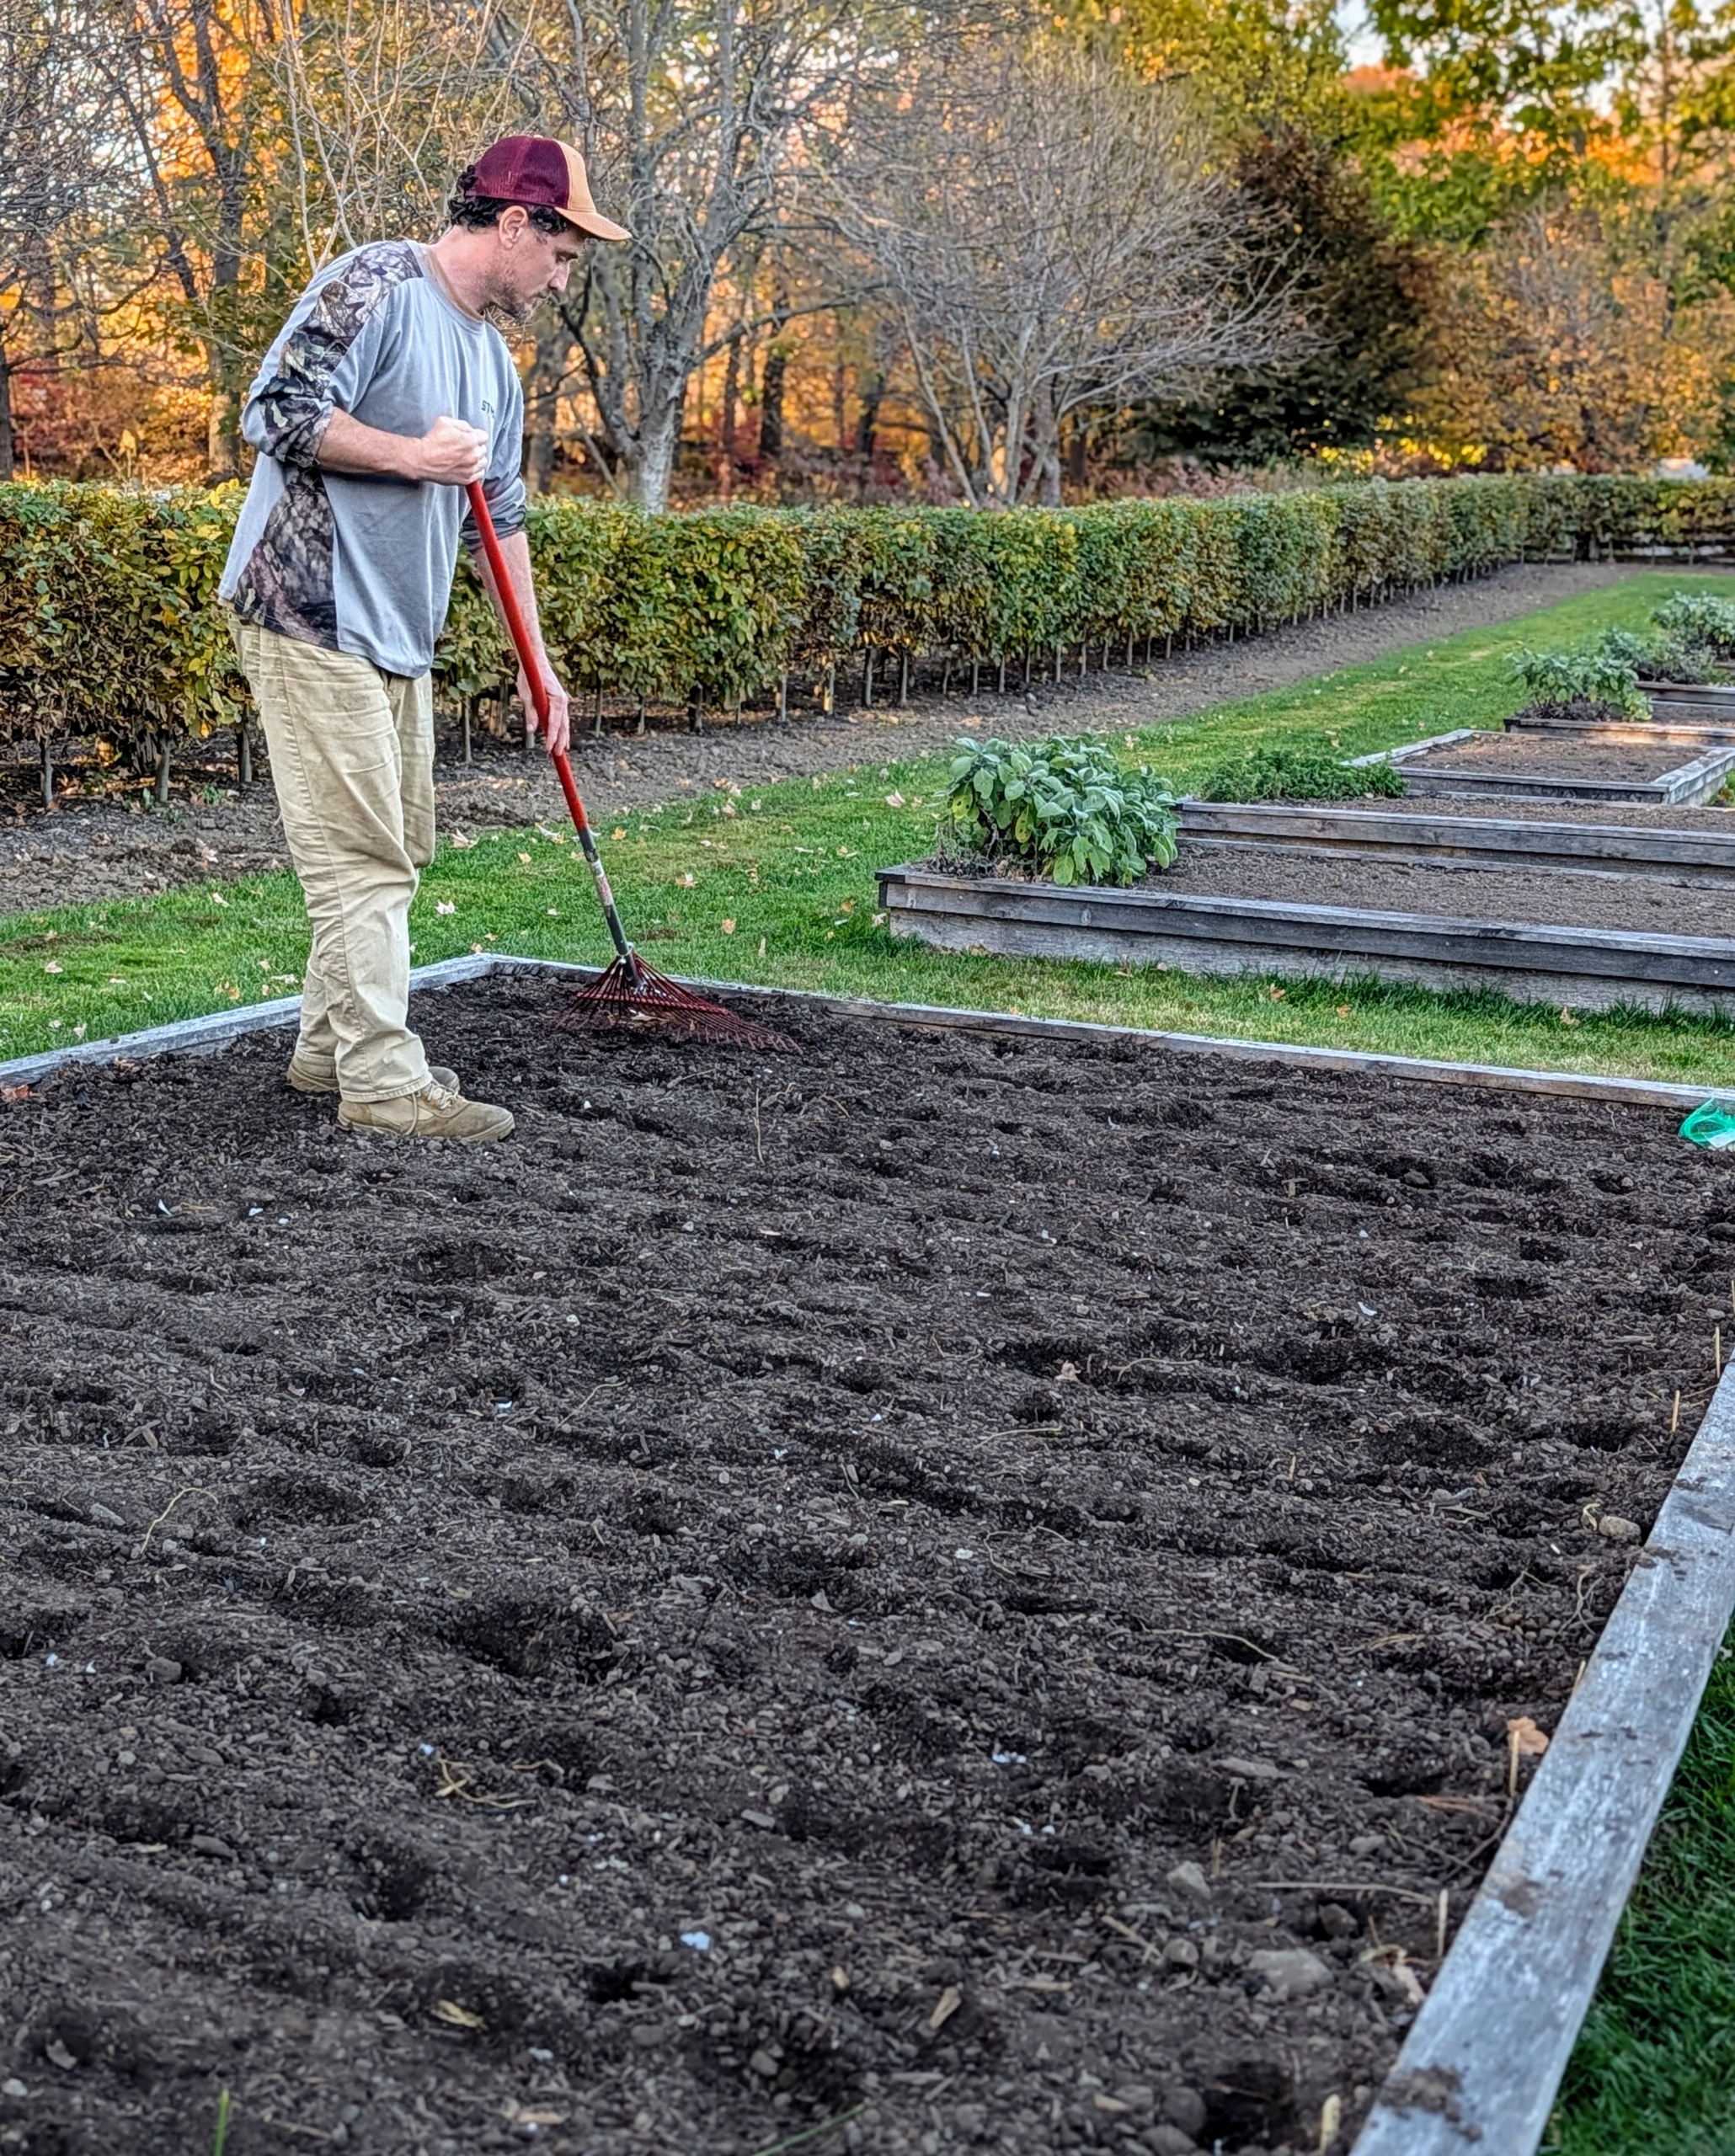
- After planting all the cloves, Ryan backfills the rows.
-
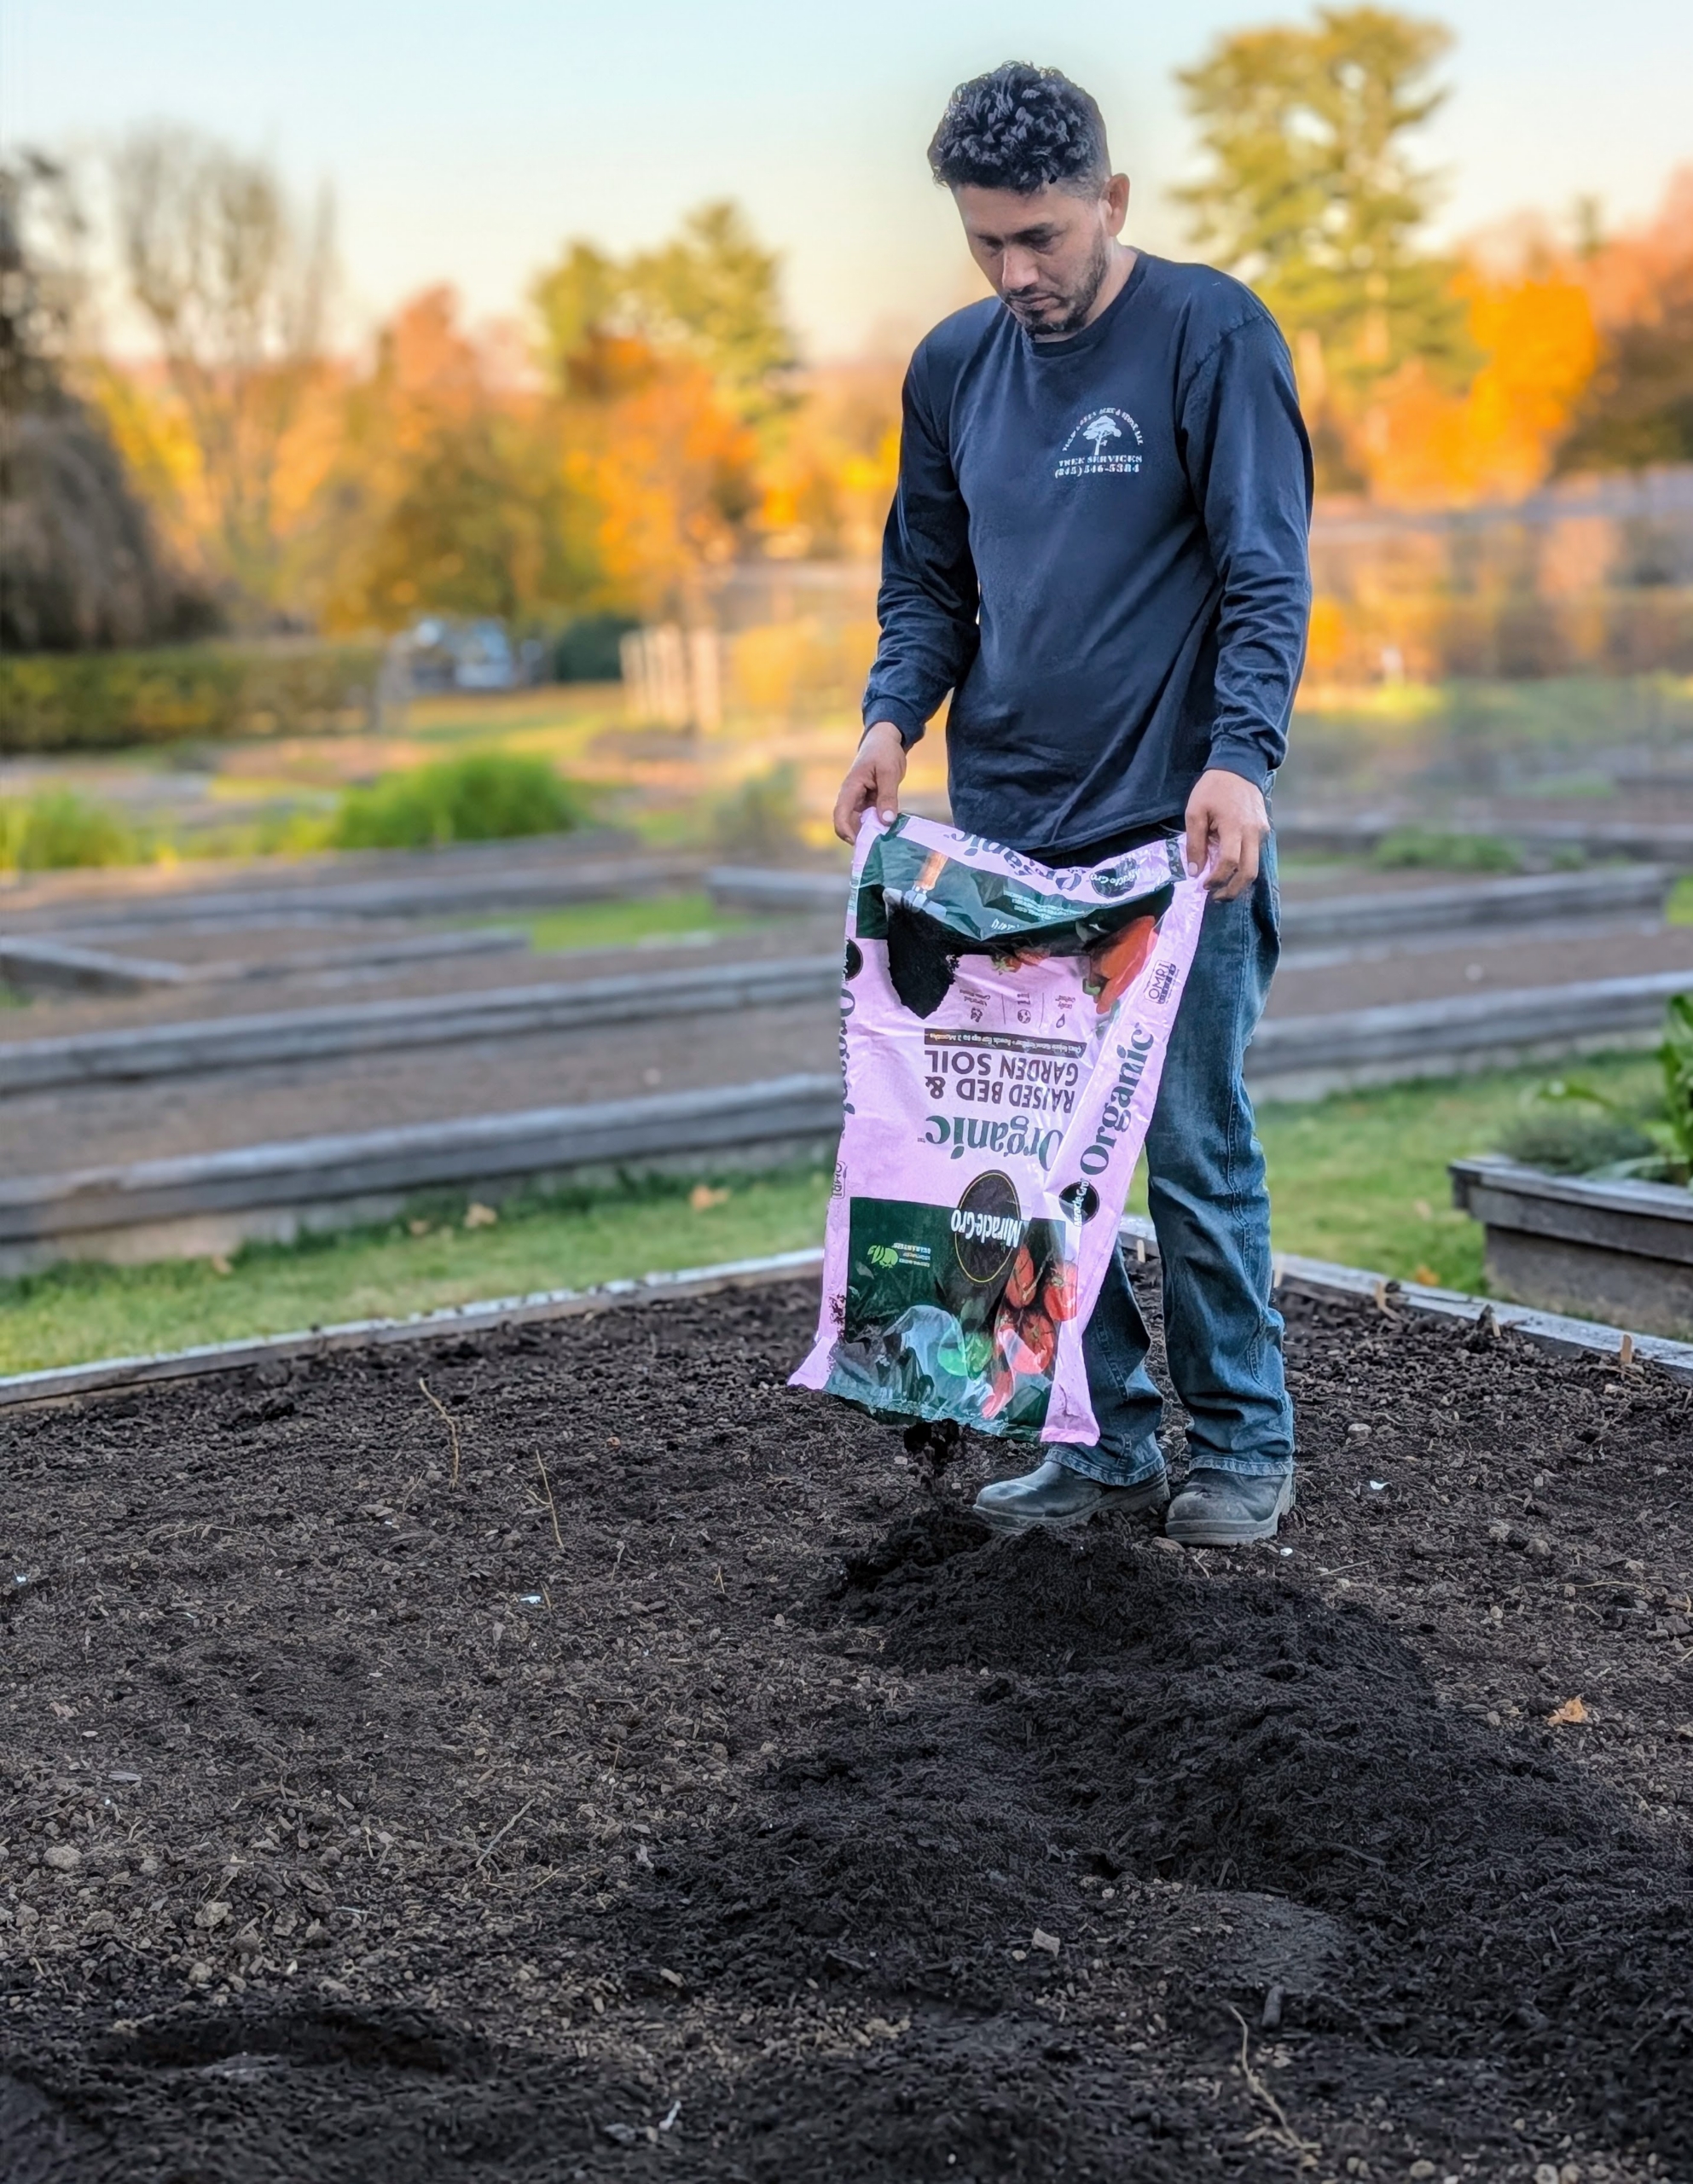
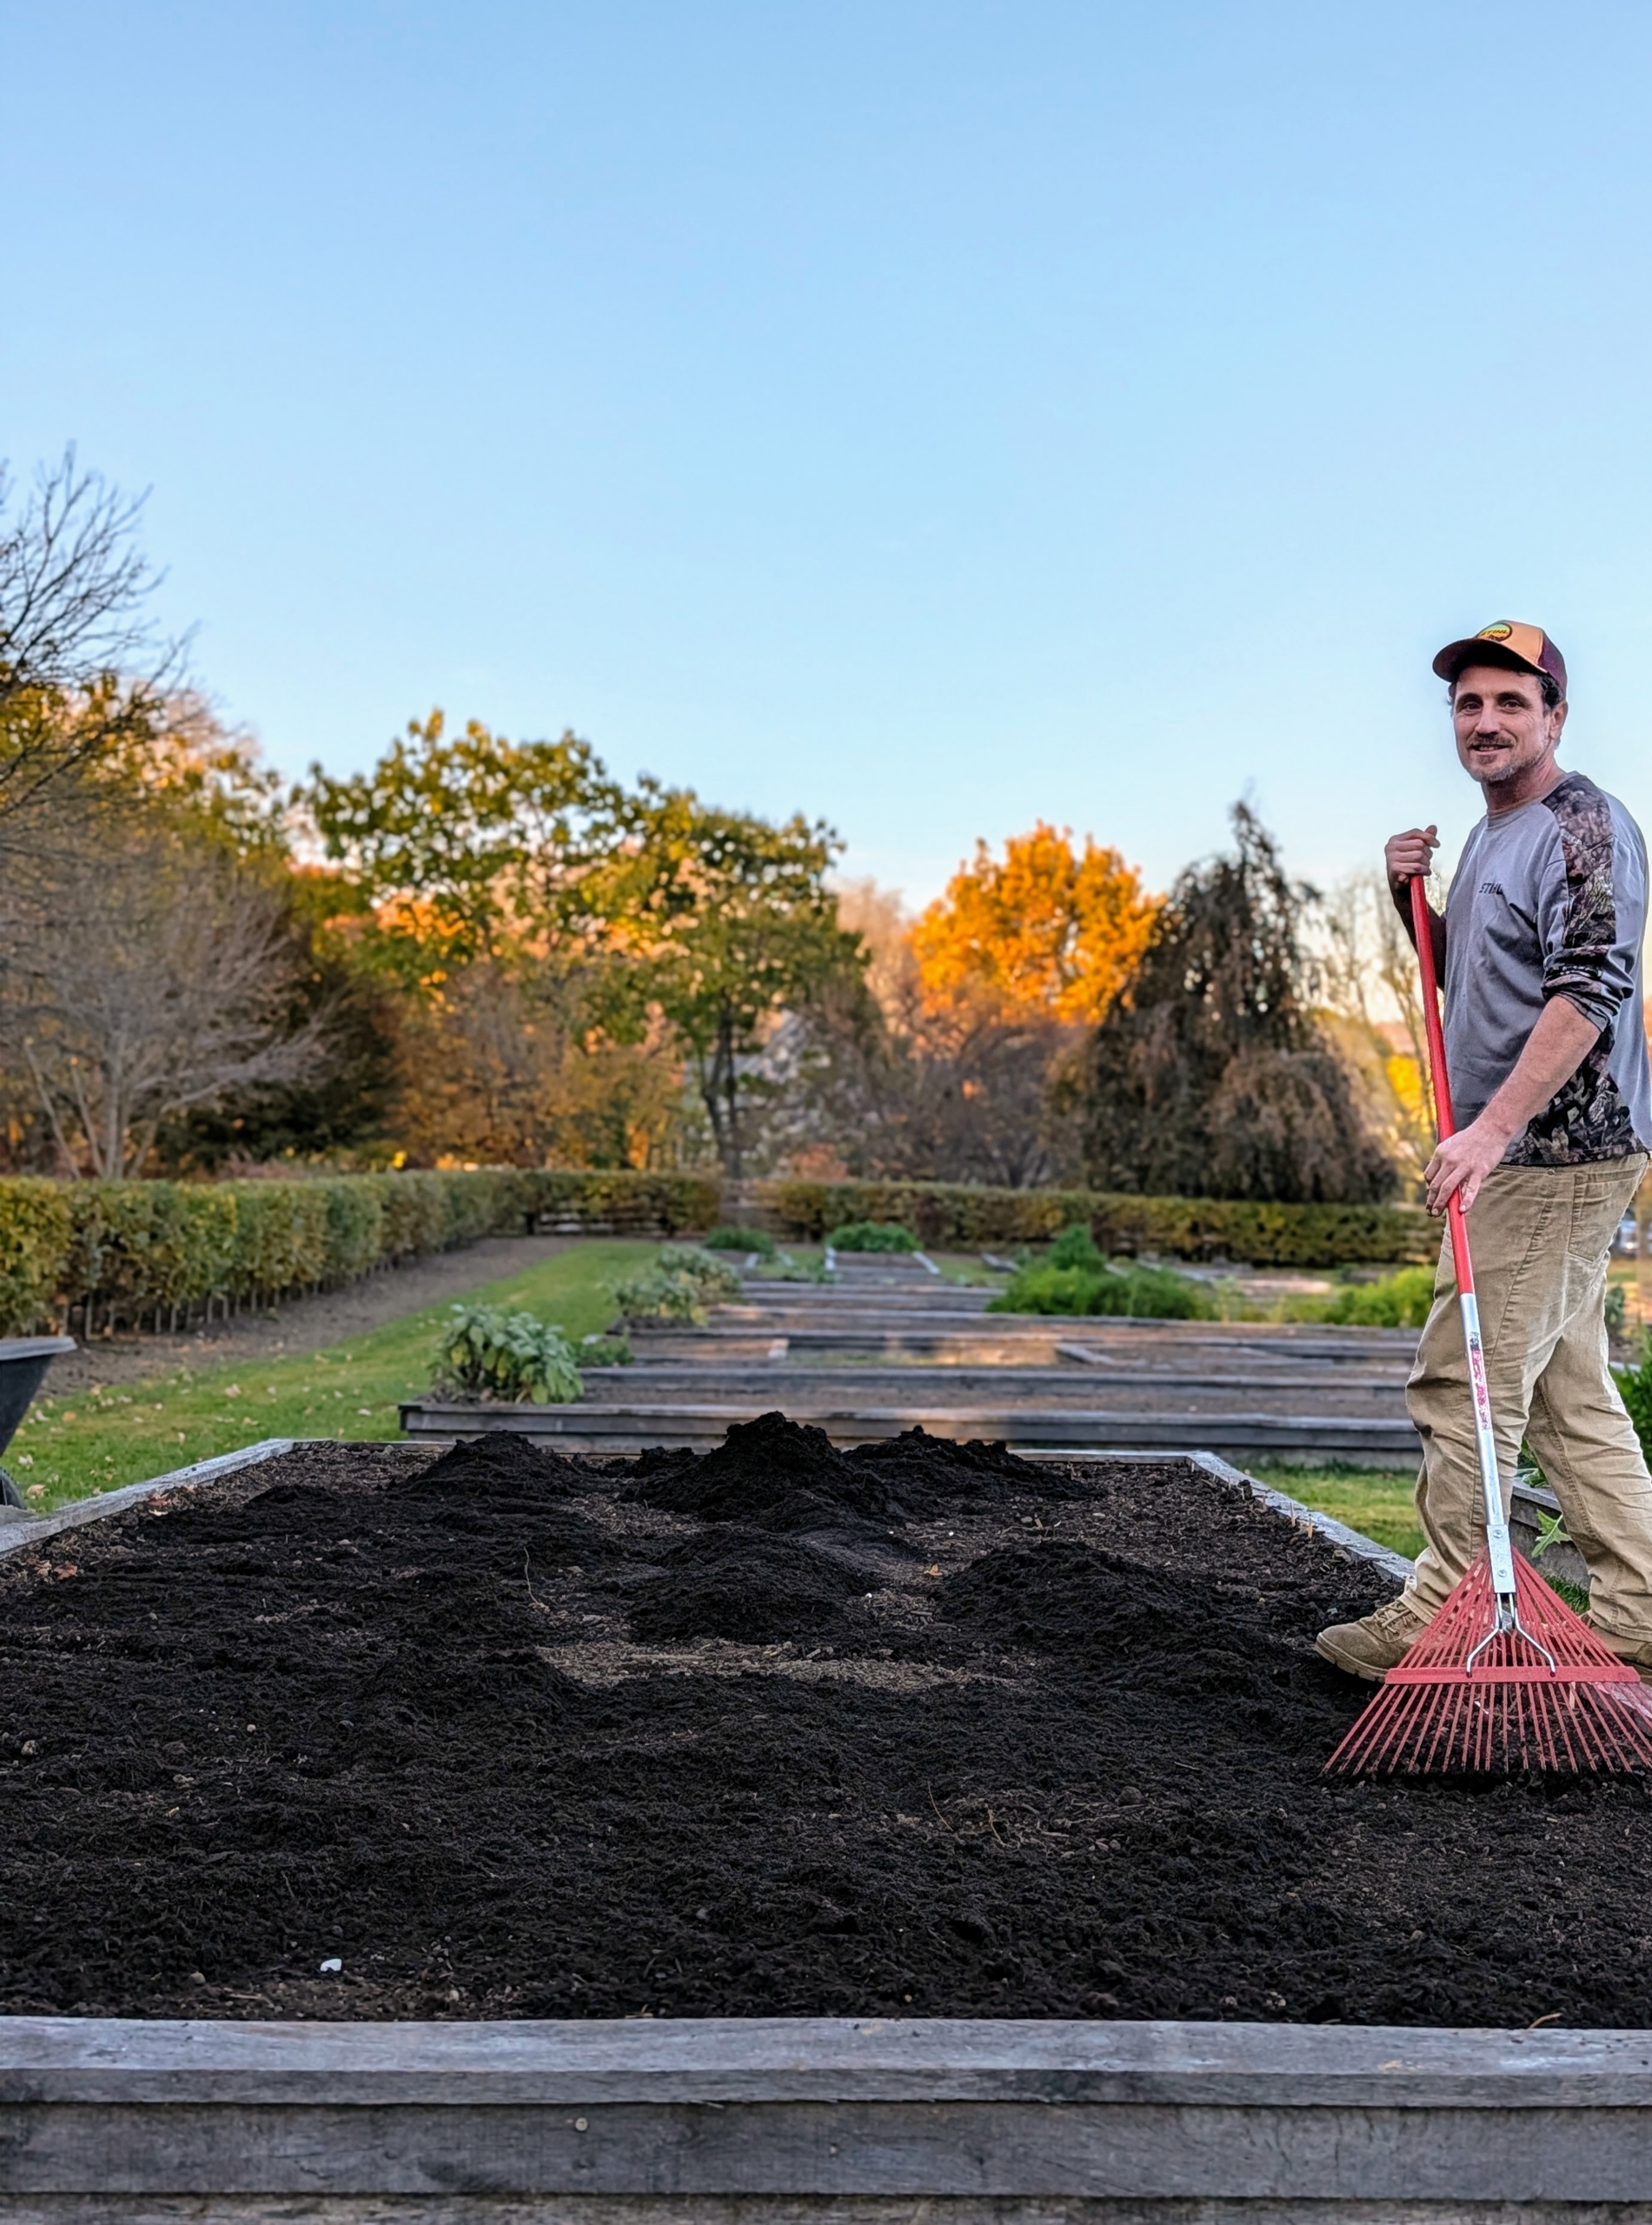
- Next, the entire bed is topped with a new layer of soil.
-
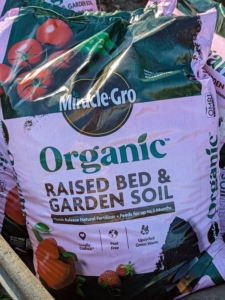
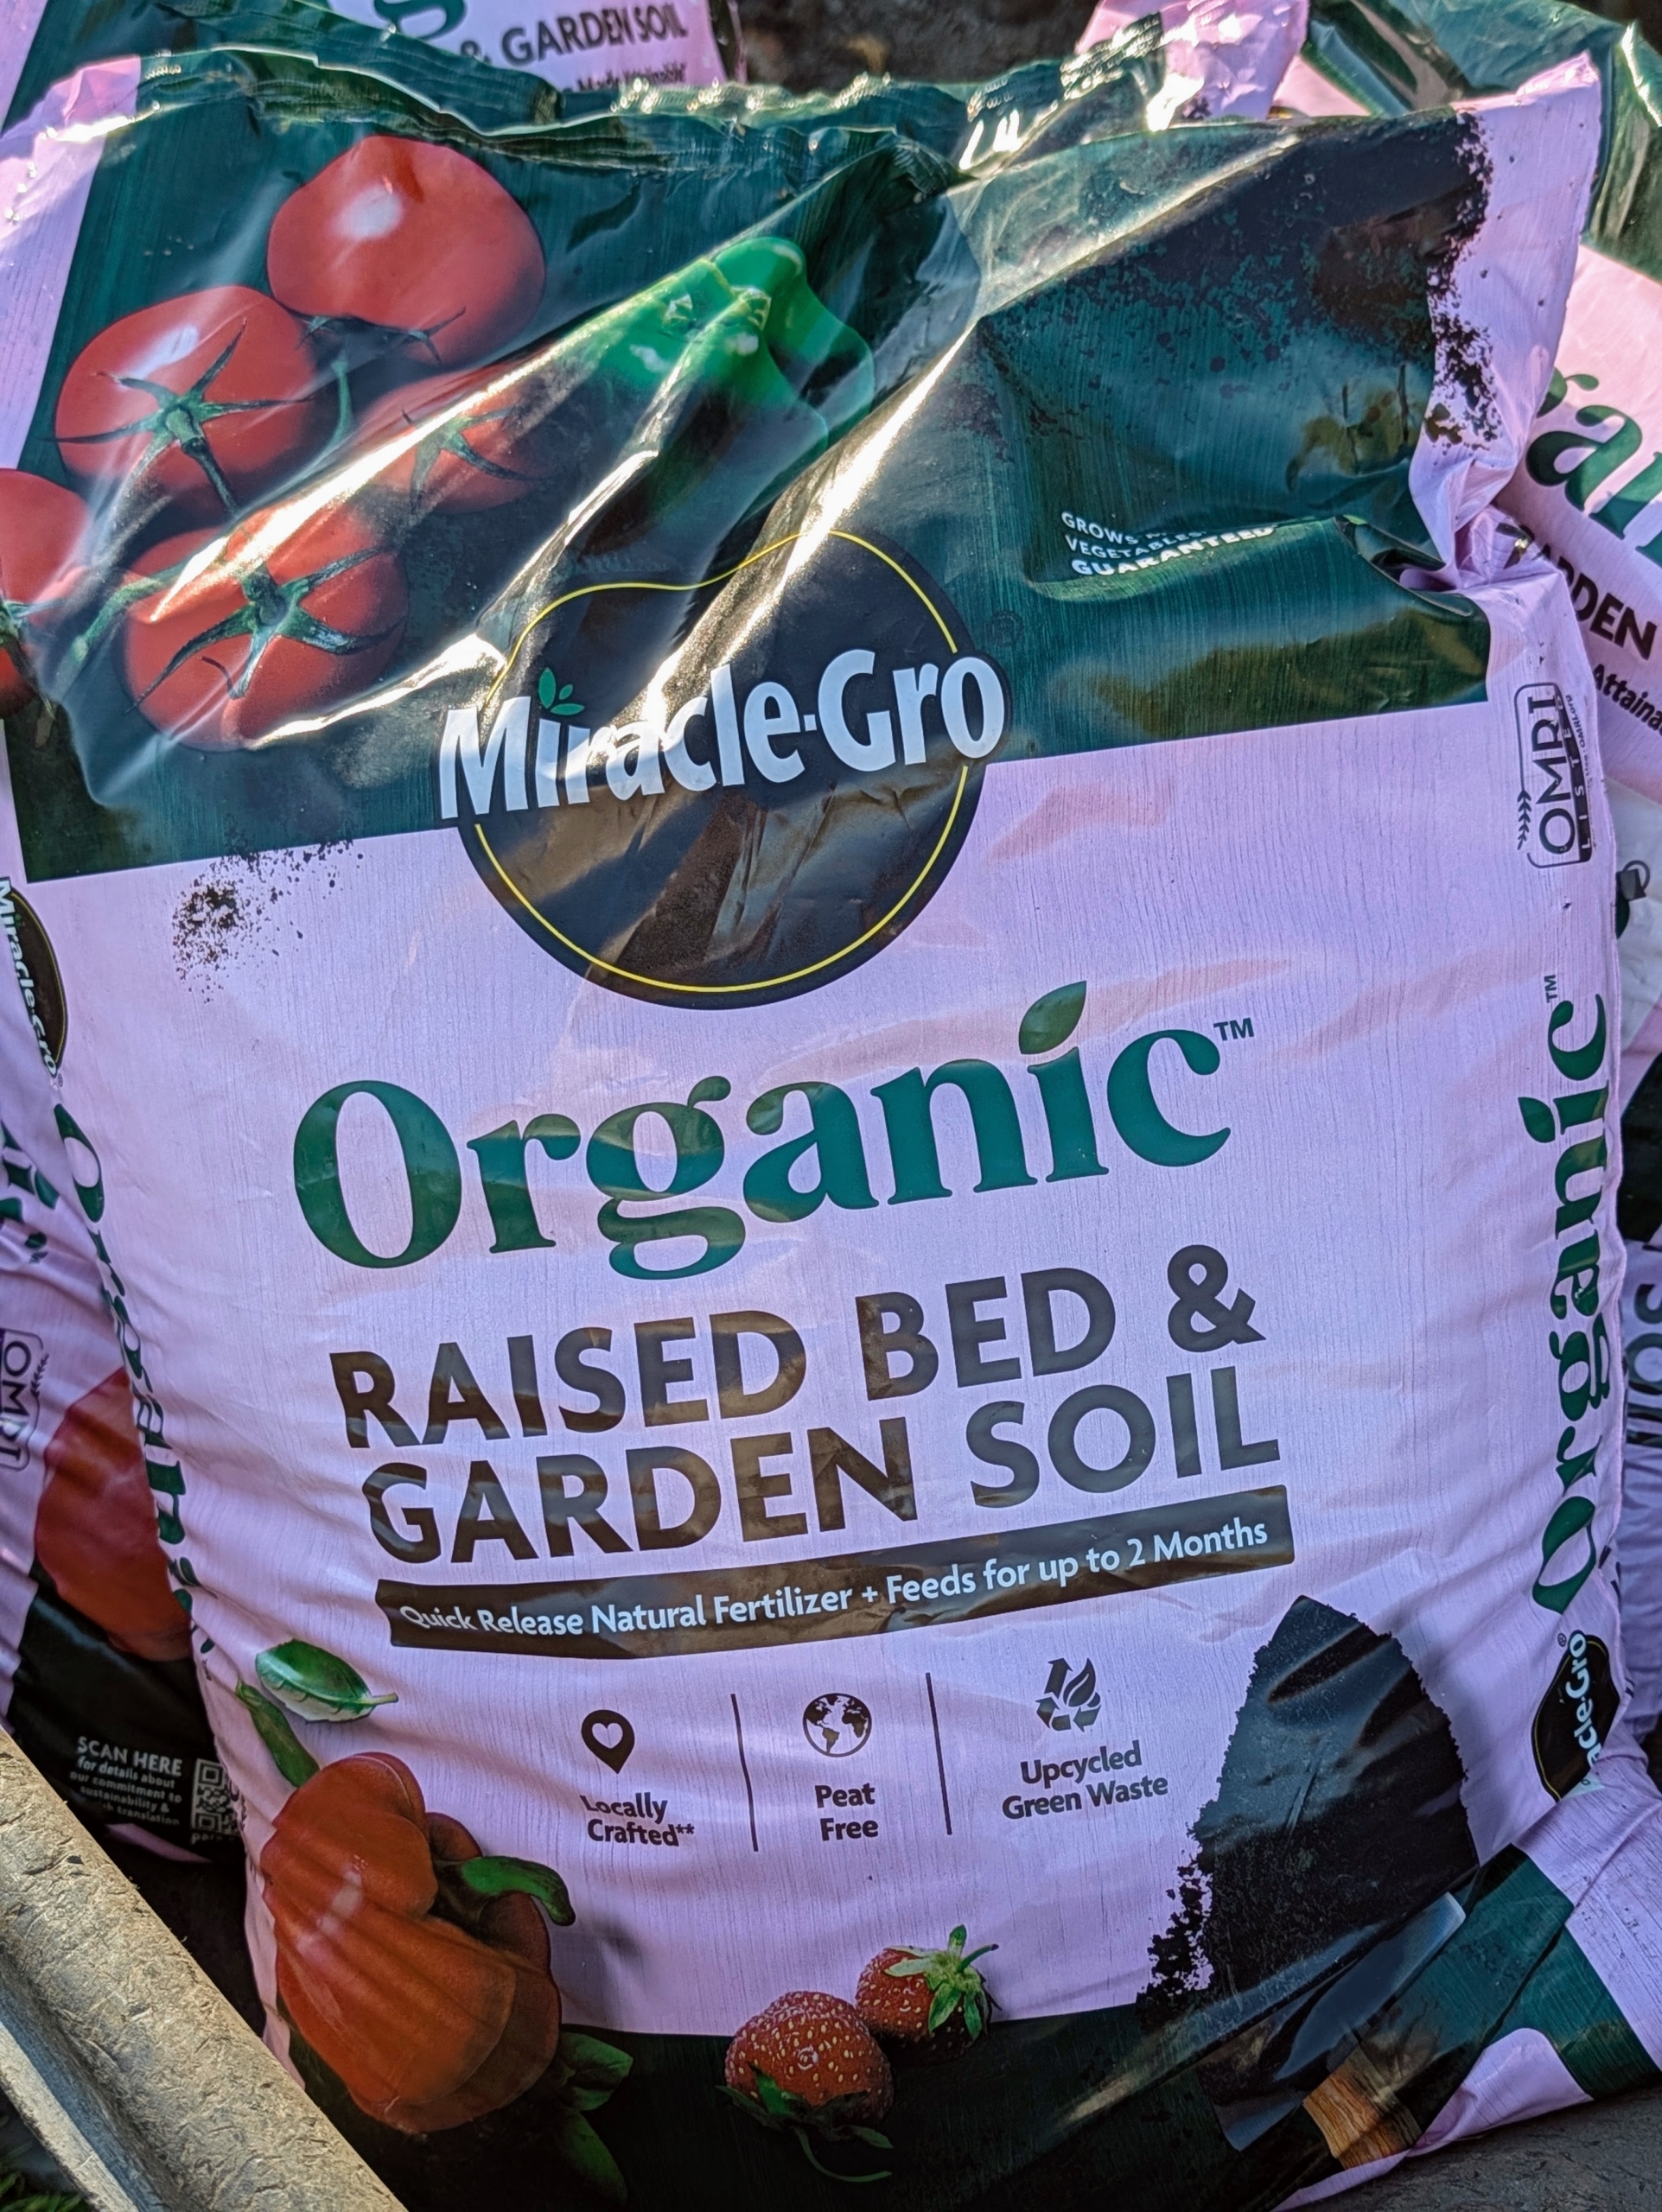
- I use Miracle-Gro Organic Raised Bed and Garden Soil.
-
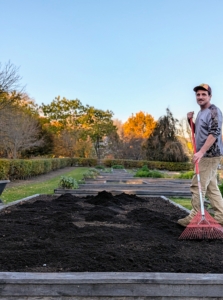
- Once the new soil is spread across the bed, Ryan rakes the bed again, so it is level and smooth.
-
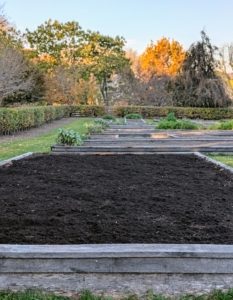
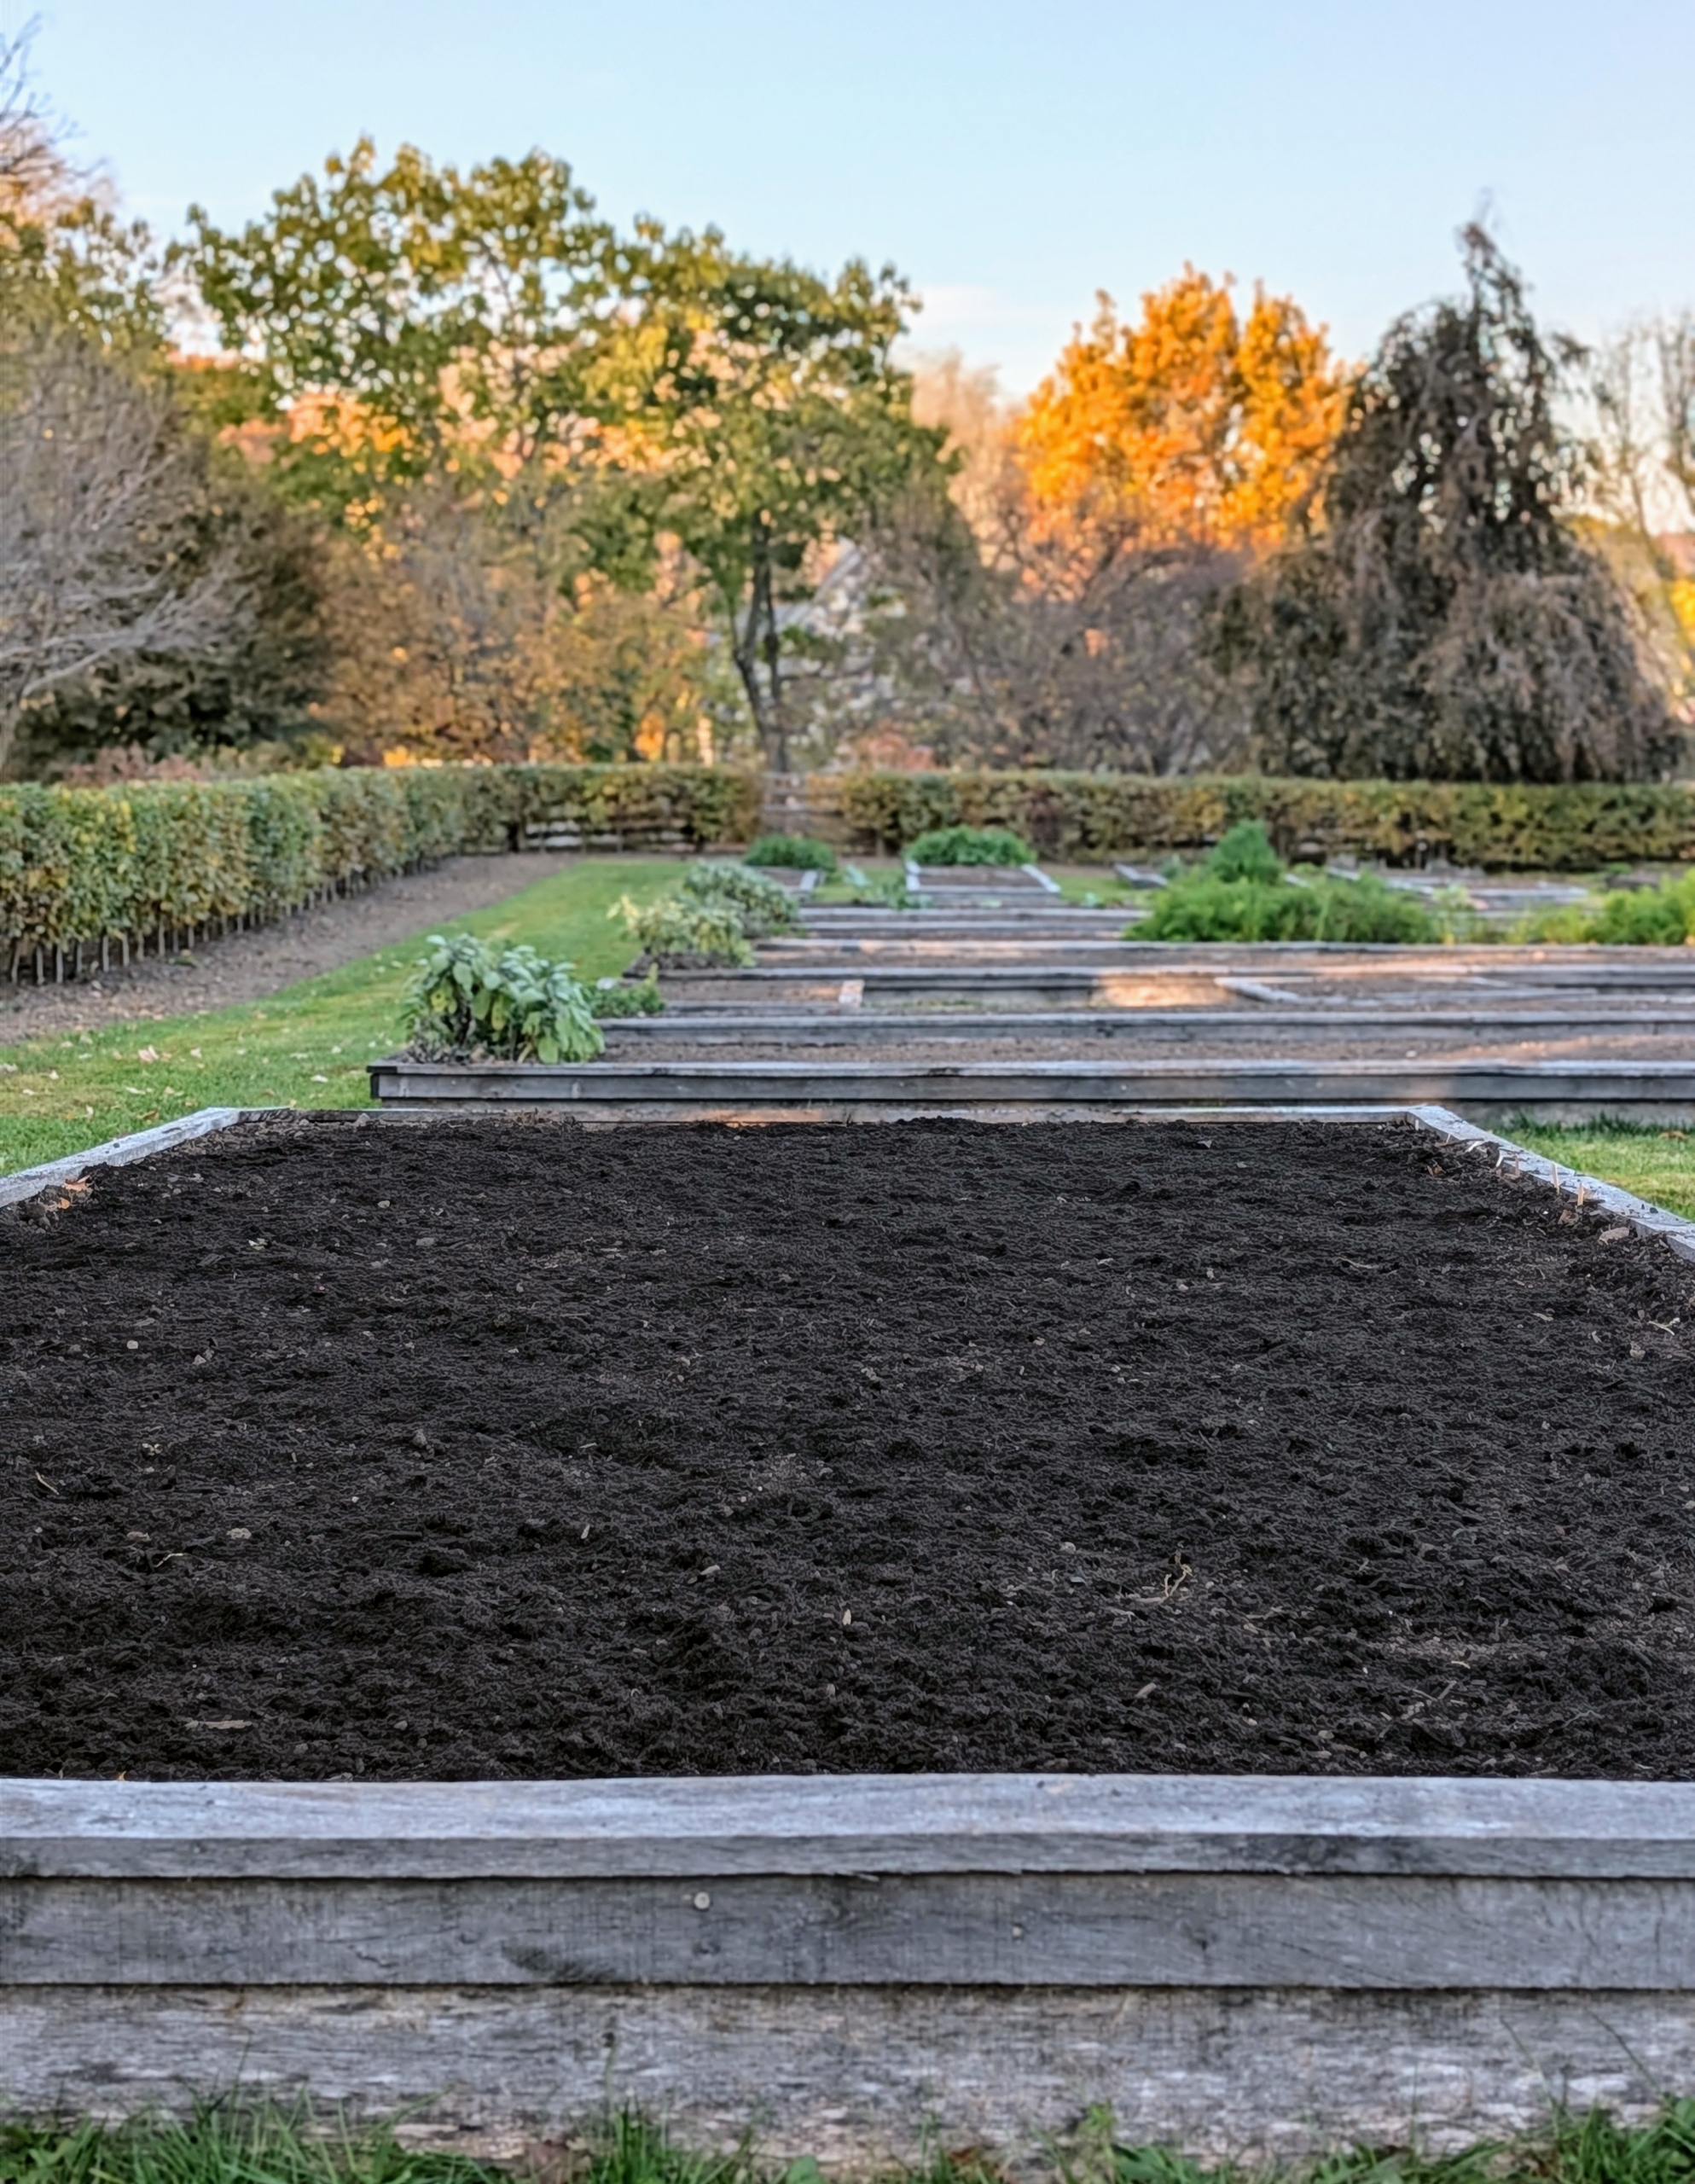
- This garlic will be ready to harvest mid-July to August. And that’s it – we wait until next year to pick. If you’ve never grown your own garlic, give it a try.
This story originally appeared on Martha Stewart Blog

