The macOS Finder lets you customize window sidebars to provide quick access to files and volumes on your Mac. Here’s how to personalize it to your needs.
In macOS Finder windows, there’s a wide range of customizations you can make to window sidebars, to get them to display the elements you want.
You can show and hide the sidebars entirely, add and remove folders and groups to them, and show or hide tag settings to quickly view files and folders with specific tags. You can also add custom tags.
To hide or show a Finder window’s sidebar, open the window then select View->Hide Sidebar in the main menu. You can also press Command-Shift-S on the keyboard to toggle the sidebar on and off.
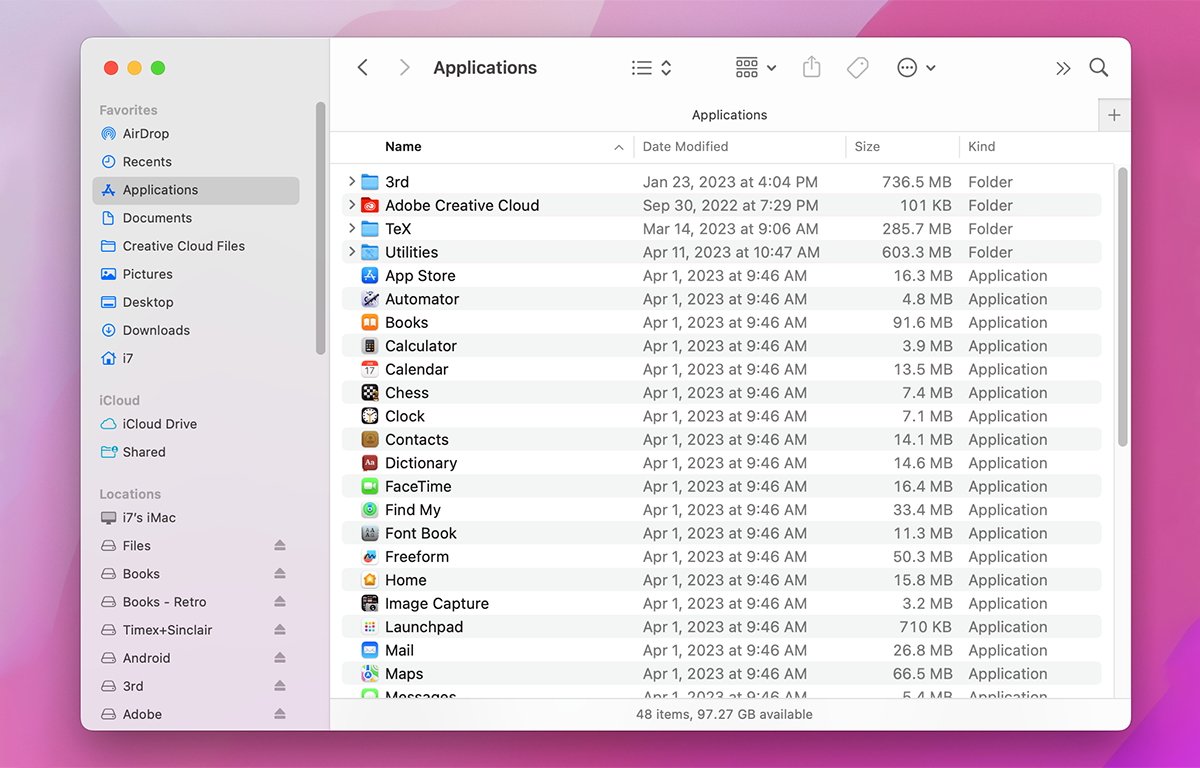
In the sidebar, items are grouped under headings: Favorites, iCloud, Locations, and Tags. Selecting any item under a heading shows that content in the window.
Within each group, you can reorder items by dragging them up and down in the list.
Mounted storage volumes are listed under Locations, and you can reorder volumes by dragging them up or down. The Locations area also shows mounted server volumes, and a Network item which, when clicked, displays all networked computers your Mac can connect to.
Usually, your Mac itself will be listed at the top of the Locations section. If you select it, the window displays all the volumes currently mounted on your Mac.
This is the same list of volumes stored in mount points in the hidden /Volumes folder at the root of your Startup Disk.
You can also drag folders from the Finder’s Desktop into the Favorites part of the sidebar to add a quick shortcut to a folder on disk. This is easily one of the most powerful ways to add a quick shortcut to Finder windows.
When you drag a folder from the Finder into the sidebar, be sure to drop it when you see the small blue line between folders – not on another folder itself. If you drop a folder on another folder in the sidebar, Finder will make a copy into the destination folder just as if you had Option-copied it there in the Finder window.
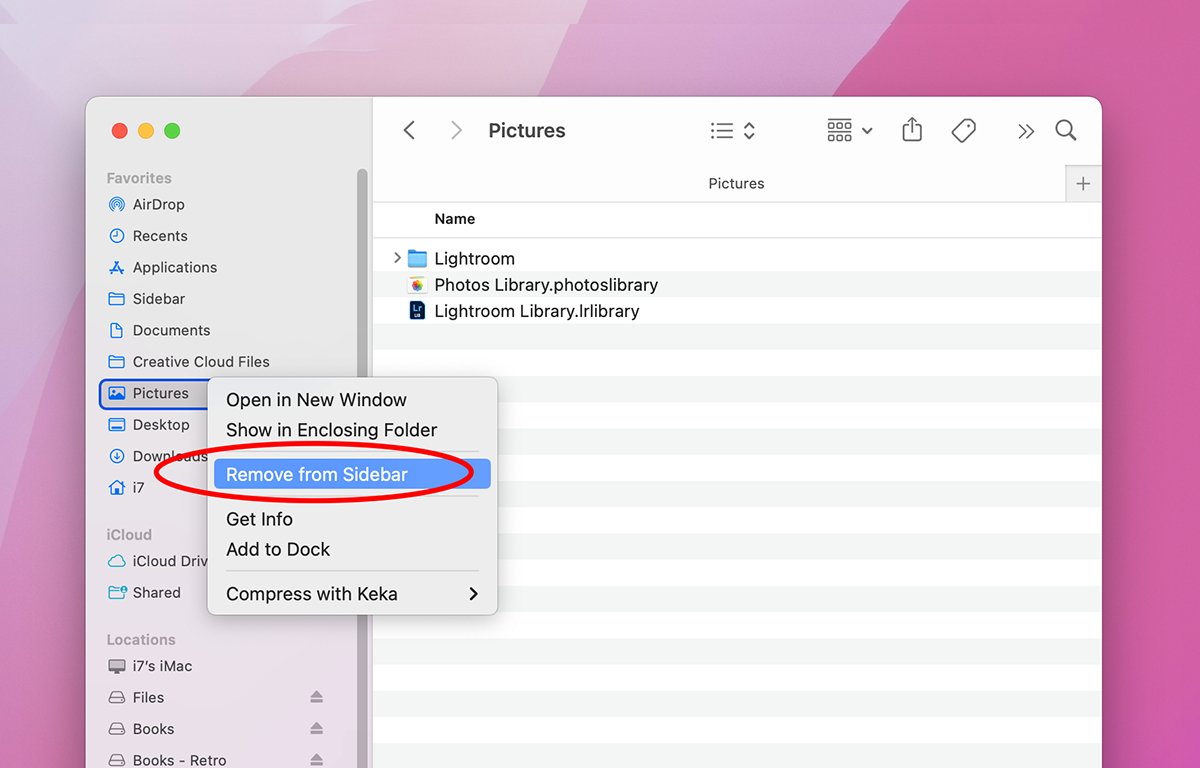
To remove a custom folder from the sidebar, Control-click or right-click it, then select “Remove from Sidebar” in the popup menu.
If you do this to one of the standard folders in the sidebar, it merely turns off that folder’s setting in Finder->Settings, which you can re-enable later.
If you plug in an iOS device to your Mac via a USB cable, it will also be listed under Locations.
To unmount a volume, iOS device, or network share in the sidebar, click its small Eject icon to the right of its name.
If you hover the cursor over one of the section headings in the sidebar, a small turnable arrow appears to the right, and if you click it the section collapses – leaving only the heading listed.
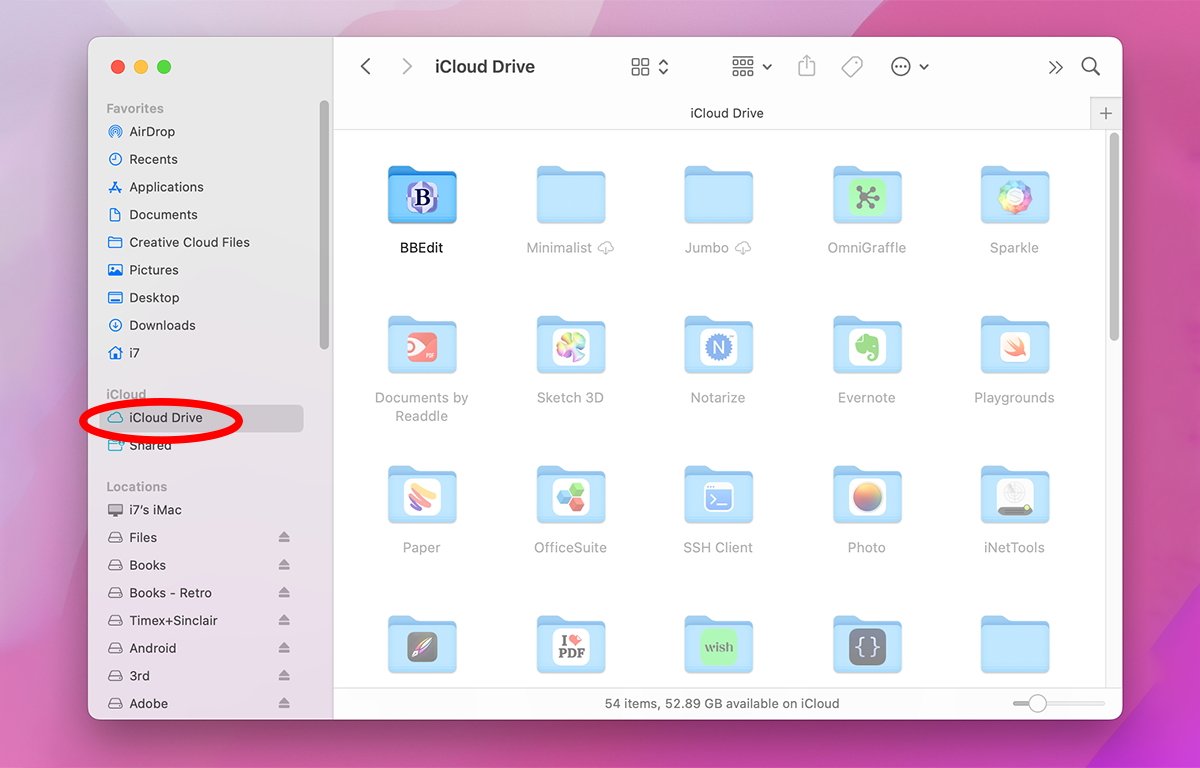
If you select the iCloud Drive item listed under iCloud, a folder with an icon is shown in the window for every app that has iCloud storage enabled in your Mac’s Apple ID iCloud settings in System Settings.
These containers are where your Mac stores local copies of files and folders that are synced to iCloud, as well as any files or folders you’ve manually stored there from the Finder.
Some third-party cloud file-sharing services also list an item under the Locations heading – for example Google Drive.
If you click a third-party cloud item listed under Locations, it displays the current cloud contents on the right in the window. You can drag items in and out of the window to add or remove them from the cloud service.
At the very bottom of the sidebar (by default) is a Tags section. When you select a tag in the sidebar, all files and folders which have that tag set on them are displayed.
This is a super-fast and convenient way to find any and all files with specific tags on your Mac.
You can also reorder the tags in the sidebar by dragging them.
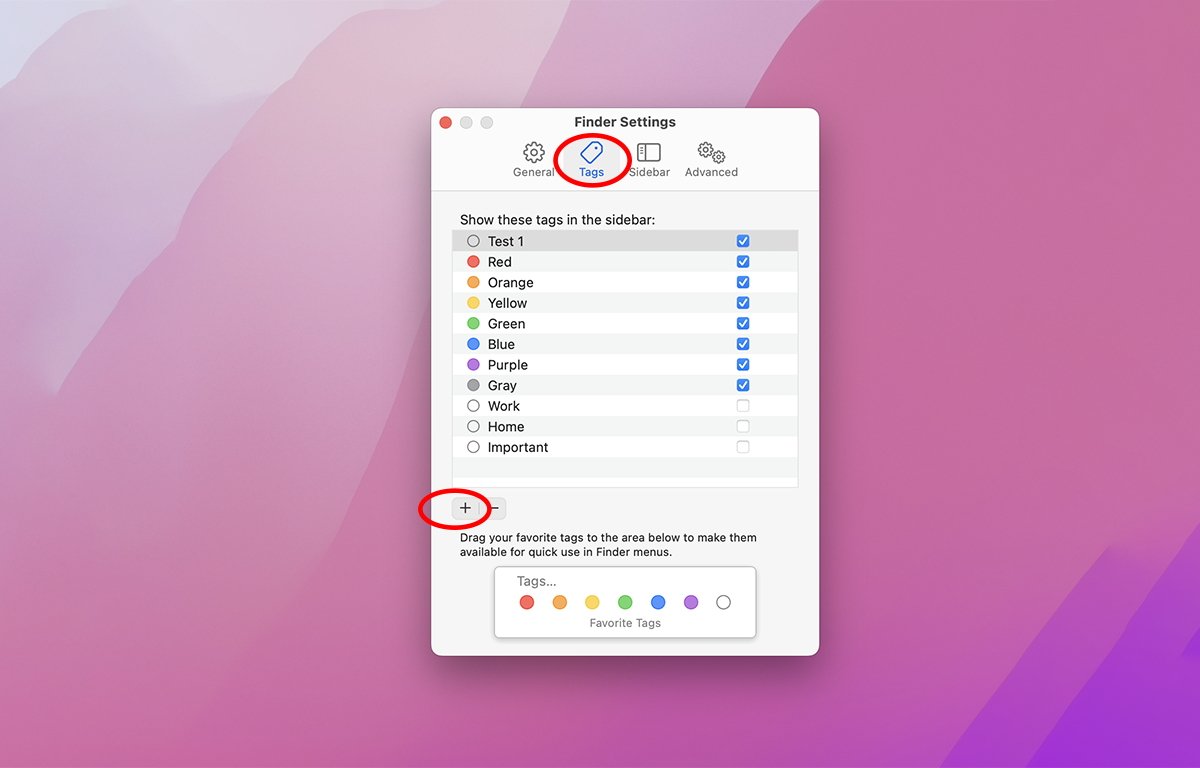
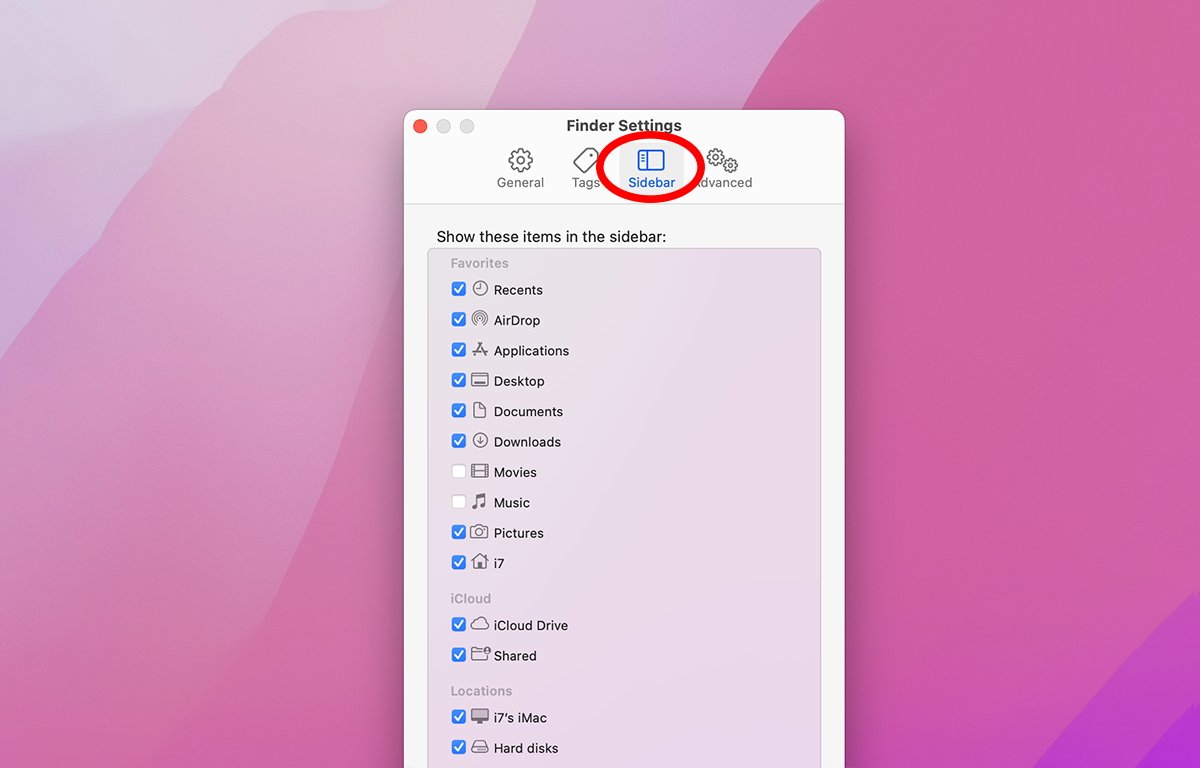
If you open Finder->Settings from the main menu on your Mac, you’ll notice two tabs at the top of the Settings window: Tags and Sidebar.
In the Tags pane, you can drag-reorder tags in the list, as well as turn each one on or off by clicking the small checkbox to the right of each one. You can also add new custom tags by clicking the “+” button at the lower-left corner of the window.
Any changes you make to tags here show up in all Finder window sidebars.
You can also drag custom tags to the section at the bottom of the window so that they show up in the Finder’s File menu, and in Finder contextual menus when they pop up.
In the Sidebar pane in Finder Settings, you can change which items window sidebars display by turning their checkboxes on or off to the left of each sidebar item.
If you turn off the iCloud Drive and Shared items, the iCloud heading disappears altogether in Finder sidebars.
Using a few easy customizations, you can make Finder windows look just the way you want — and speed access to the files you’re looking for.
This story originally appeared on Appleinsider


