Apple has long provided the ability to create desktop aliases in macOS by Command-Option dragging. Here’s how to do it from the macOS Dock.
Given most macOS desktop items such as files, apps, disk volumes, and folders, Apple has long provided the ability to create desktop aliases of those items using the mouse and keyboard.
By holding down Command-Option on the Mac keyboard, then clicking and dragging a desktop item to another location on the desktop, you create an alias to the item or items dragged.
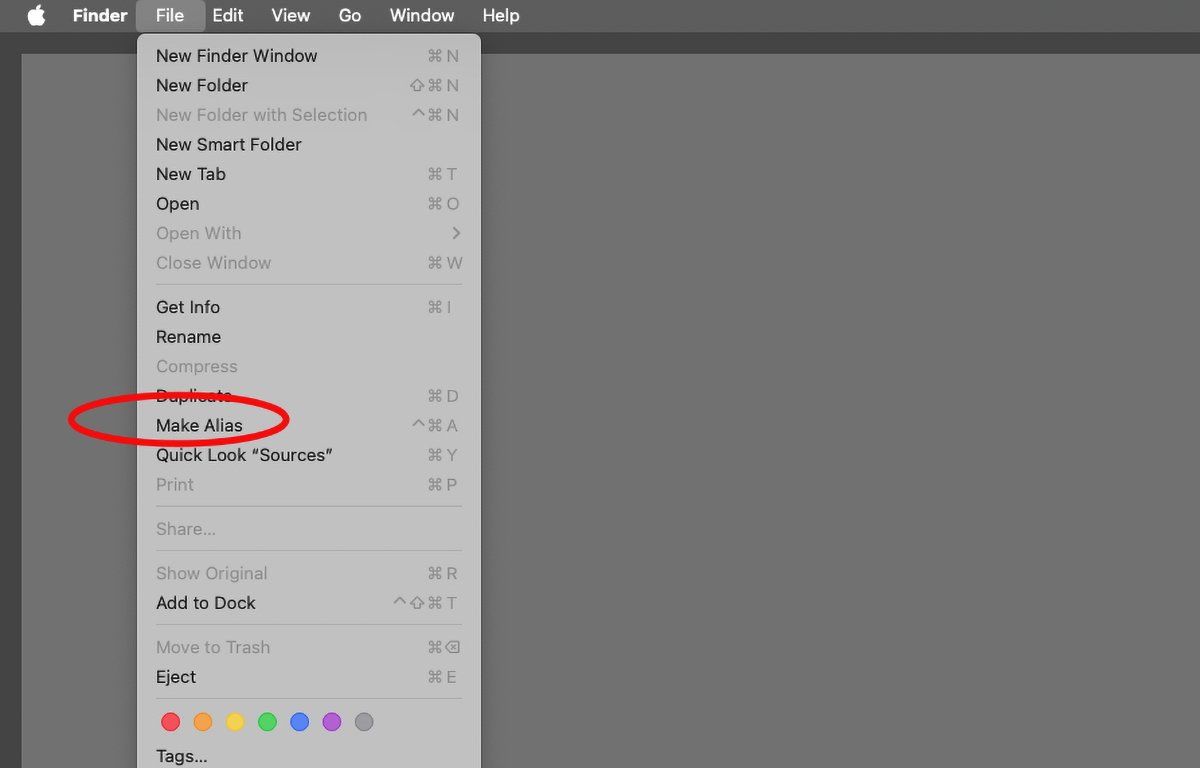
This has the same effect as selecting items on the macOS desktop and then selecting File->Make Alias in the Finder’s menu bar.
You can also create aliases by Control-clicking an item in the macOS Finder on the desktop and selecting Make Alias from the context popup menu that appears.
What are aliases?
An alias is just a filesystem shortcut to another item in the filesystem on disk that lives somewhere else. Each alias contains internal info about its target: what it is and where it exists in the filesystem.
macOS aliases are a bit like UNIX symlinks with one major improvement: when you move a filesystem item that a macOS alias points to, the system automatically updates any linked aliases to point to the item’s new location on disk.
You don’t have to keep track of or recreate aliases every time you move something on disk that they point to: macOS knows how to do it for you. UNIX symlinks don’t have this ability.
When the Mac first came out some forty years ago, Apple decided to make the Finder and filesystem a bit more advanced than typical UNIX systems of the 1970s. Aliases were one way of achieving that.
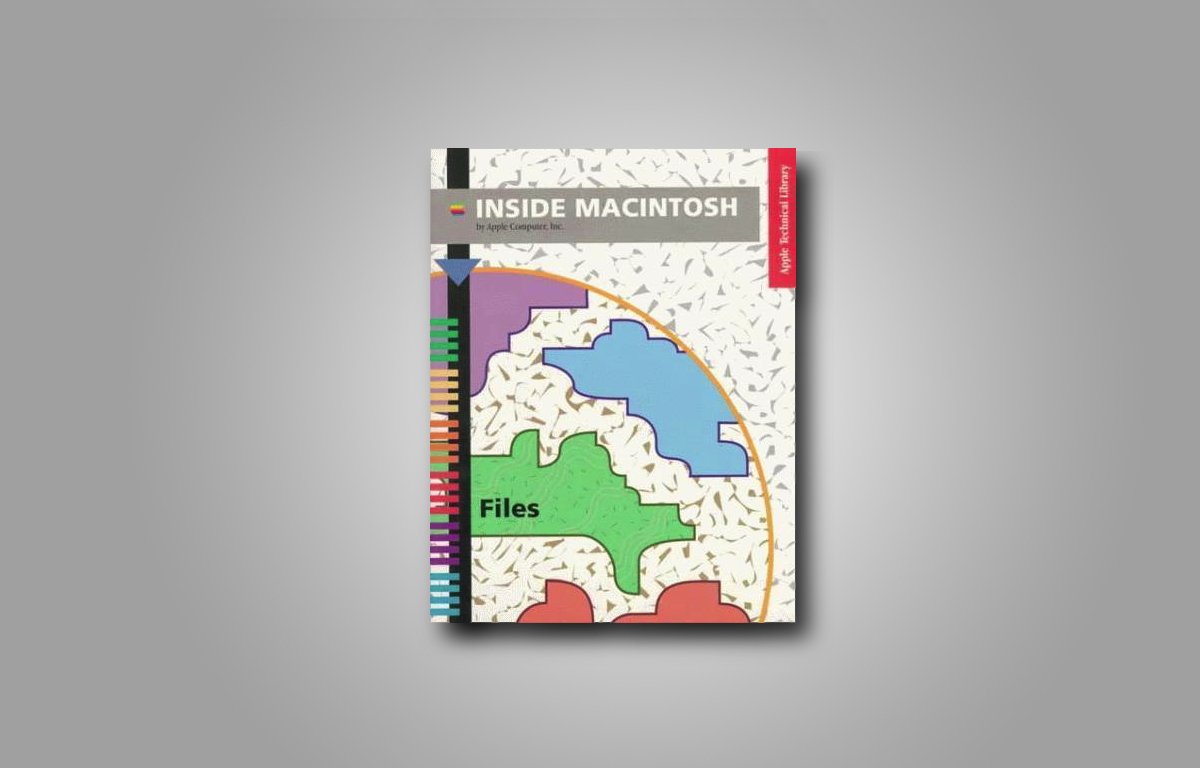
Aliases are actually one of the original Mac technologies and were first detailed in a chapter in the (now legacy) book from Apple titled Inside Macintosh: Files.
Aliases from the Dock
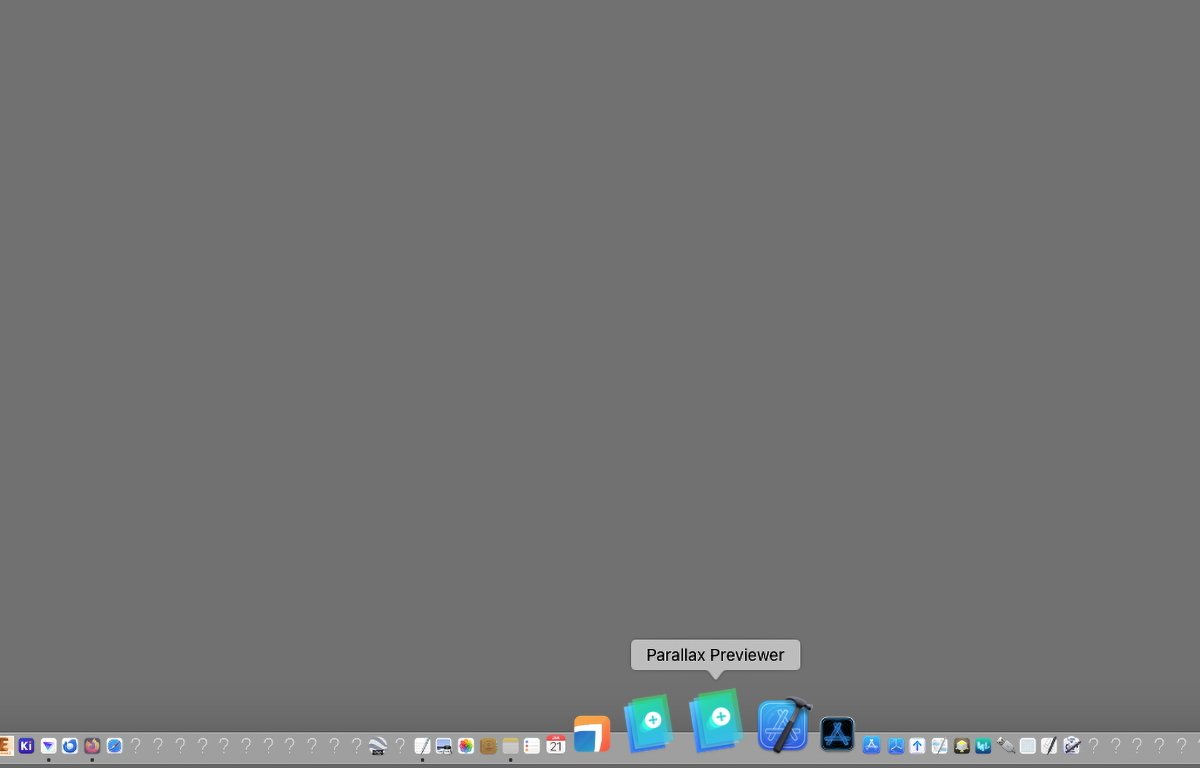
Now that you know what aliases are, and how to make them, there’s one other quick way to make aliases: you can use the same Command-Option drag shortcut to make aliases from items in the Finder’s Dock to any location on the desktop in the Finder.
To do so, hold down Command-Option on your Mac’s keyboard, then click and drag any item in the Dock to any writable location in the Finder: the desktop itself, other folders’ windows, disk volumes, or network servers.
As you click and drag, the cursor will change to a curved arrow – indicating it’s OK to drop the item in the location you dragged to. When you release the mouse button, a new alias to the Dock item appears at the destination location.
If for some reason the Finder can’t create the alias in the destination’s location, you’ll either see the cursor change to a circle with a slash through it (i.e. a “do not enter”) symbol, or else when you release the mouse button the item will snap back into the Dock with no effect.
Desktop alias icons appear just like the items they point to – except that they have a small curved cursor arrow in them to indicate they point to something else:
Be aware Mac aliases may not work on all networked server filesystems and volumes unless those filesystems have support built-in for macOS features.
Also note that some Dock items on external volumes may not work with the Dock-drag shortcut – in particular items in the Dock that are on locked volumes, or on external volumes to which the Finder can’t create aliases.
Show Original
Once you have a Finder alias created, an even cooler shortcut is to Control-click on the alias itself on the desktop and select Show Original from the context popup menu that appears: when you release the mouse button the Finder will automatically open the folder location the original item lives in and select it on the desktop.
Using the Command-Option drag shortcut from the Dock in the Finder is just another way to speed up creating aliases in macOS.
This story originally appeared on Appleinsider


