Microsoft’s Copilot is an AI assistant available on multiple platforms. Here’s how to use Microsoft’s rival to Siri on iOS and iPadOS.
AI assistants help you get work done faster by providing you with answers which you post to them in the form of prompts – questions you ask them in text or voice form, which they respond to by replying with info, images, movies, or other media.
Most text-based or voice-based AI assistants are called chatbots. Using these apps you can type or speak a prompt to the chatbot and it responds, usually within a few seconds.
Microsoft’s chatbot is called Copilot. It can provide you with text, generate images (Generative AI, or GenAI), help you get organized or cook, look things up or locate things for you, play music, and even write code.
Getting started with Copilot
We’ve already covered most of Copilot’s inner workings, features, and pricing in a previous article on Copilot for the Mac, so we won’t repeat the same details here.
Instead, we’ll look at Copilot running on iPhone and iPad, which you can download from the App Store on your iOS device. Currently, there’s no Apple Watch or Apple TV version of Copilot, but those versions are rumored to be in the works.
Microsoft also has a dedicated Copilot app page on its website.
If you have a Microsoft account, you can log into it using the Copilot app, and if you do, it will remember all your past prompts, and use them to better formulate answers in the future.
But even if you don’t use a Microsoft account, Copilot is still incredibly useful. There’s a free tier, a paid tier, and an Enterprise tier.
To get started with Copilot on your iOS device, run the App Store app on your device, search on “Copilot” and when it shows up, download it to your device.
Running it is as simple as tapping it on your device’s Home Screen.
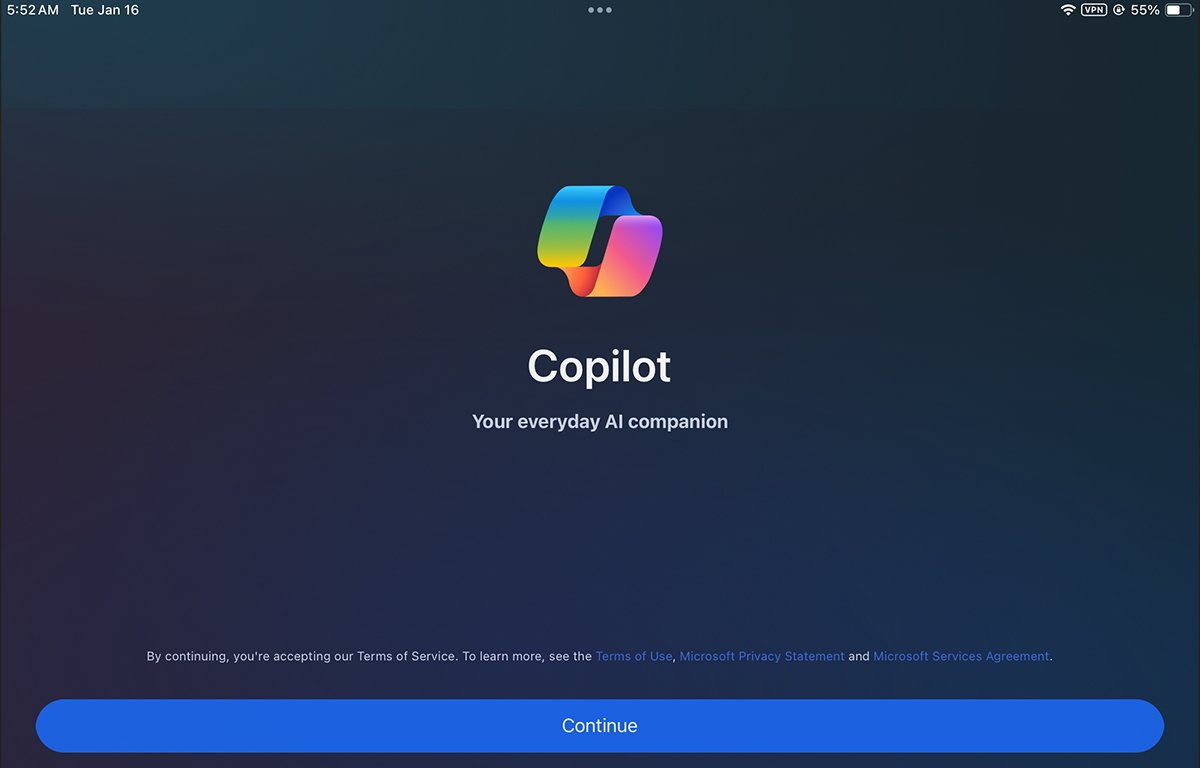
On running it for the first time, you’ll be greeted with a few explanations and a Continue button. Click it and you’ll come to the main Copilot window.
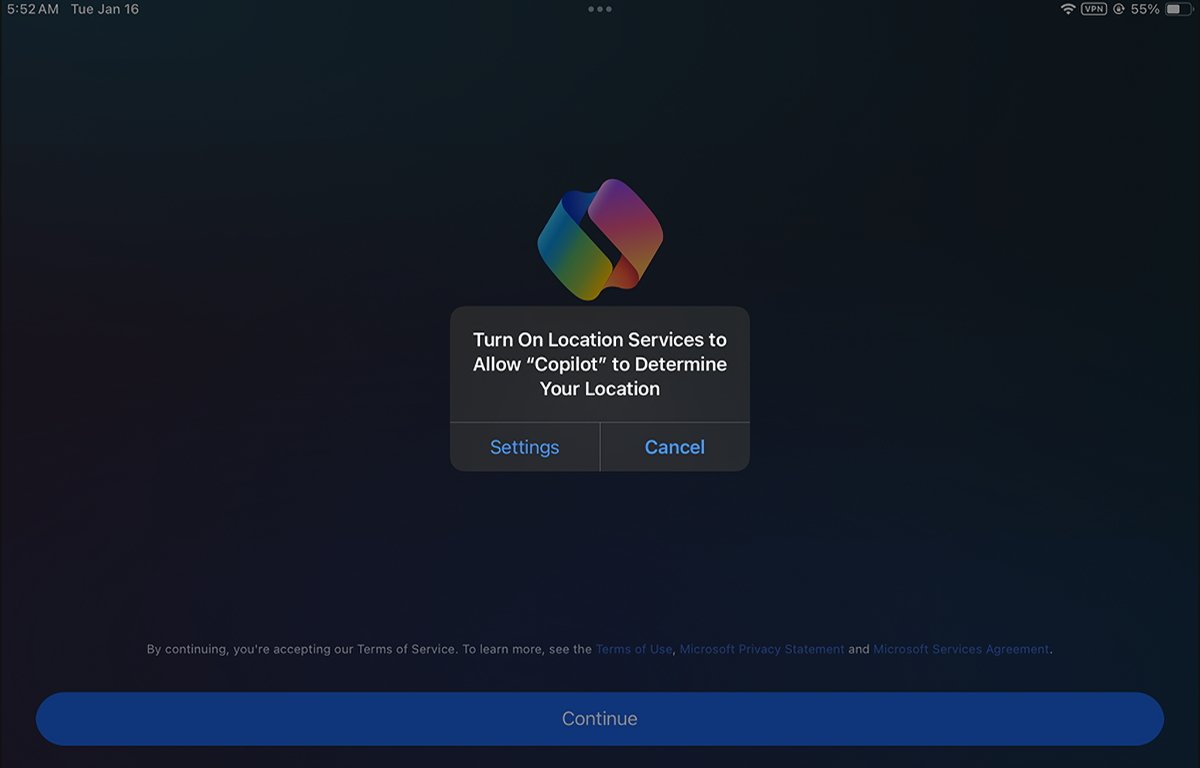
If you don’t already have Location Services turned on in the Settings app on your iOS device, you’ll be prompted to turn it on. You might want to – Copilot uses your location for things such as directions, nearby places, weather, and more.
But even if you don’t Copilot will still work as it has a backend service via Microsoft’s Bing which knows how to locate almost everything.
Issuing prompts
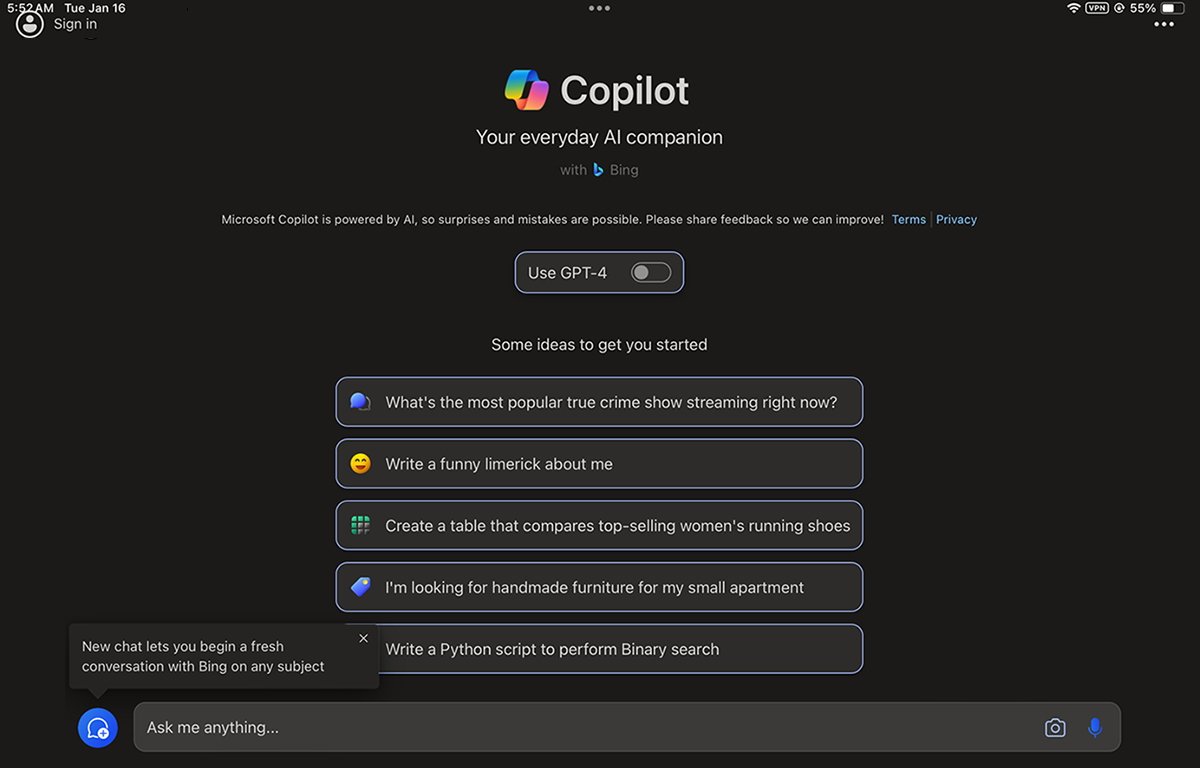
Once you’re past the introductory screens, you’ll see the main Copilot window. There is a sign-in button in the upper left corner, in case you haven’t already done so.
There’s a small menu button in the upper right corner, which lets you reset the chat to a default state so you can start a new conversation. You are also shown several predefined prompt buttons in the center of the window.
At the bottom of the window is the prompt text entry field, a camera button, and a microphone button.
In the center of the main window is a Use GPT-4 button which lets you toggle GPT-4 on or off.
You can also tap the blue New Chat button in the lower left corner next to the prompt field to start a new chat. If you tap the mic button you can issue your prompts by speaking into your device.
After issuing your prompt, Copilot connects to the Microsoft Bing backend servers where AI works to process your request. Usually within a few seconds, you’ll get a response.
If you have the $20 paid Copilot Pro subscription and are logged in to your Microsoft account, Copilot’s responses will be both faster and more detailed.
After a response is returned, you can ask Copilot more questions related to the current topic, and it will further refine its answers. If you want to ask Copilot something on a new topic, it’s best to reset the prompt first, although you don’t have to.
You can also copy answers from Copilot and save them elsewhere – in the Apple Notes app, for example.
AI chatbots promise to save users a huge amount of time, and return information nearly instantly that would otherwise take much longer to look up manually. Having Copilot at your disposal is like having an intelligent personal assistant in the palm of your hand.
This story originally appeared on Appleinsider


