


August 13, 2026
Preserving and Maintaining My Antique Fences
Preserving and maintaining the fencing throughout my farm is an ongoing task.
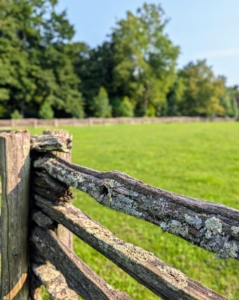
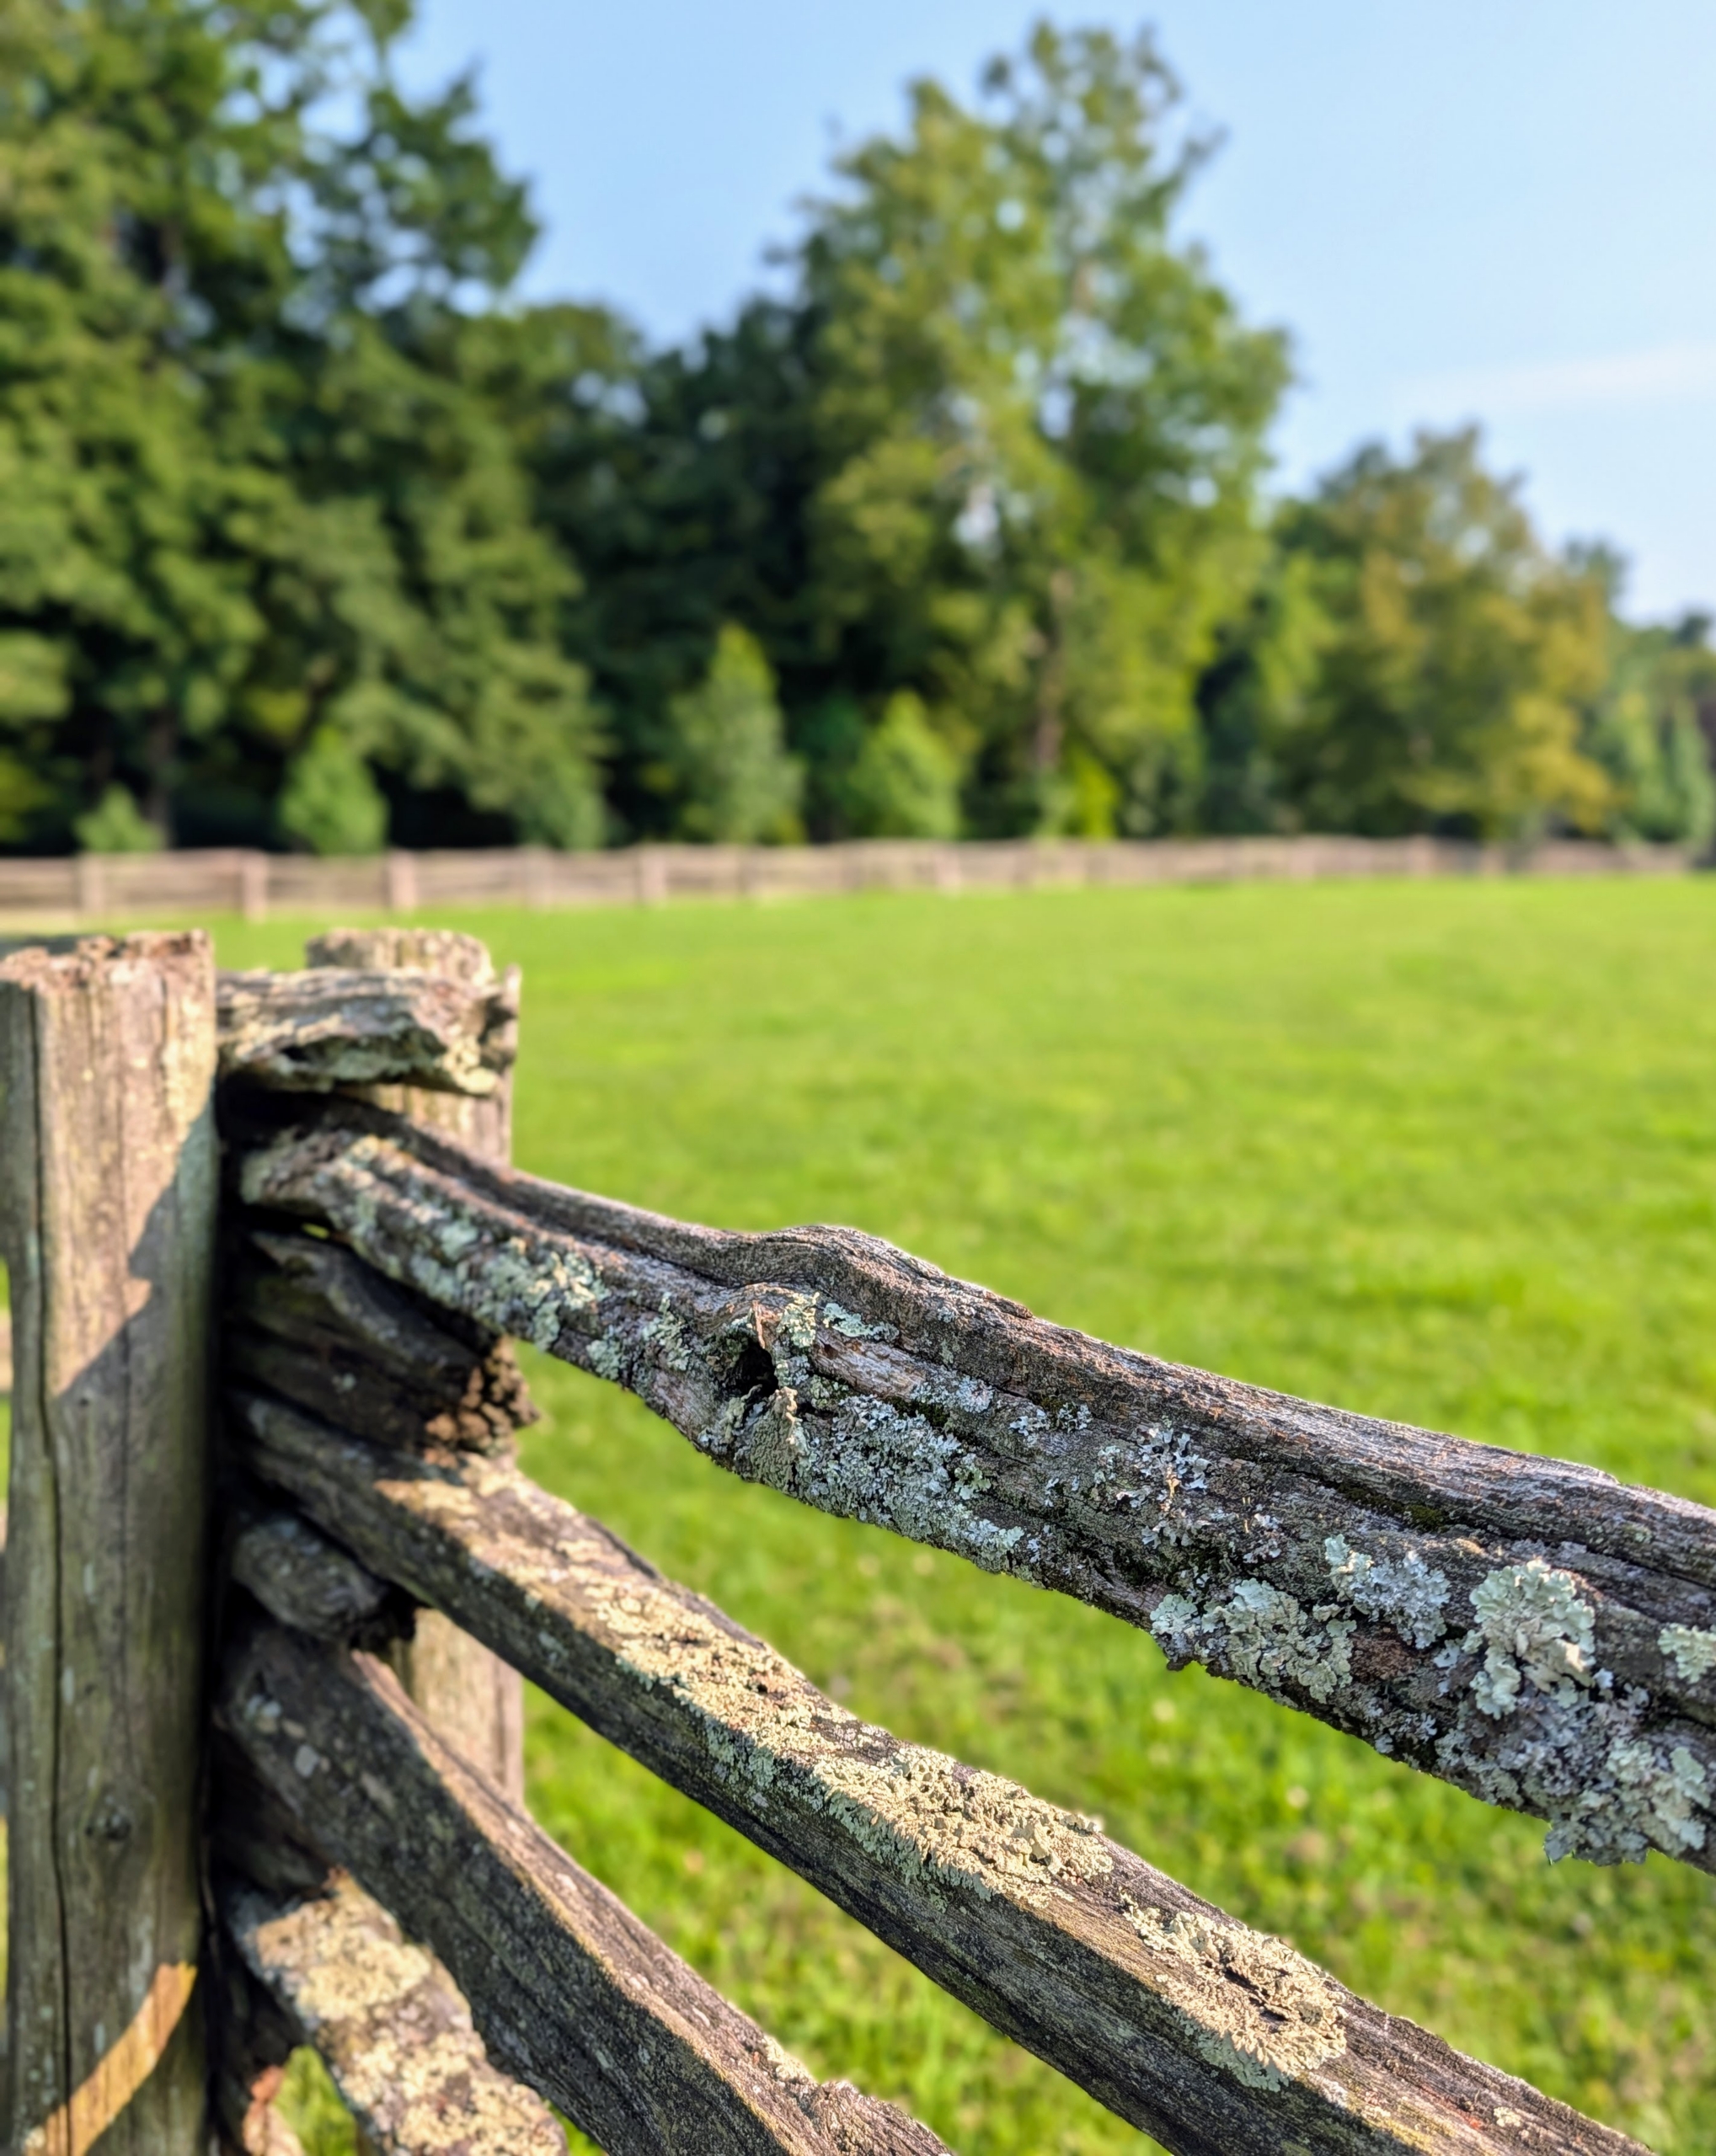
My pasture fencing is made from 125-year-old white spruce railings that I purchased in Canada. When the fences were originally installed, I paired them with new cedar uprights to provide sturdy support while preserving the character of the old wood. Over the years, some of the posts have naturally deteriorated, so whenever time allows, Pete Sherpa from my outdoor grounds crew replaces them – one at a time to avoid disturbing or damaging the antique pieces.
Here are some photos of the process, enjoy.
-
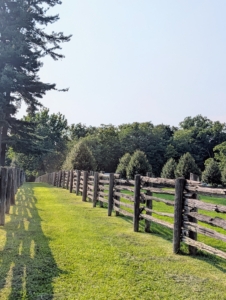
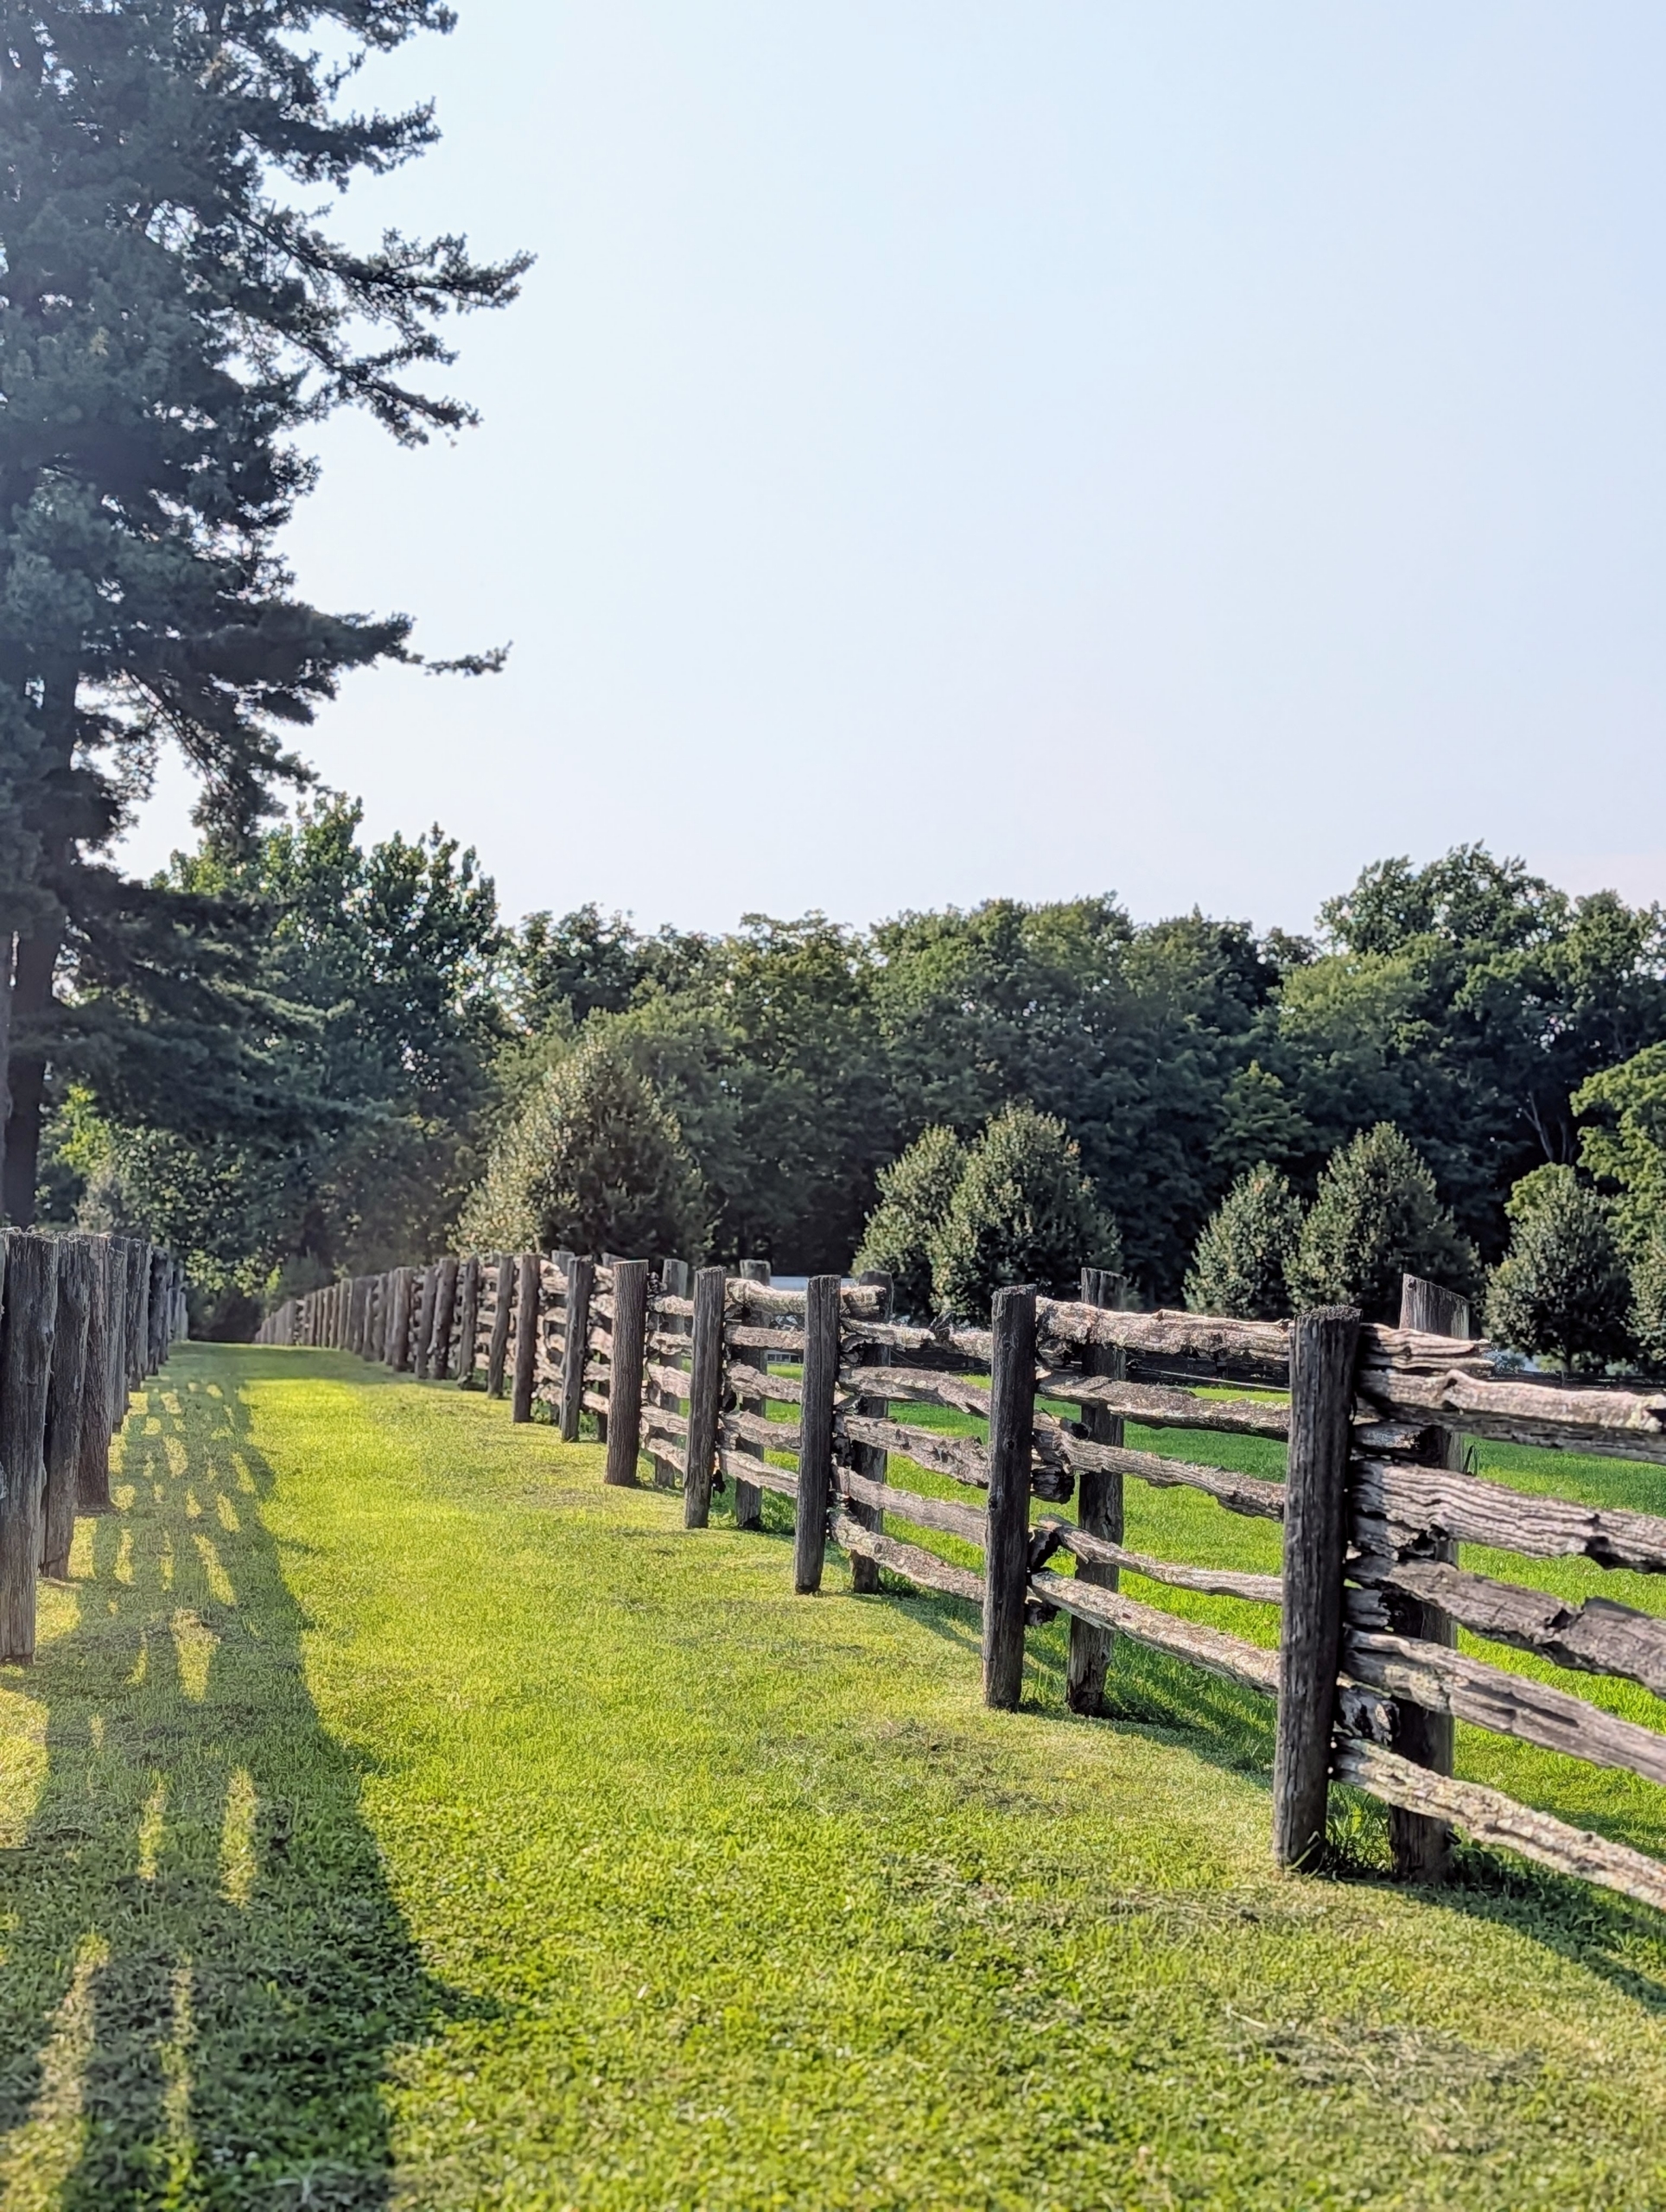
- I have lots of fencing here at the farm. It surrounds my horse paddocks, my orchard, my vegetable garden, my living maze, and various other trees. The antique railings were constructed into a split rail fence and are in good shape, but some of the cedar uprights are deteriorated, wobbly and no longer support the railings as they should.
-
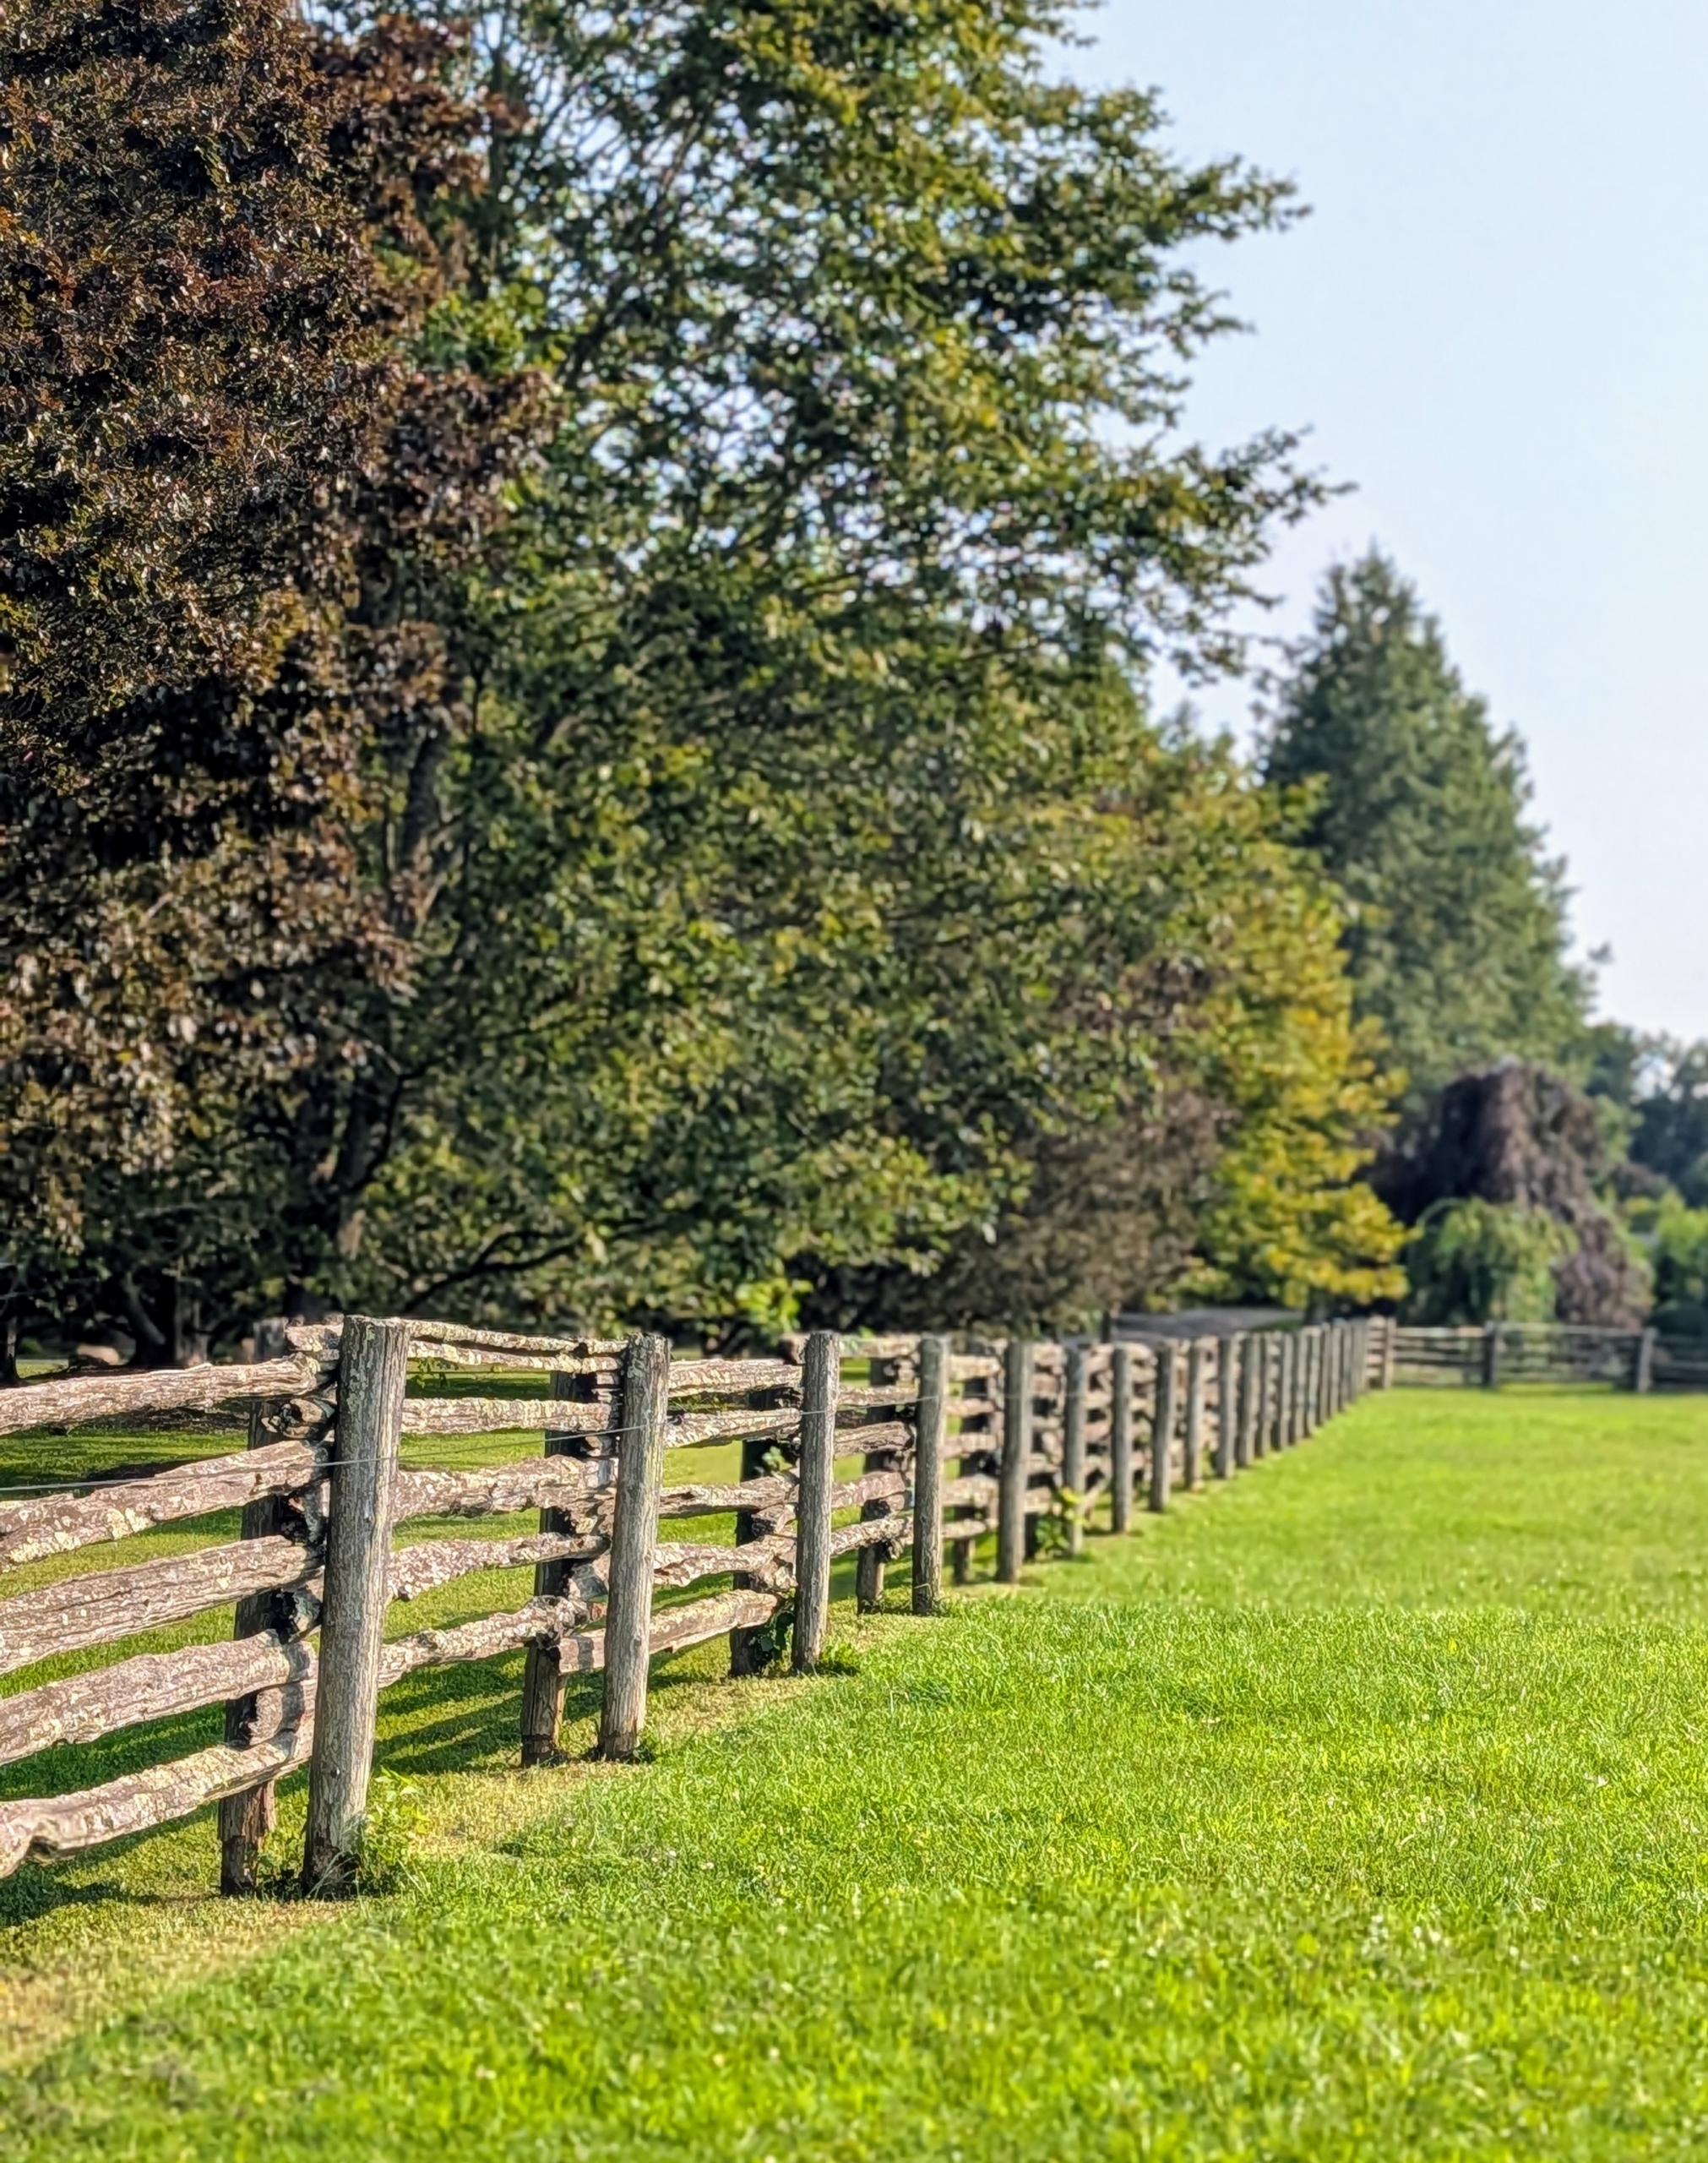
- Guests always admire these fences. They love the antique style and the well weathered and aged surfaces. The railings are sandwiched between two cedar posts buried deep into the ground.
-
- My donkeys, Friesian horses, and Fell pony get turned out into their paddocks every day, so it is important to maintain the fences and ensure they are all in good condition.
-
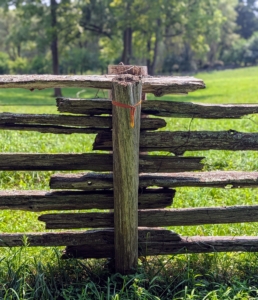
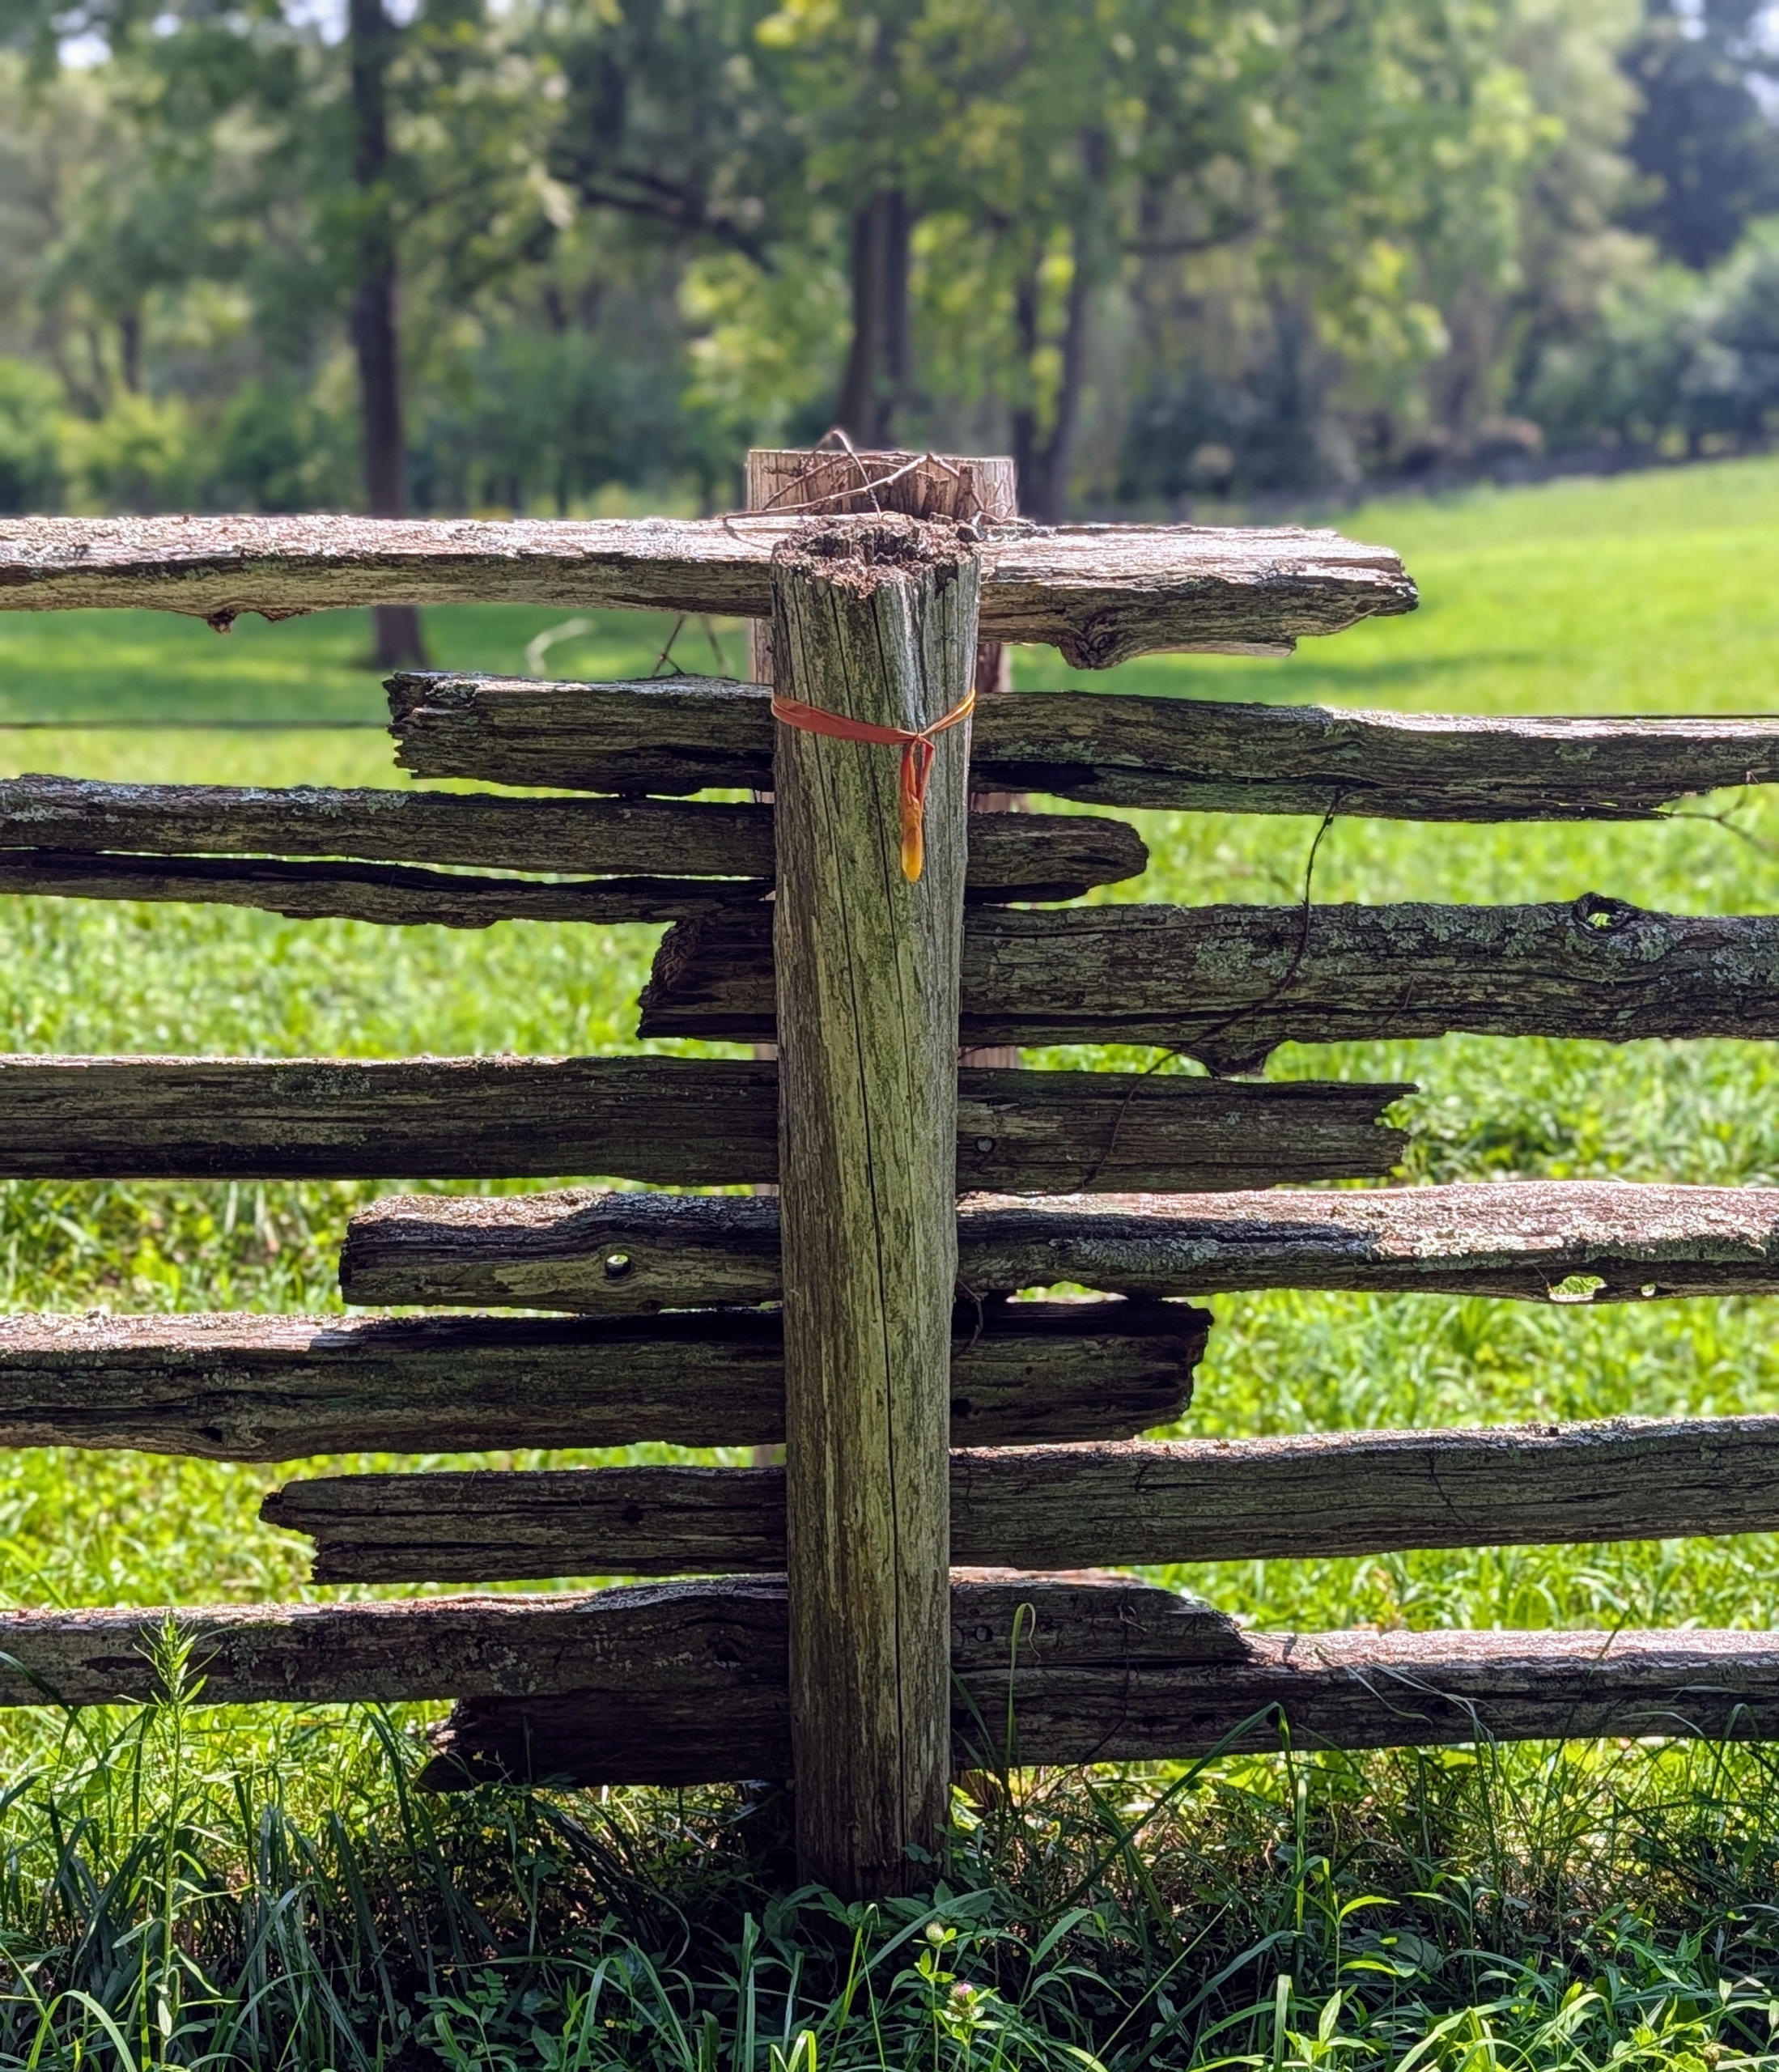
- I pay close attention to everything at the farm. My stable manager and I regularly check the posts and mark those that need replacing.
-
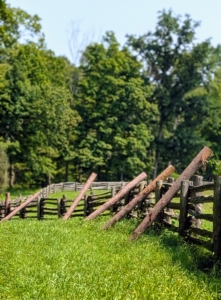
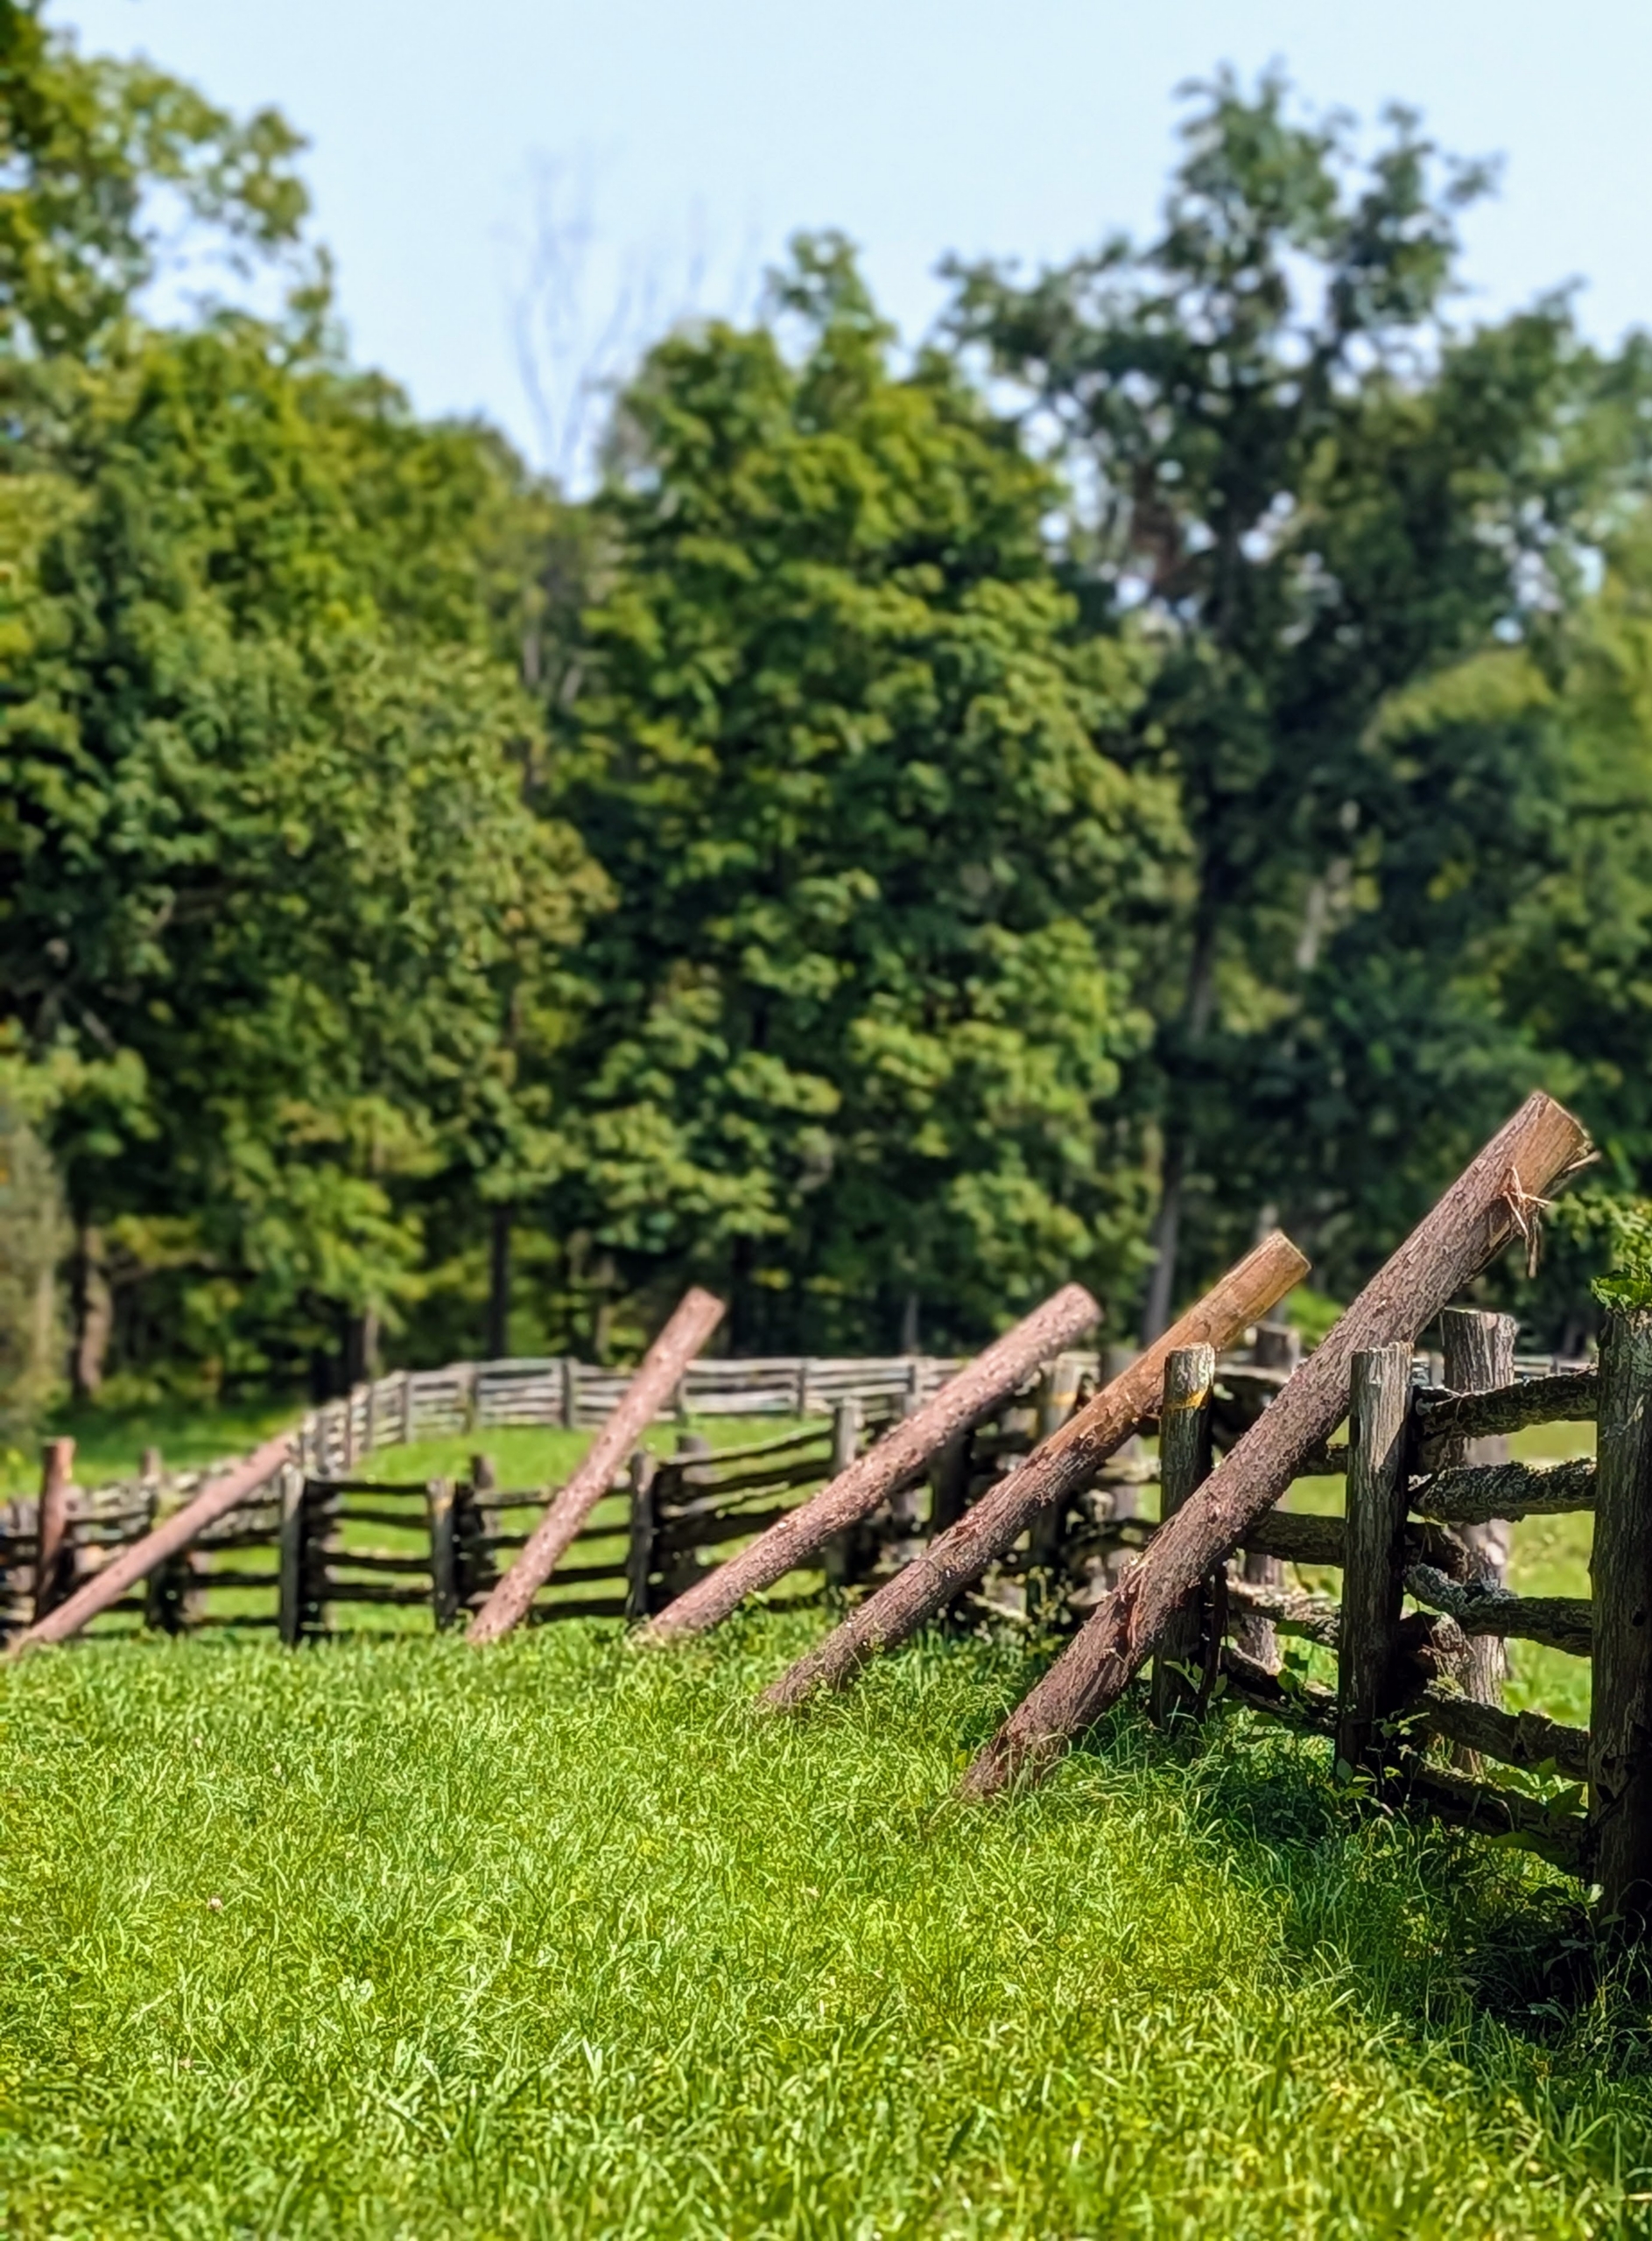
- New posts are placed next to any old post in line to be removed.
-
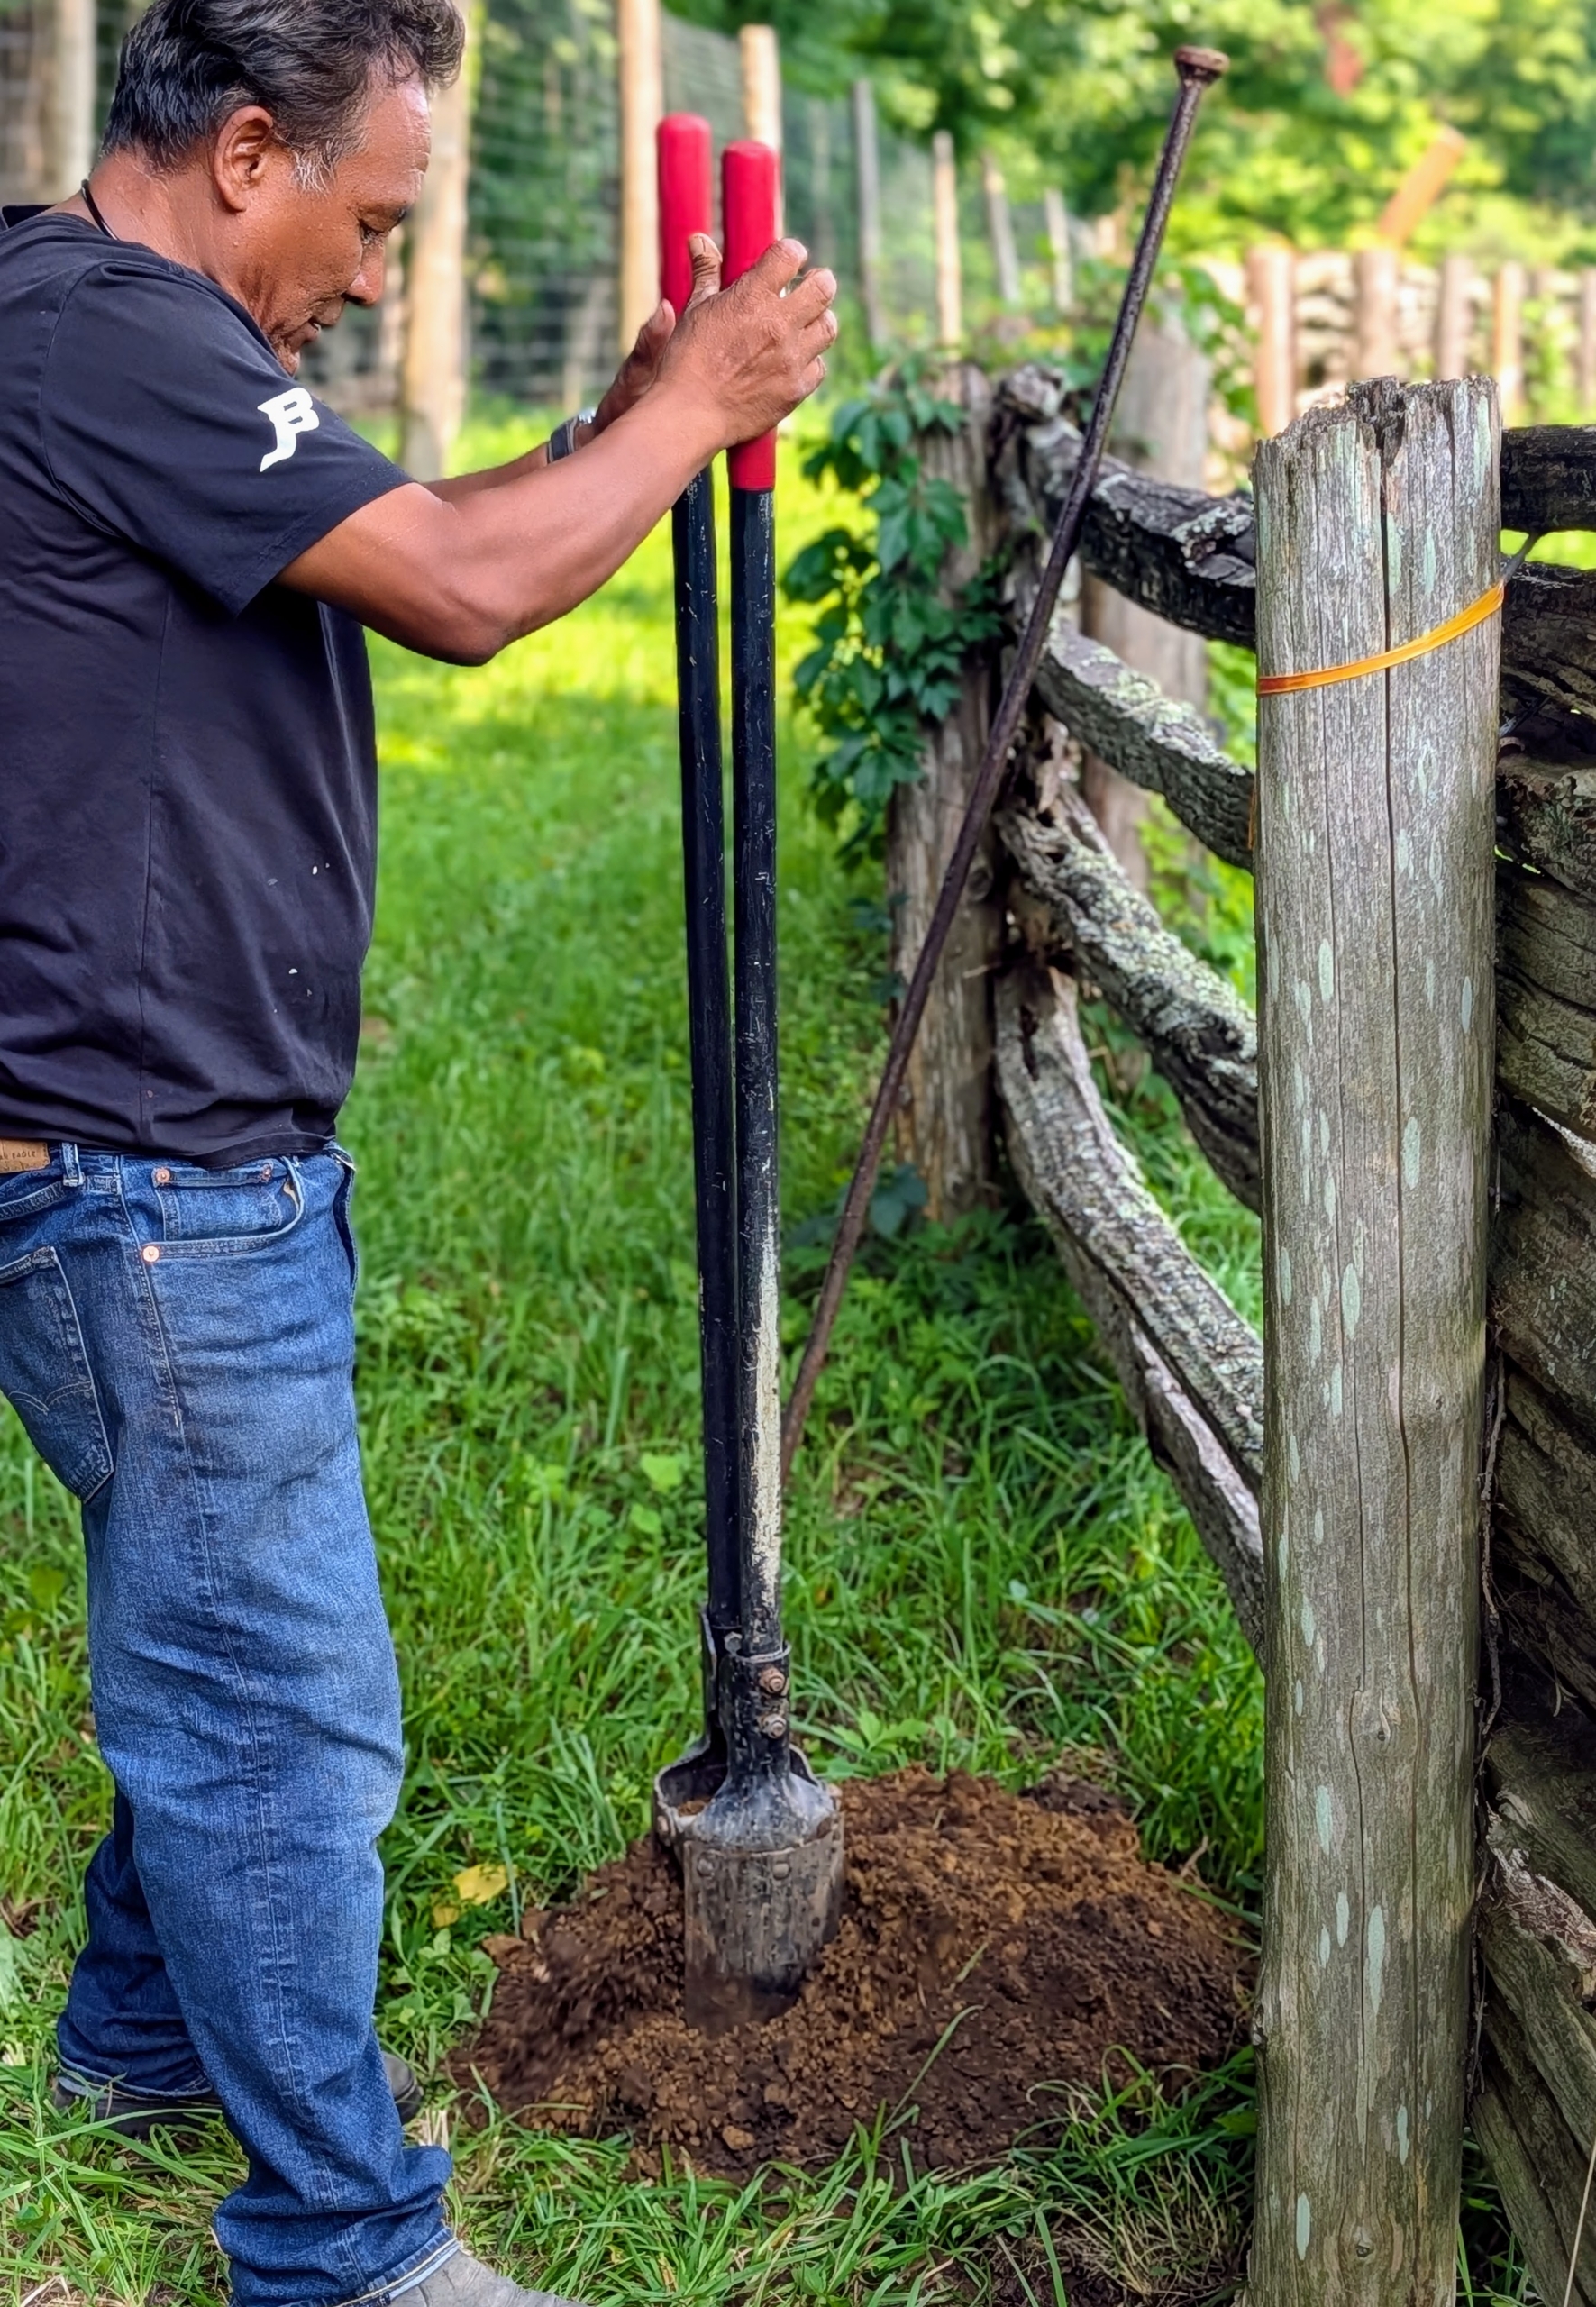
- Pete uses a post hole digger to loosen the soil around the old post. A post hole digger is also known as a clamshell digger, because of its resemblance to the seaside shell.
-
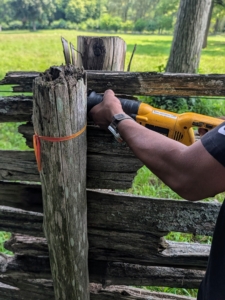
- Pete also removes the old nails connecting the post to the railings.
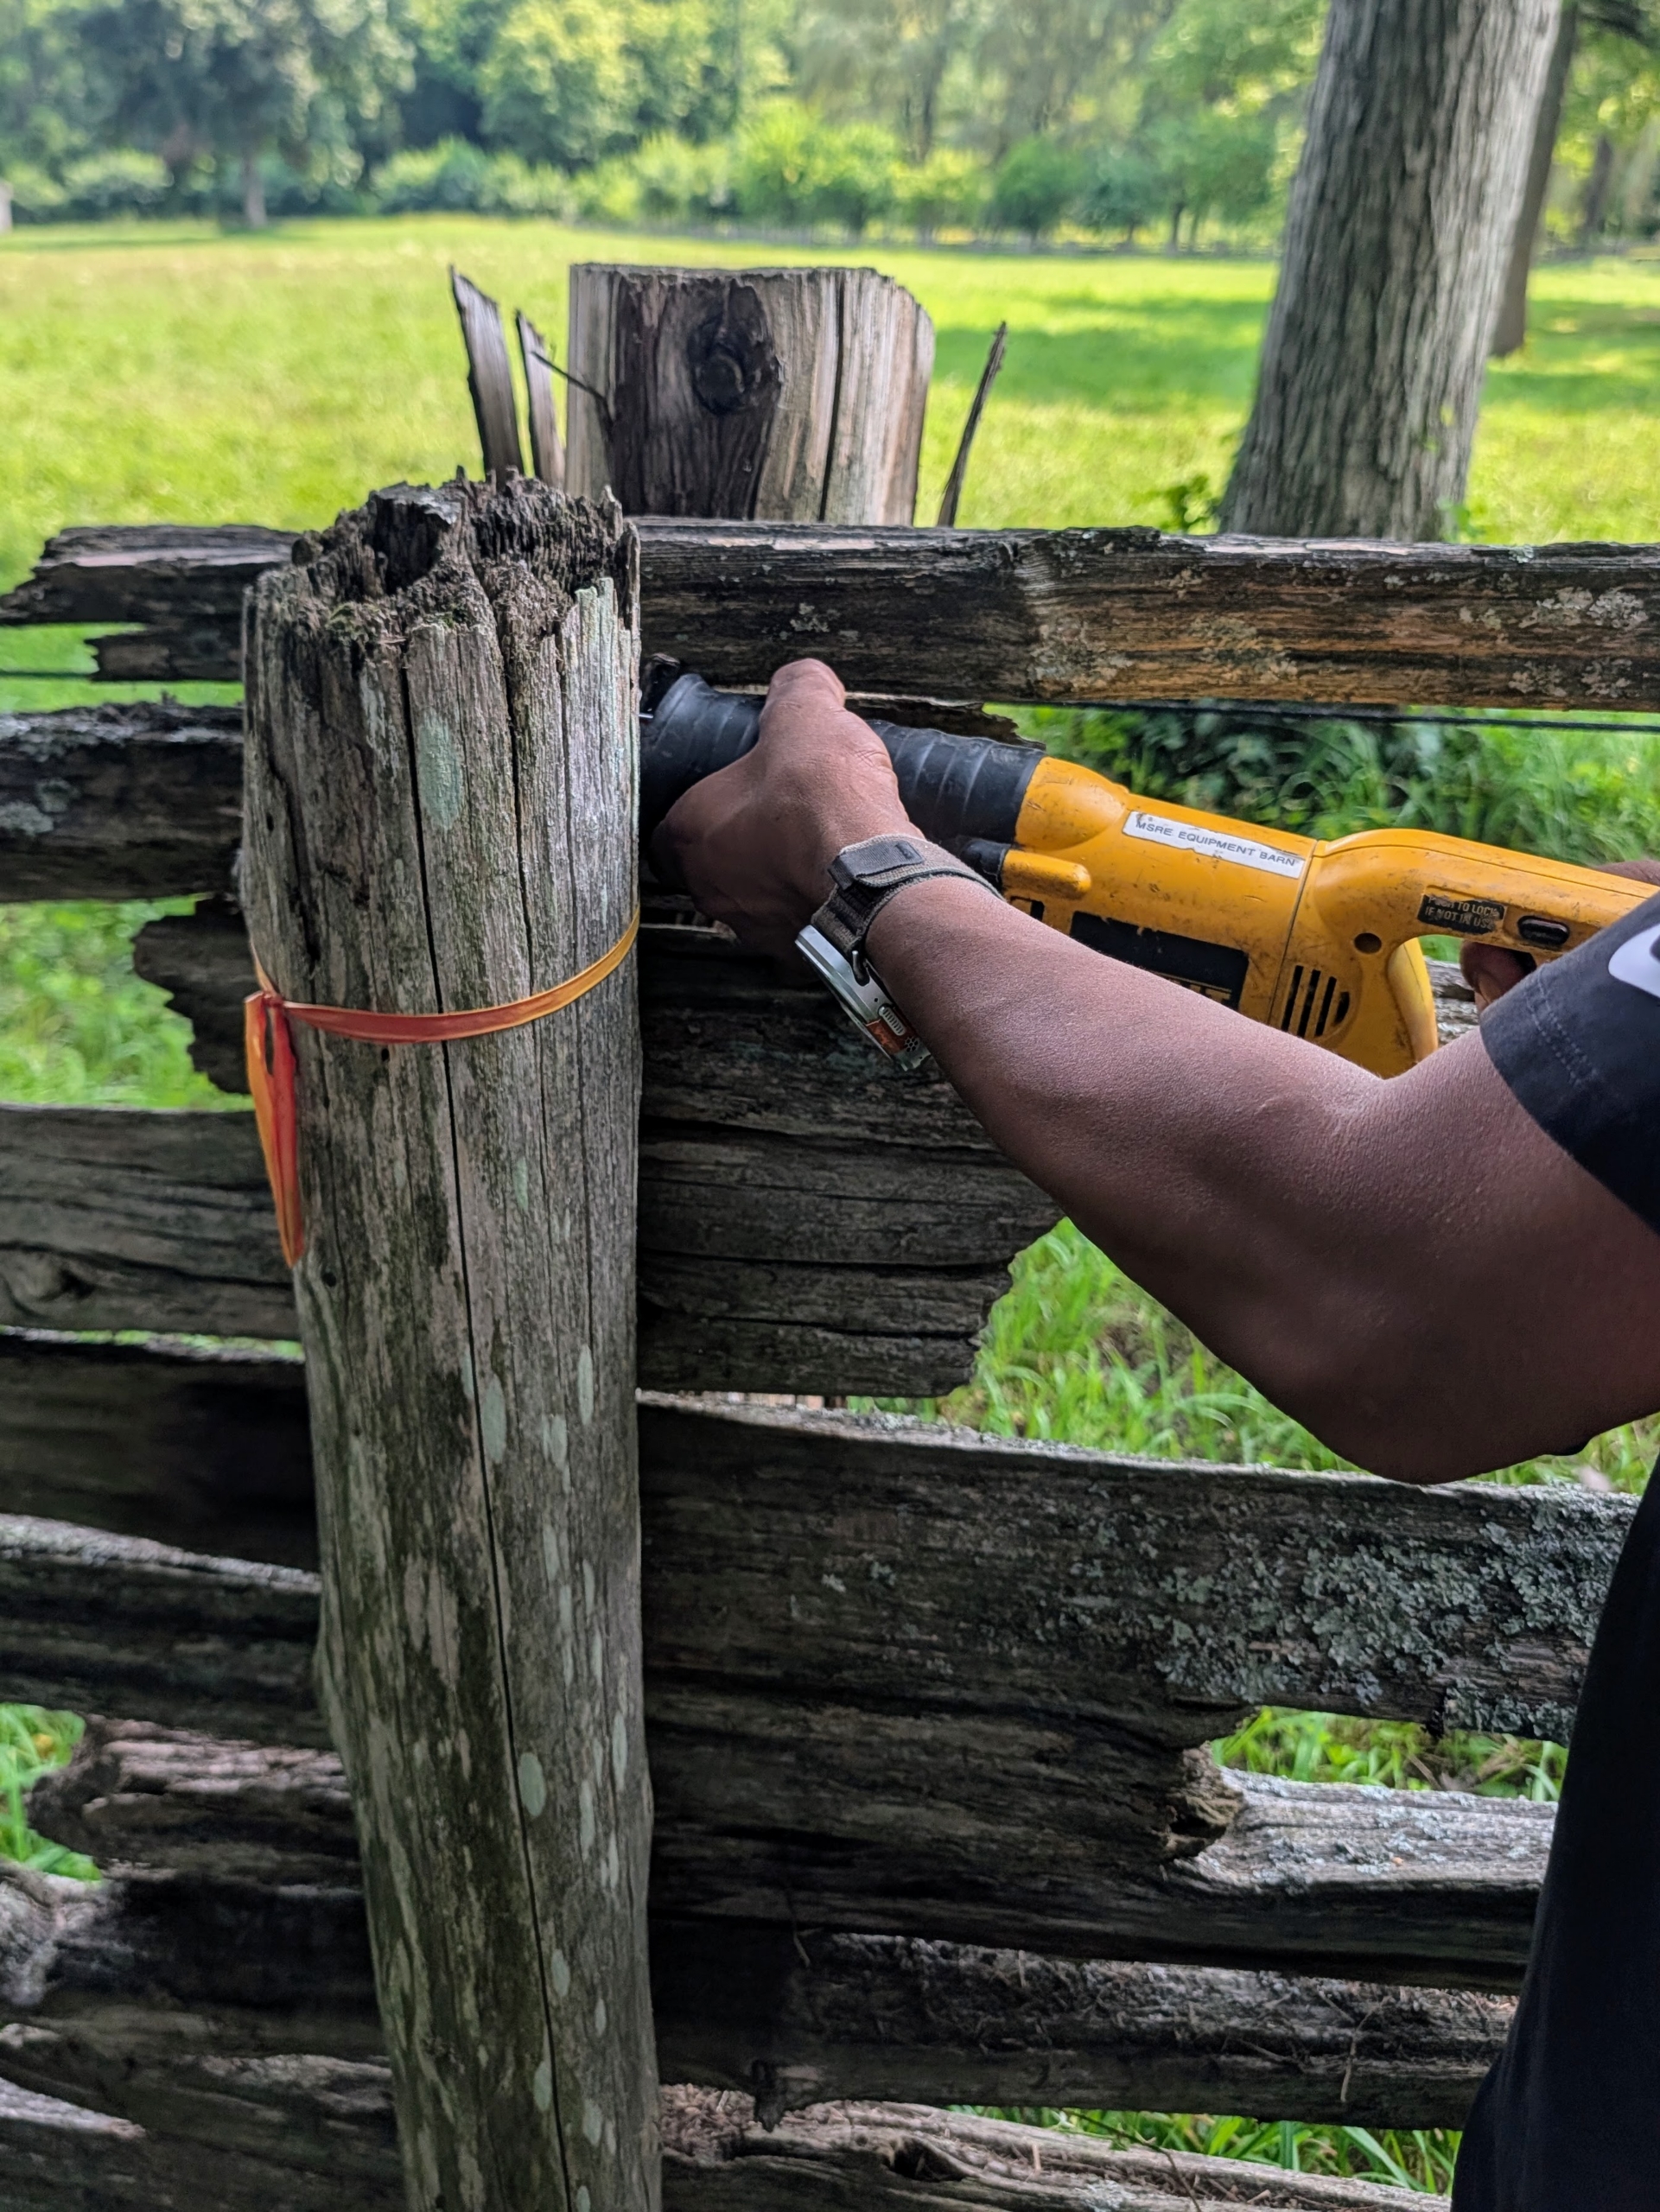
-
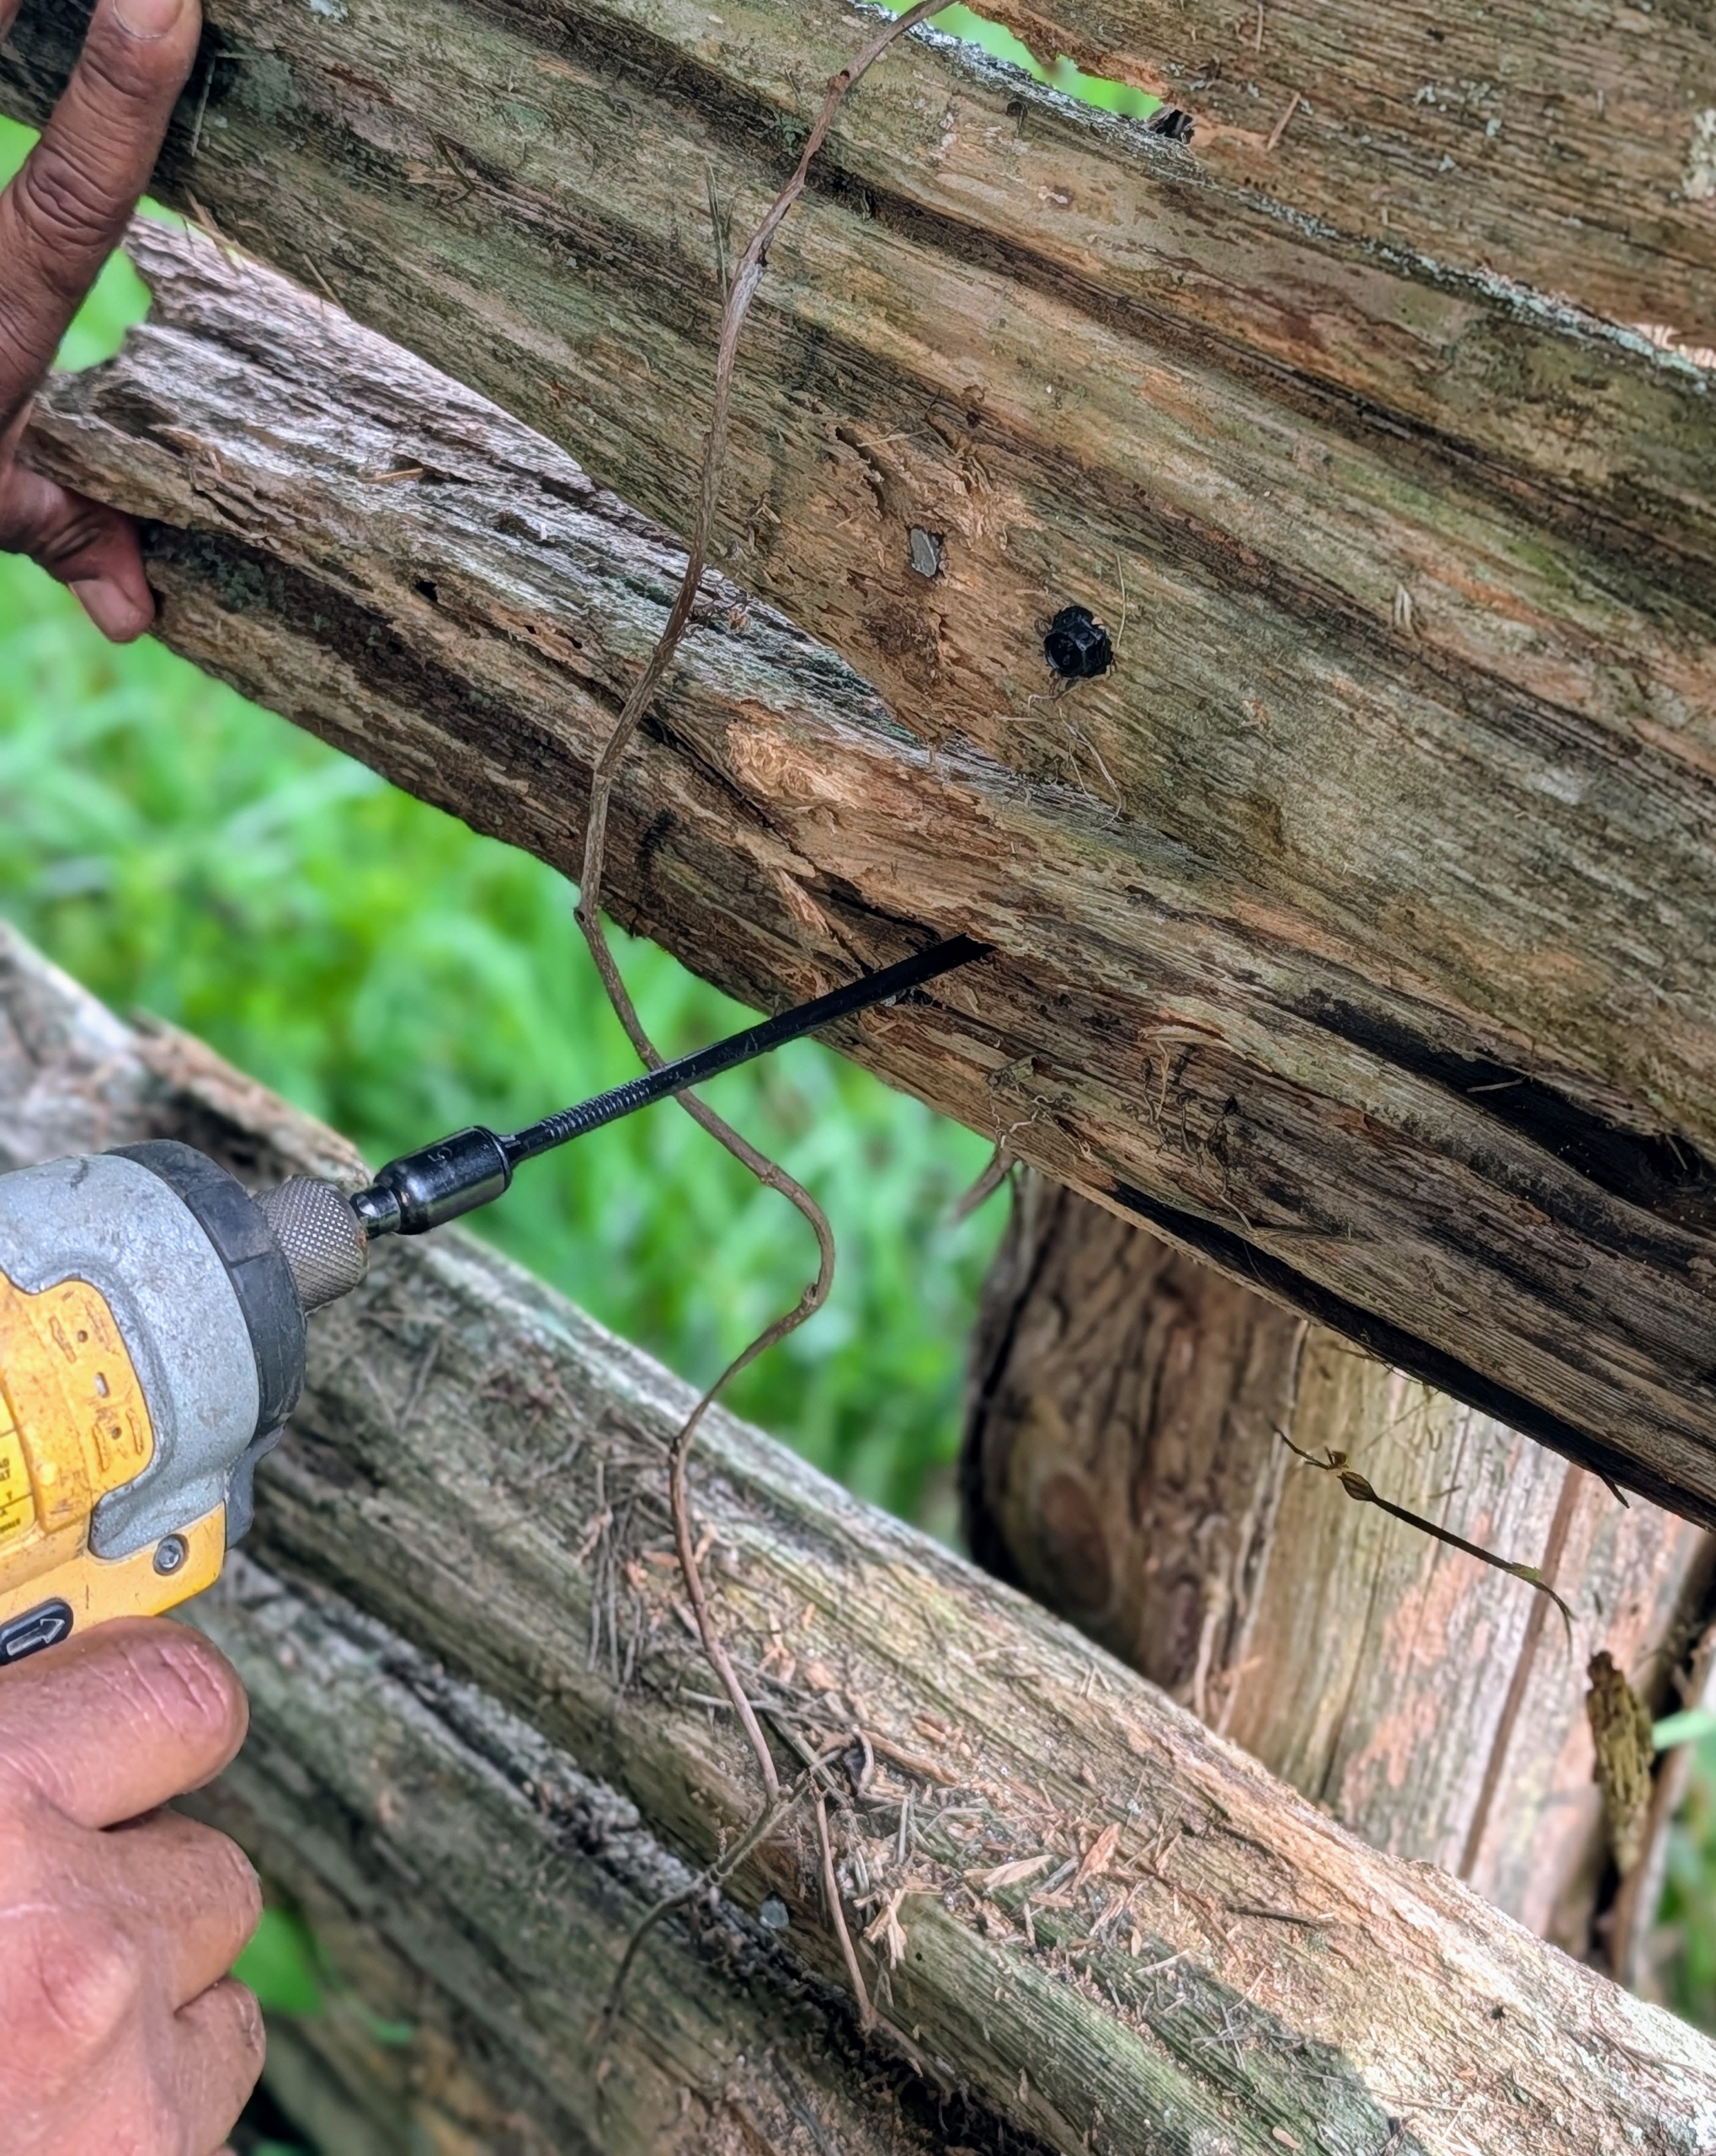
- These four inch nails will be replaced with six inch screws to better secure the wood.
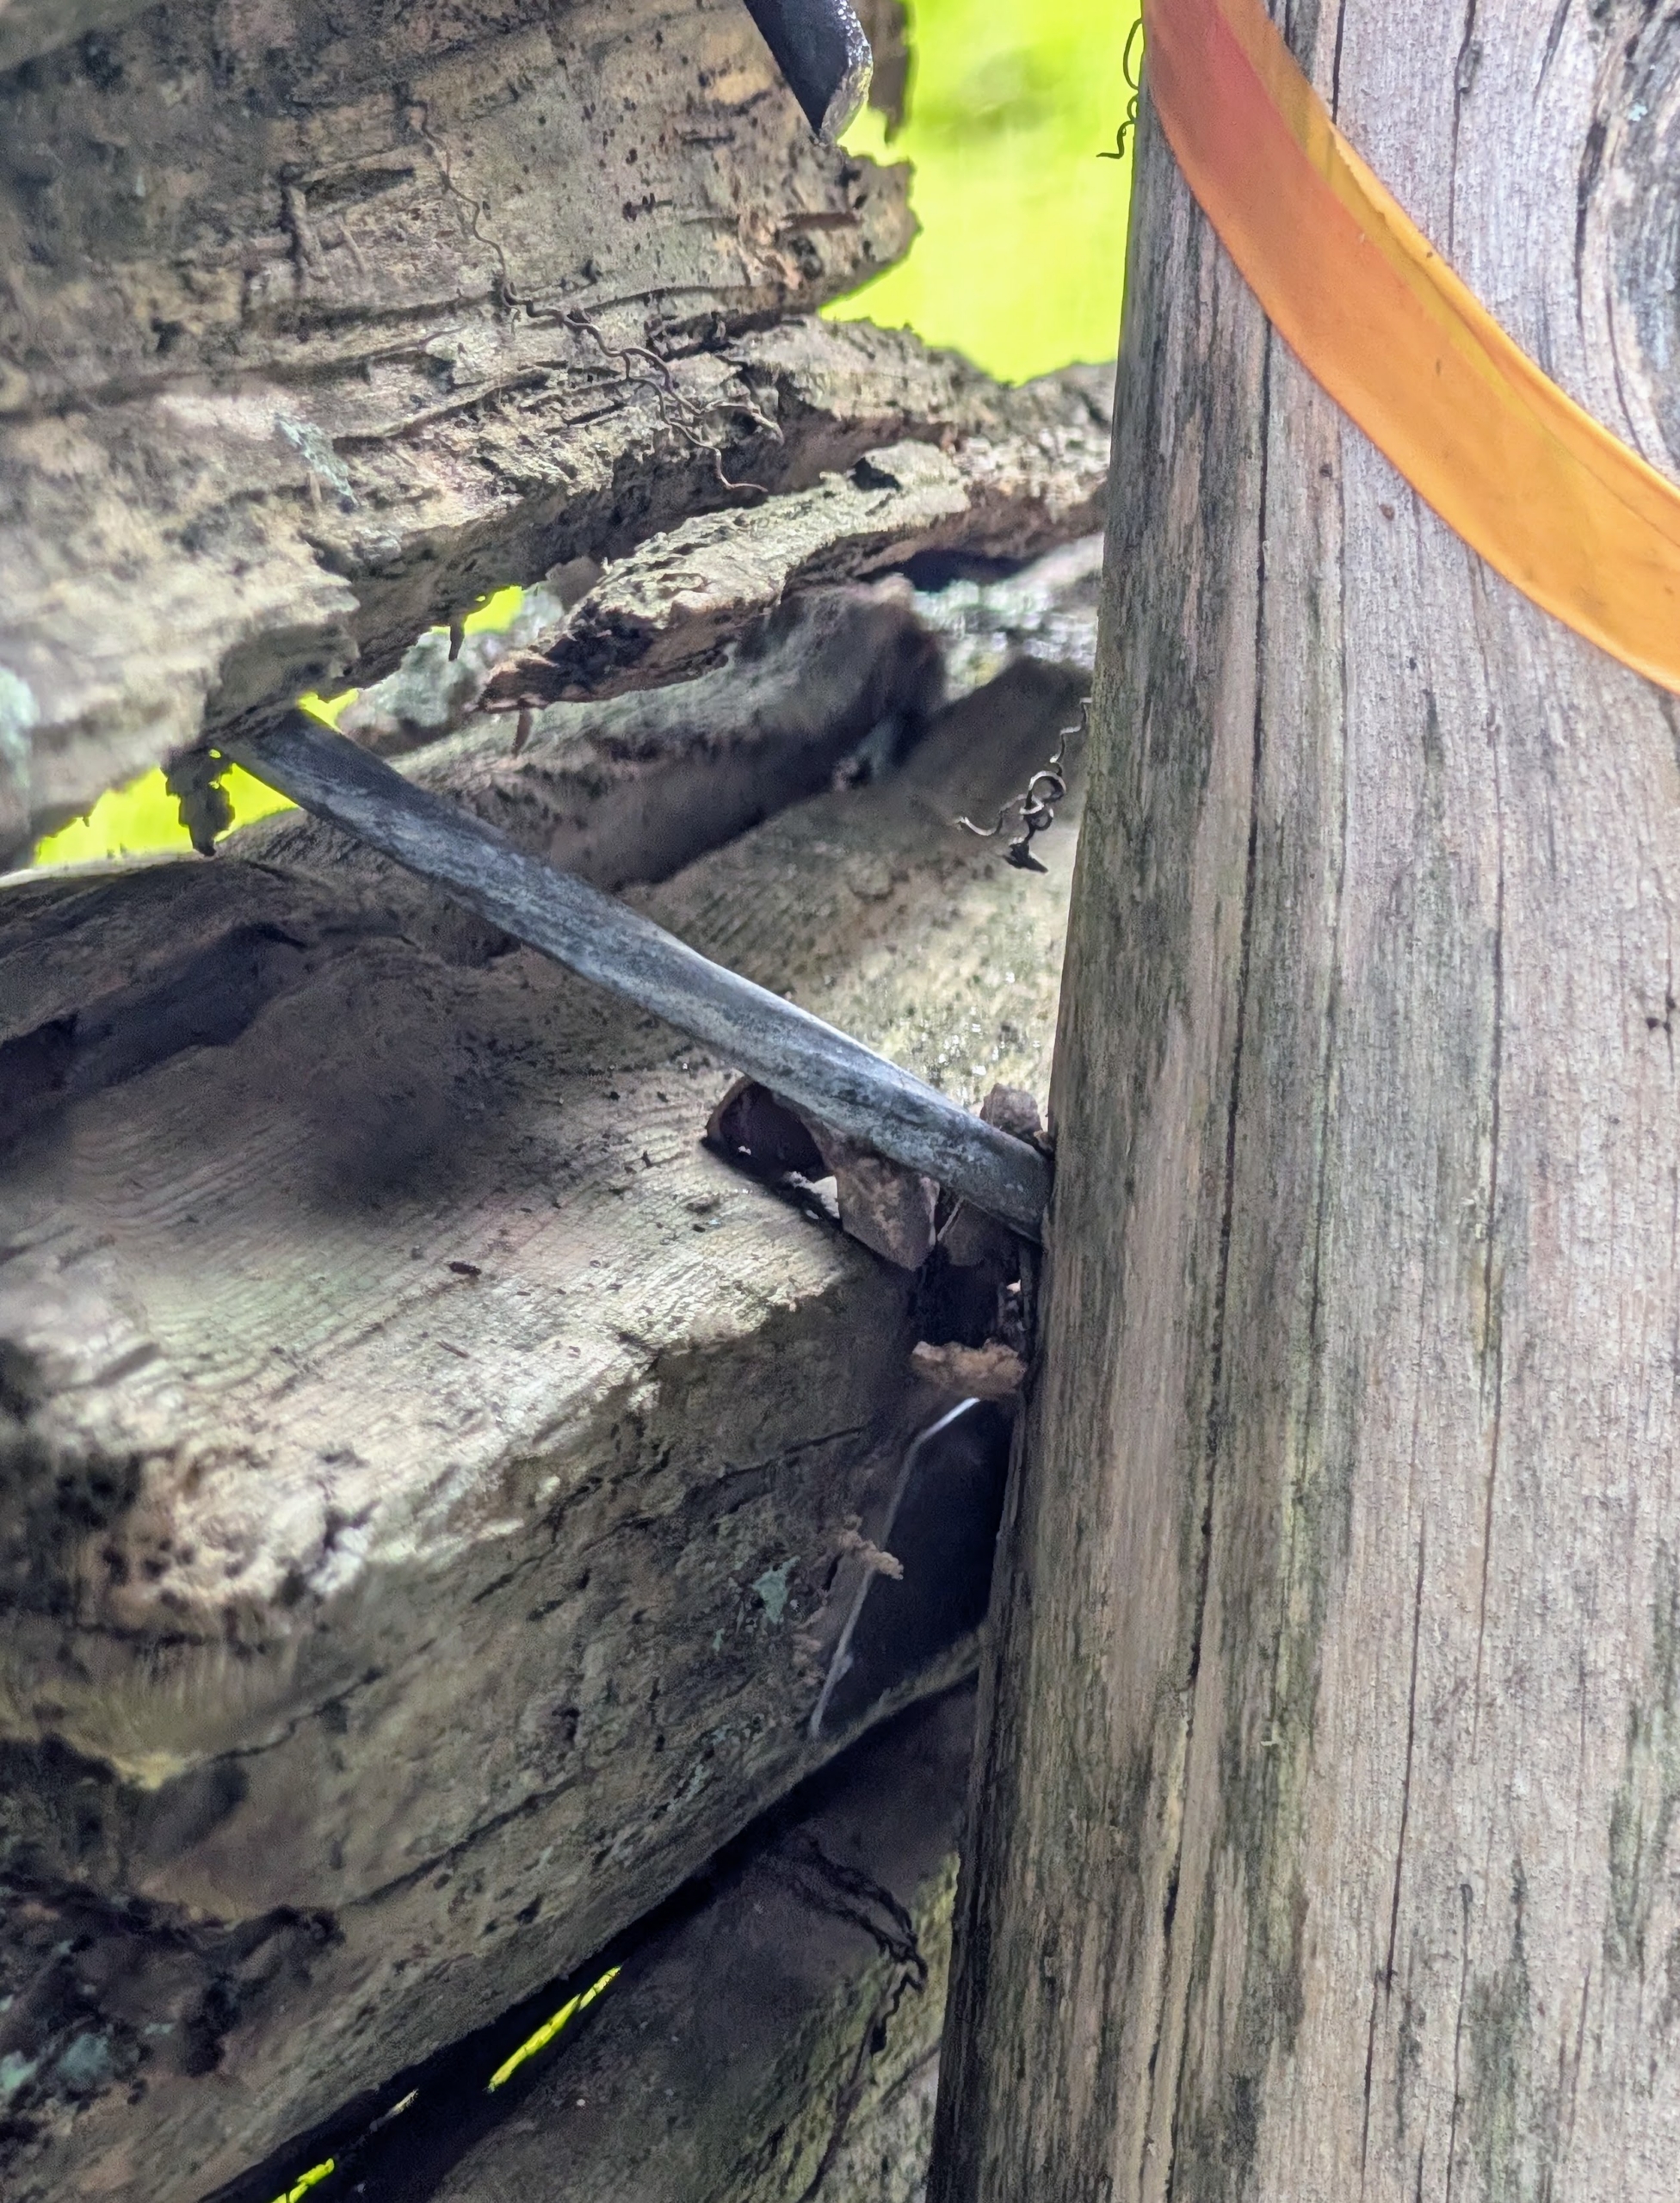
-
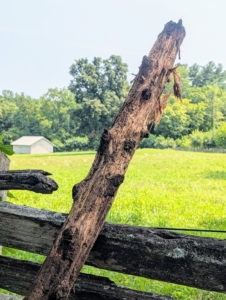
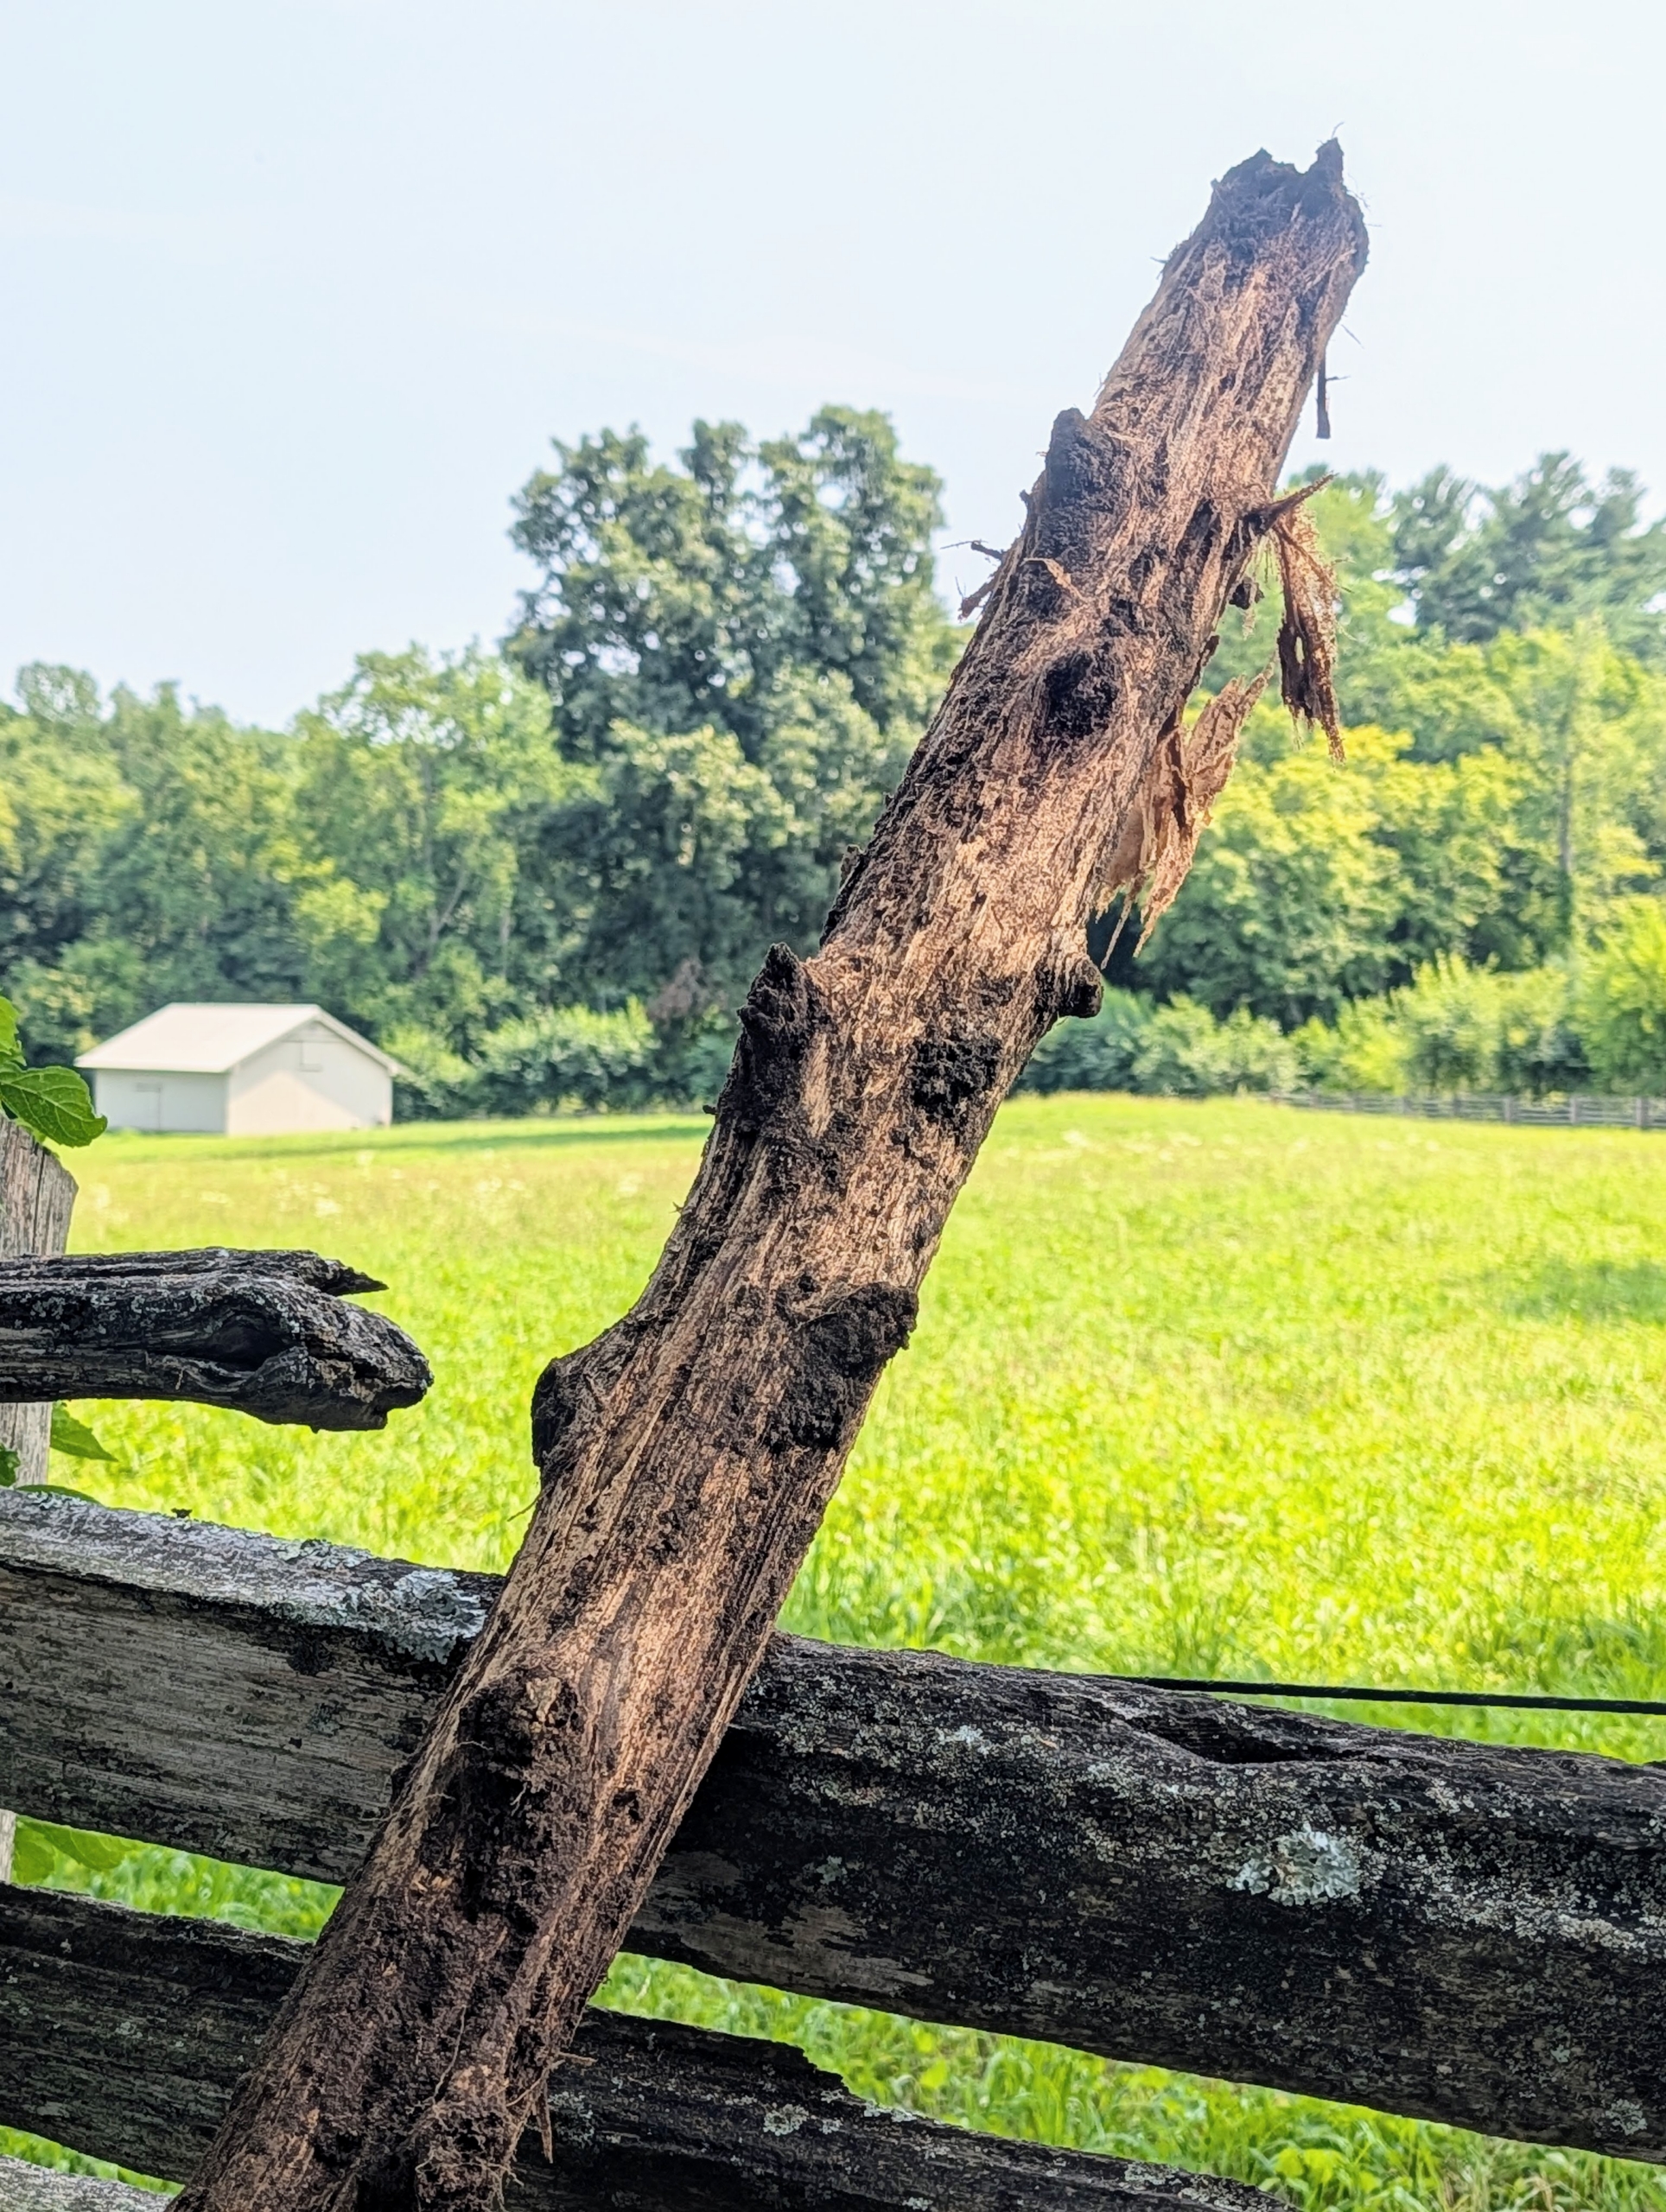
- Here is the old post – this end is what was in the ground.
-

- Pete shows how deep the post was buried, and how much deteriorated in the soil.

-
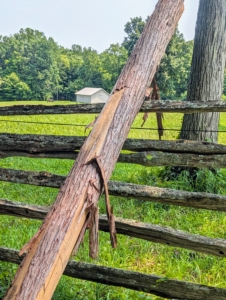
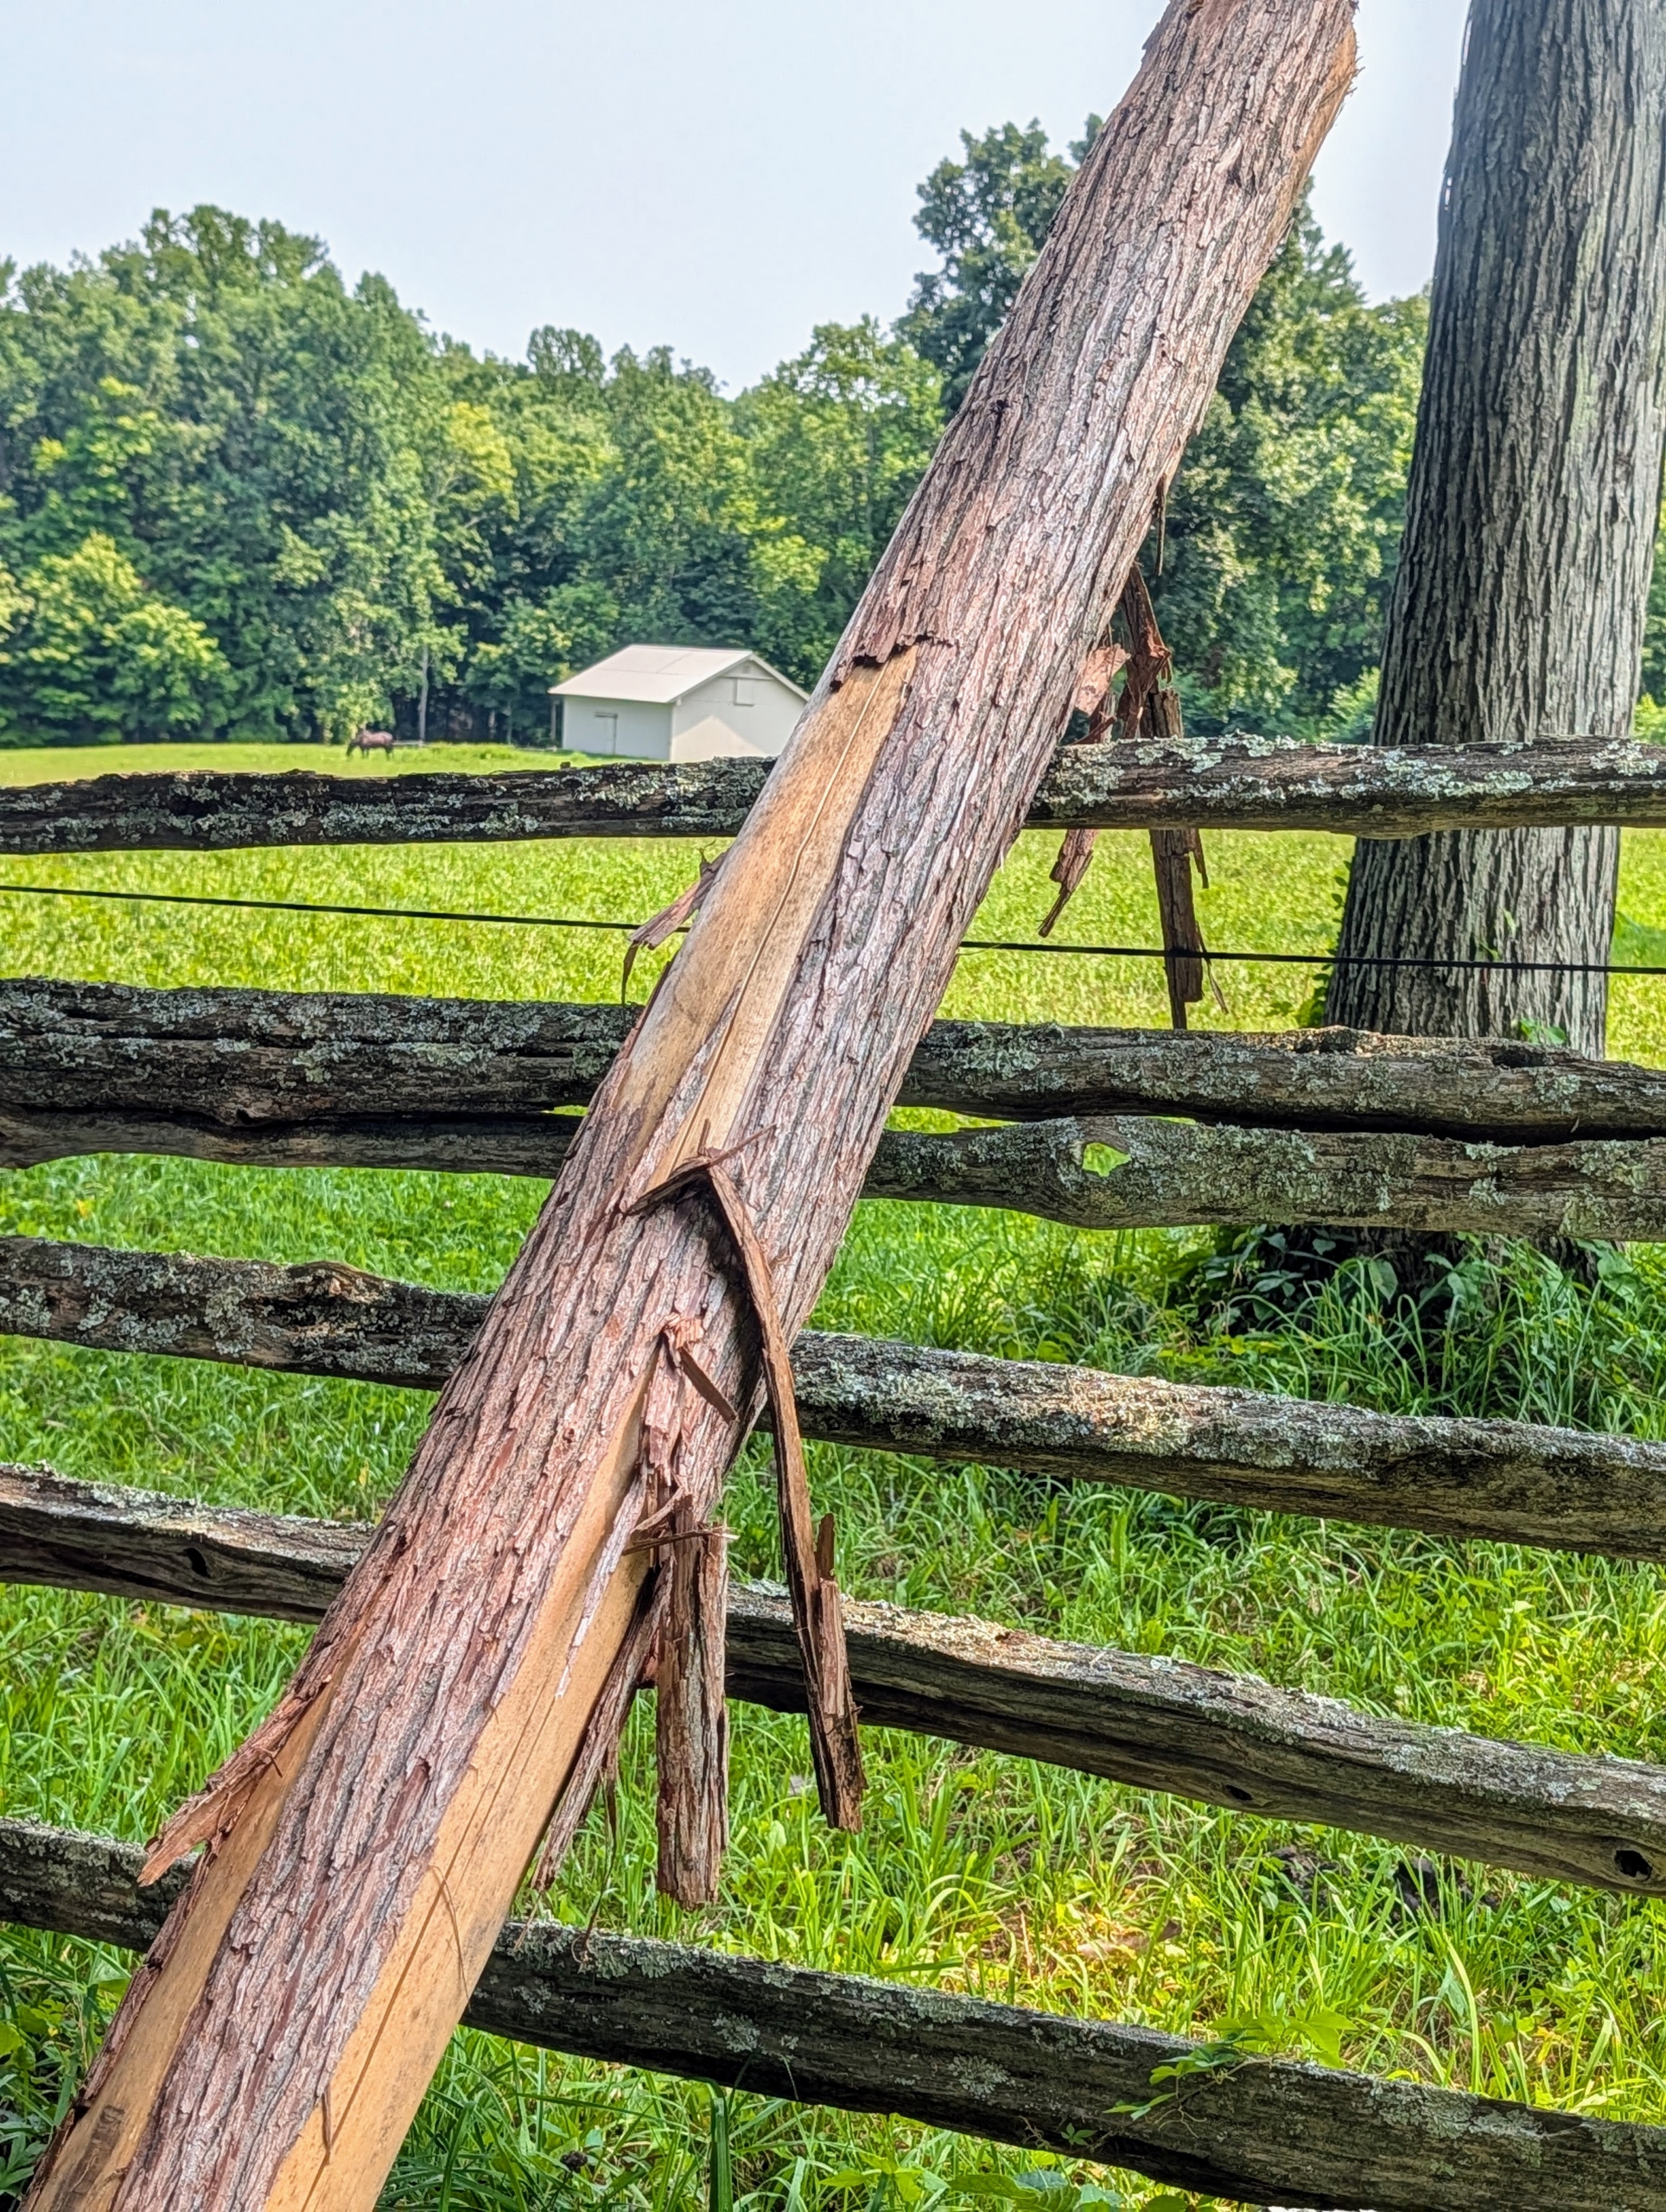
- Here’s a new cedar post ready to be installed.
-
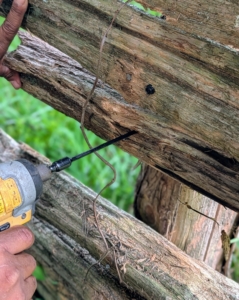
- New screws are drilled into the cross pieces to keep them in place.
-
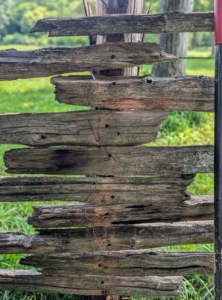
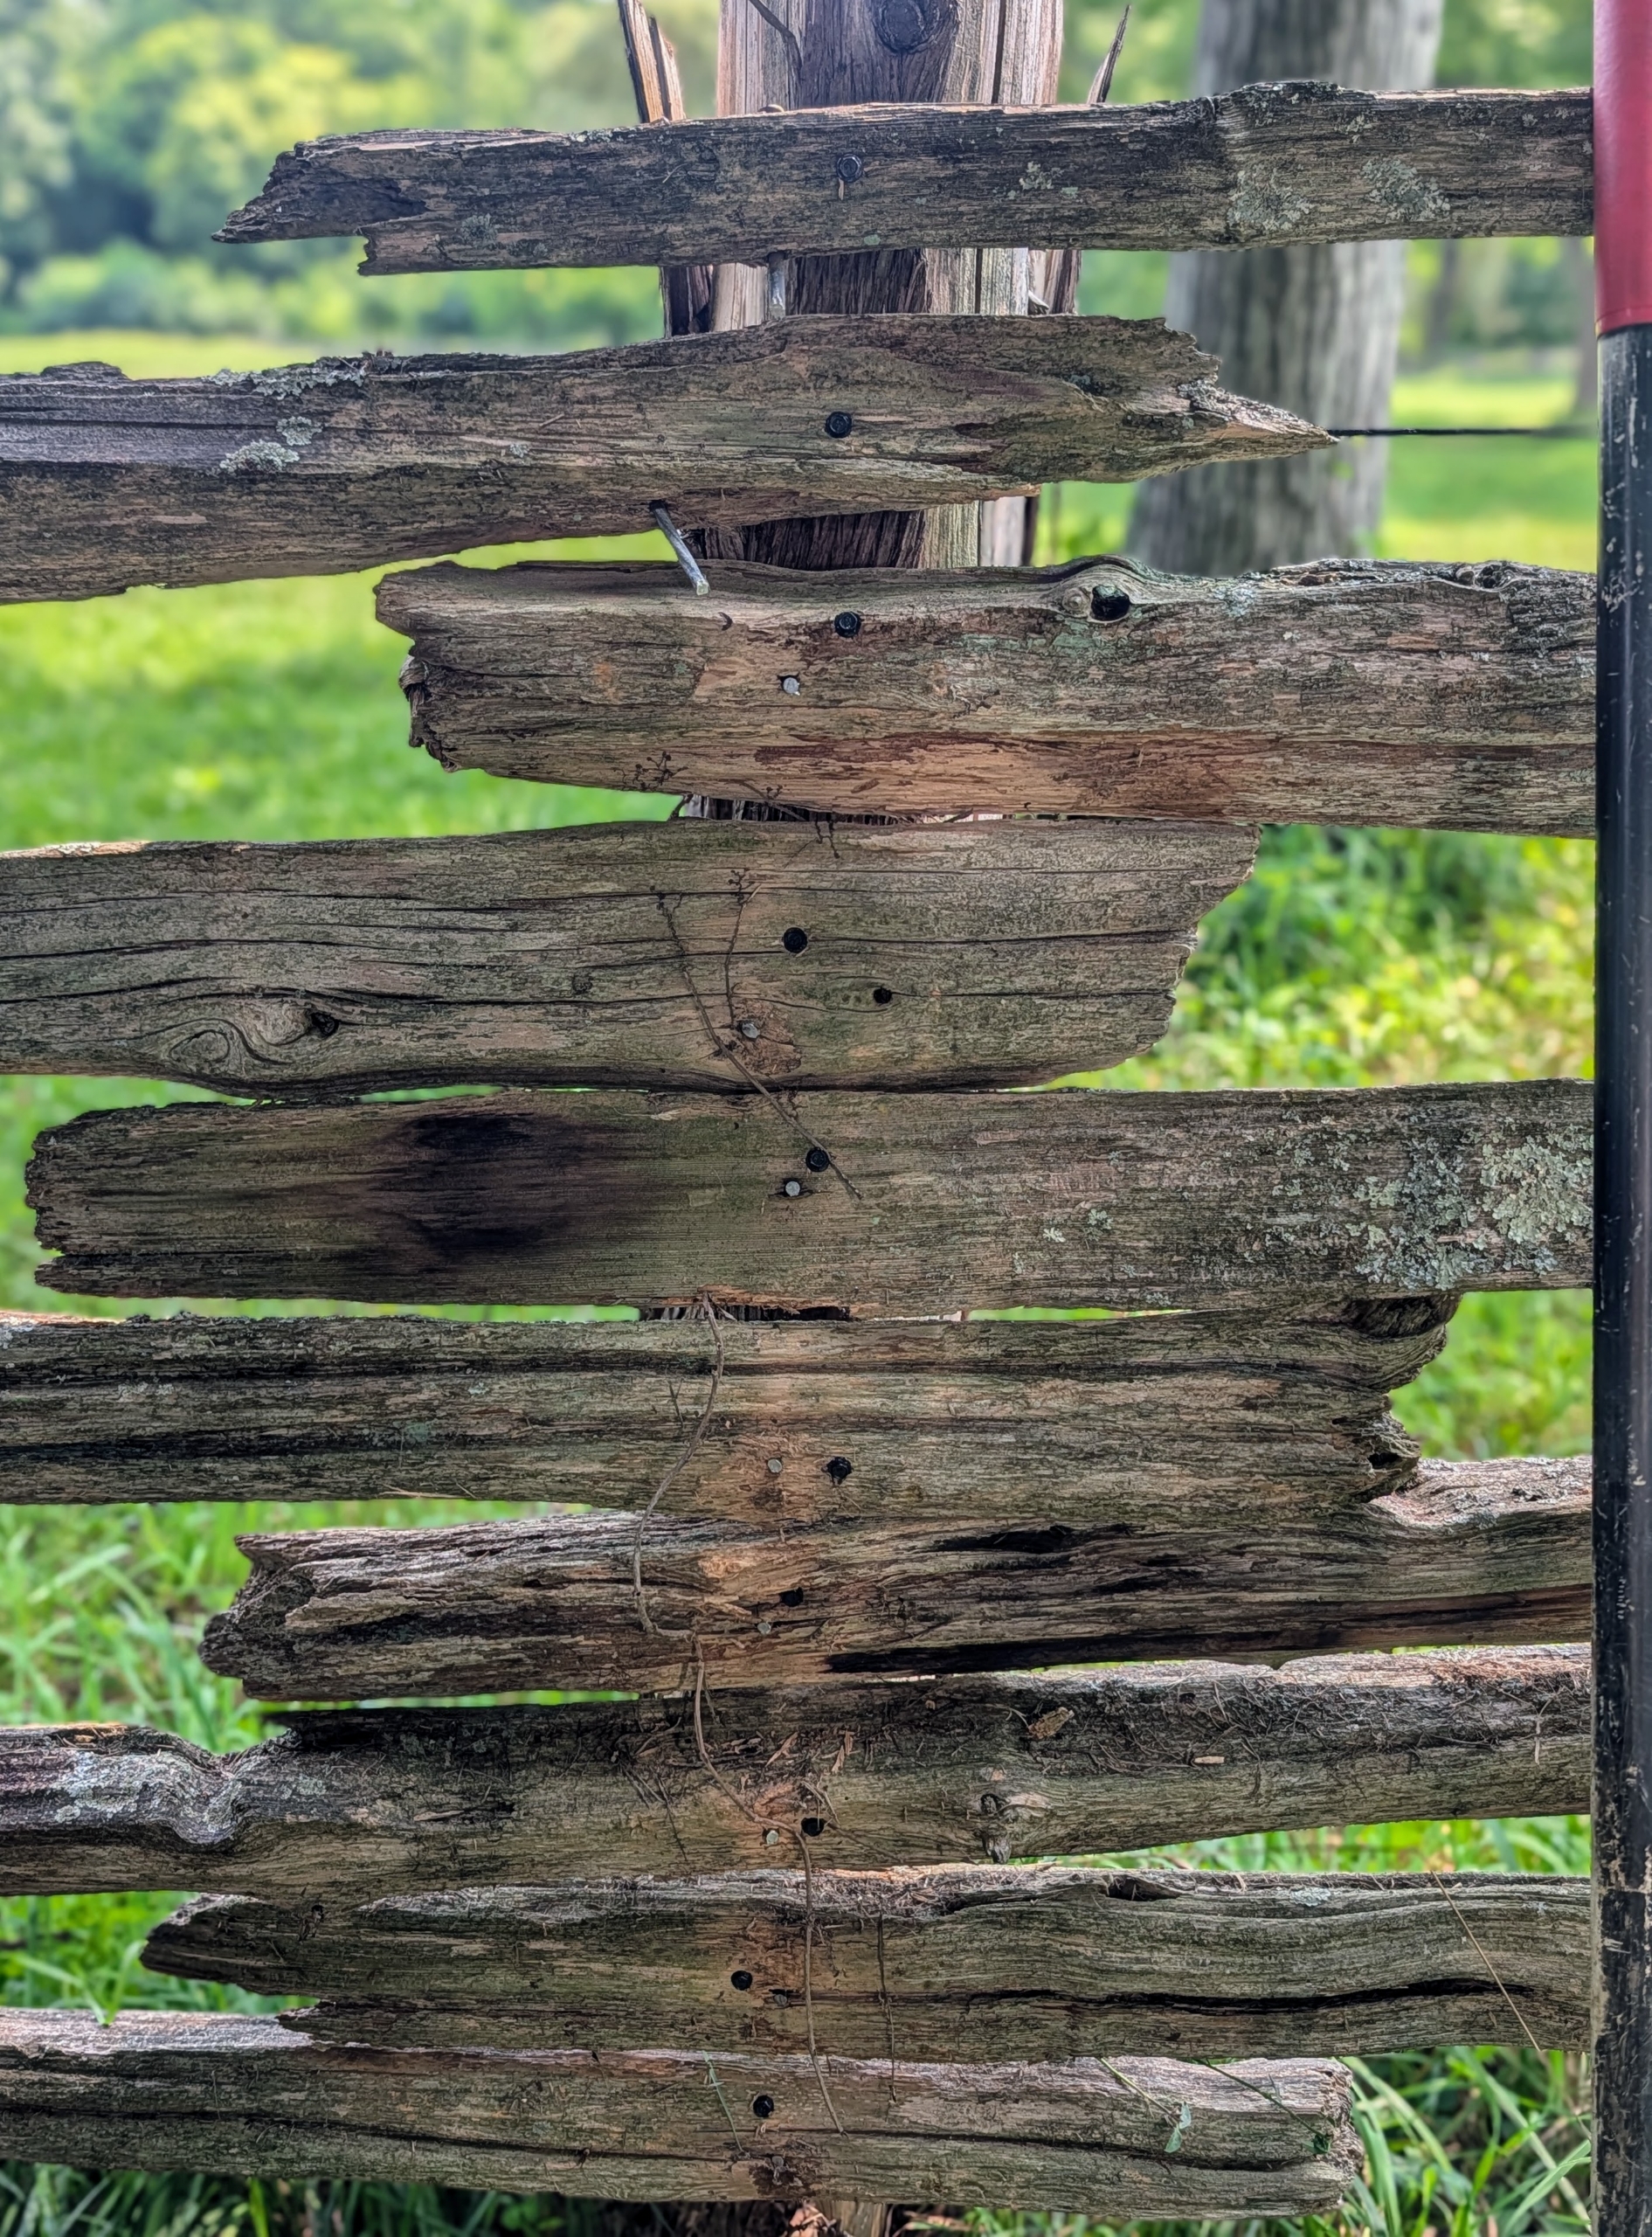
- Pete does this process carefully and thoughtfully so as not to damage these antique railings.
-
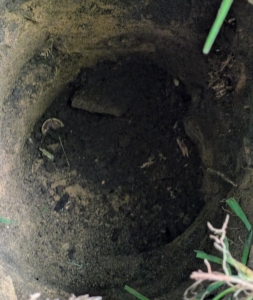
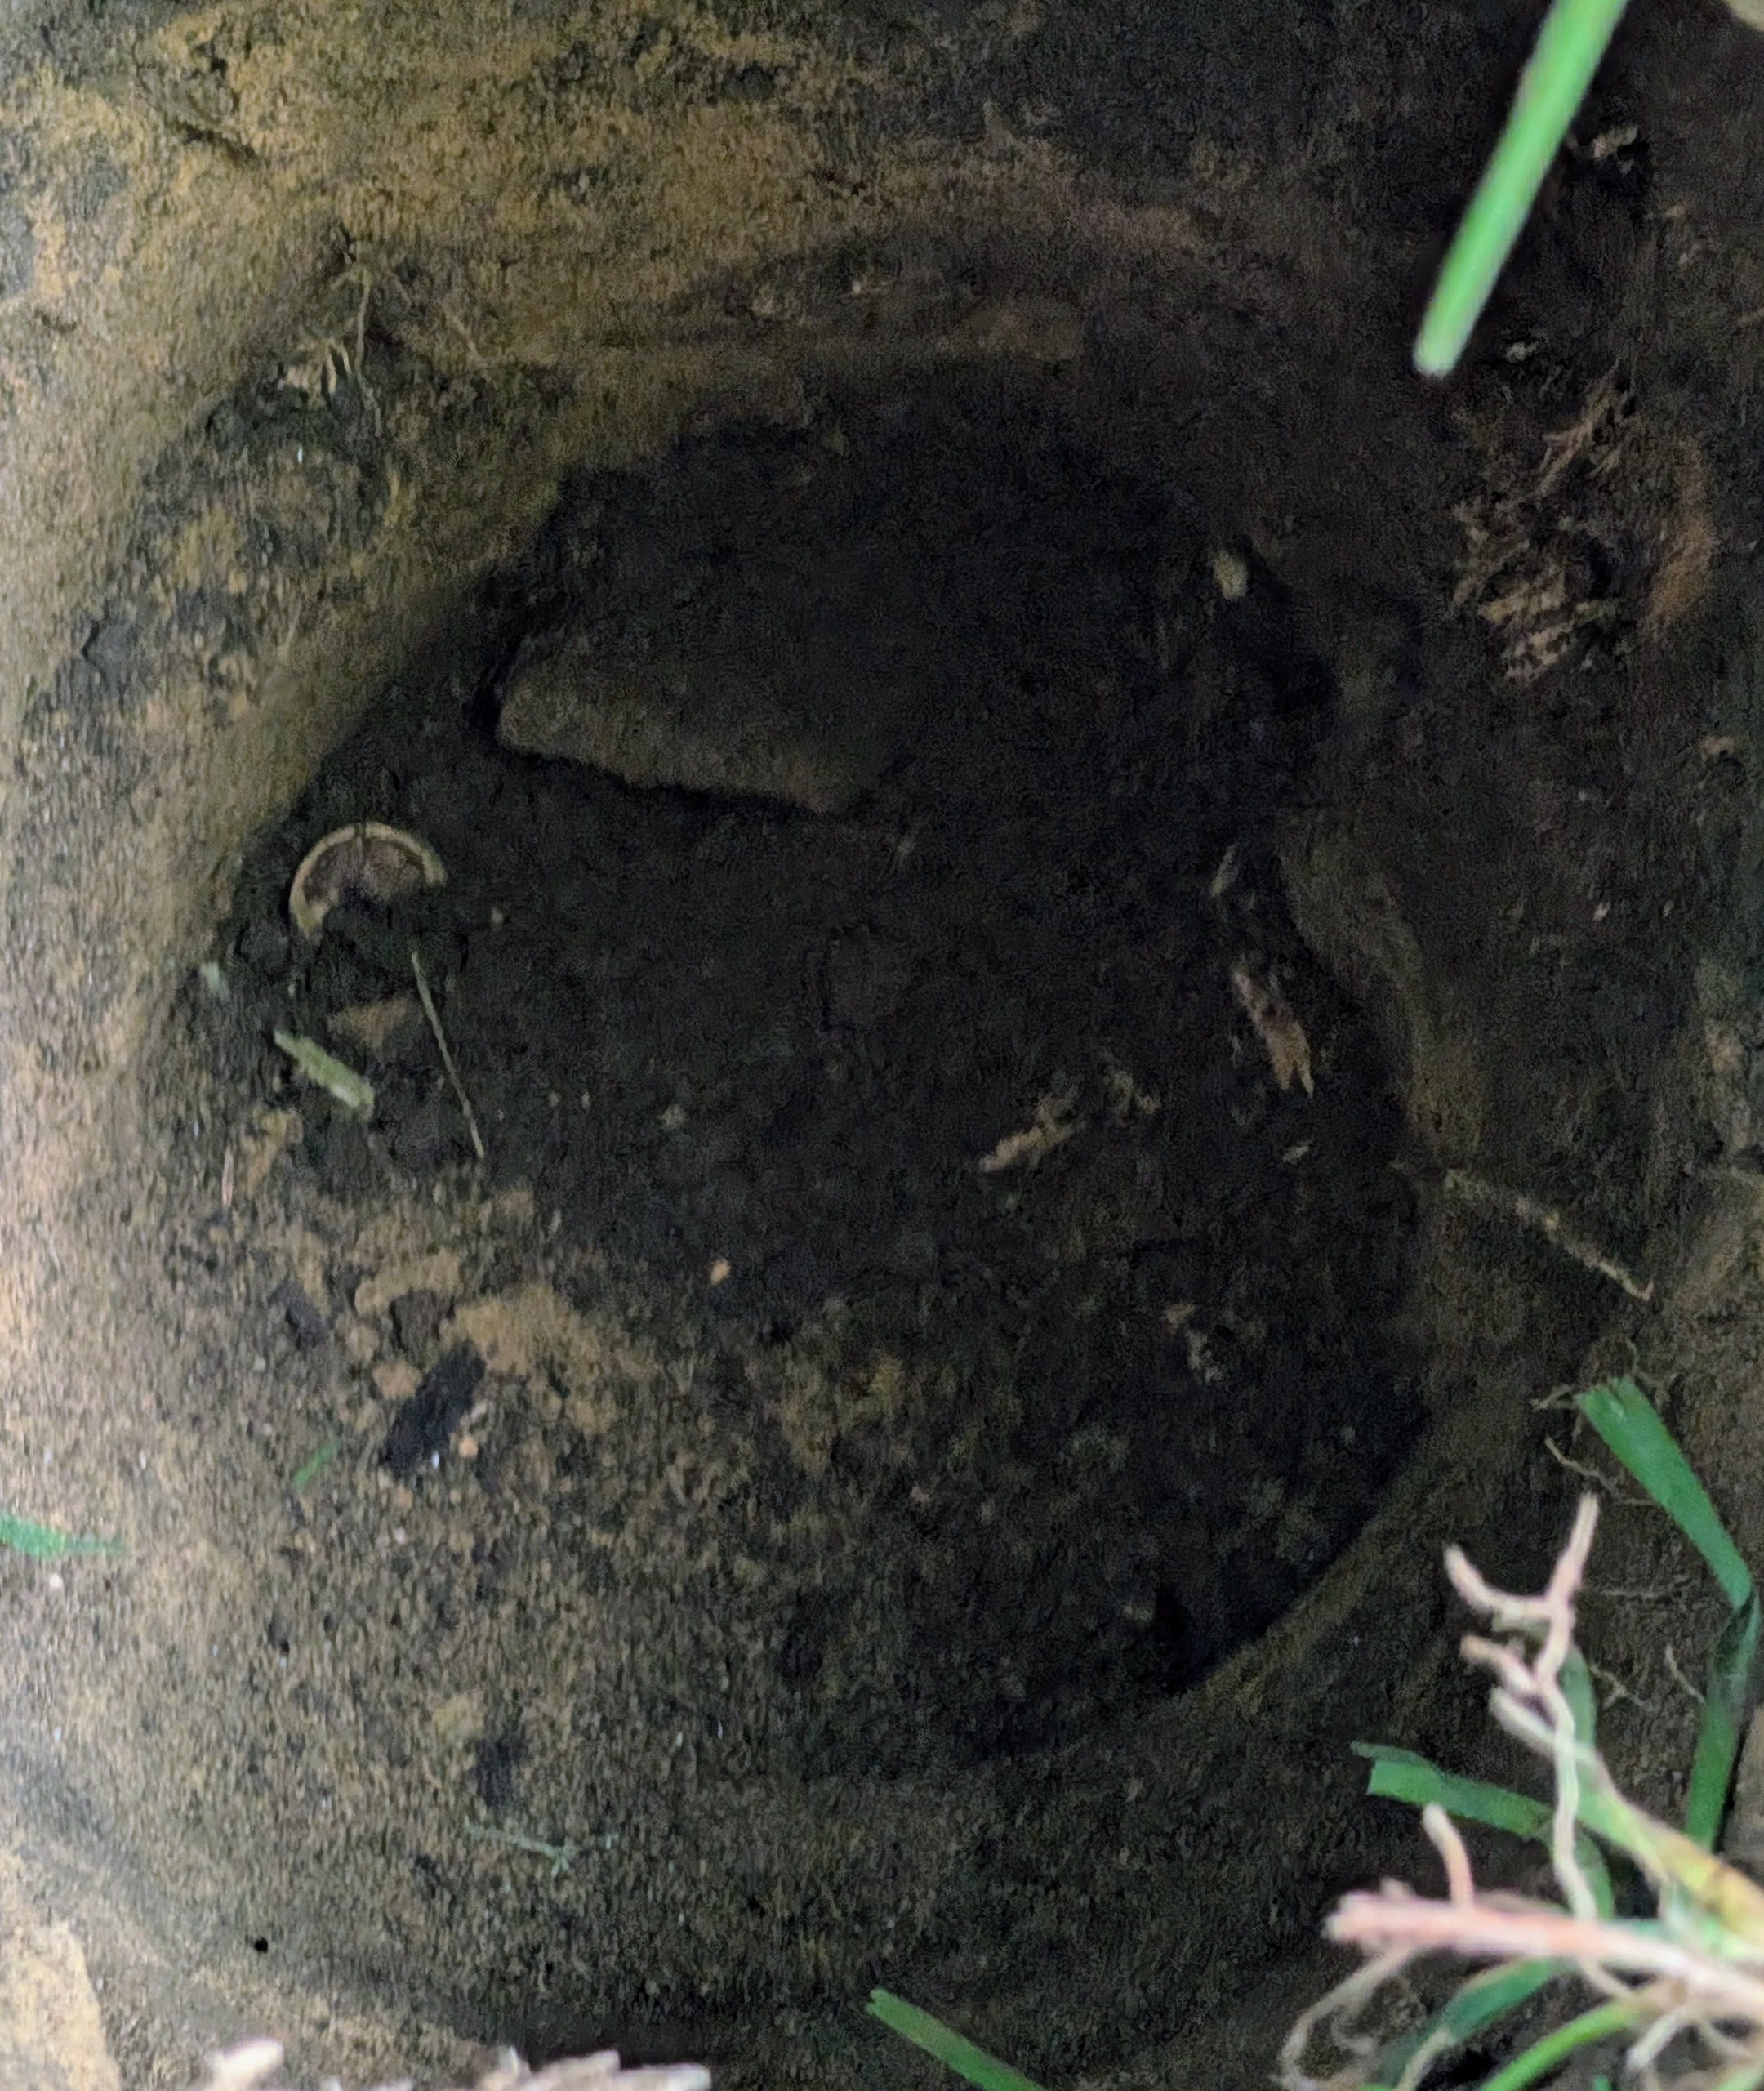
- Here is the three and a half foot hole ready for the new post.
-
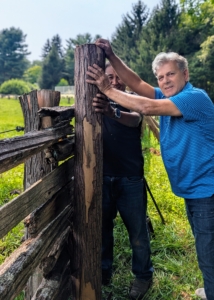
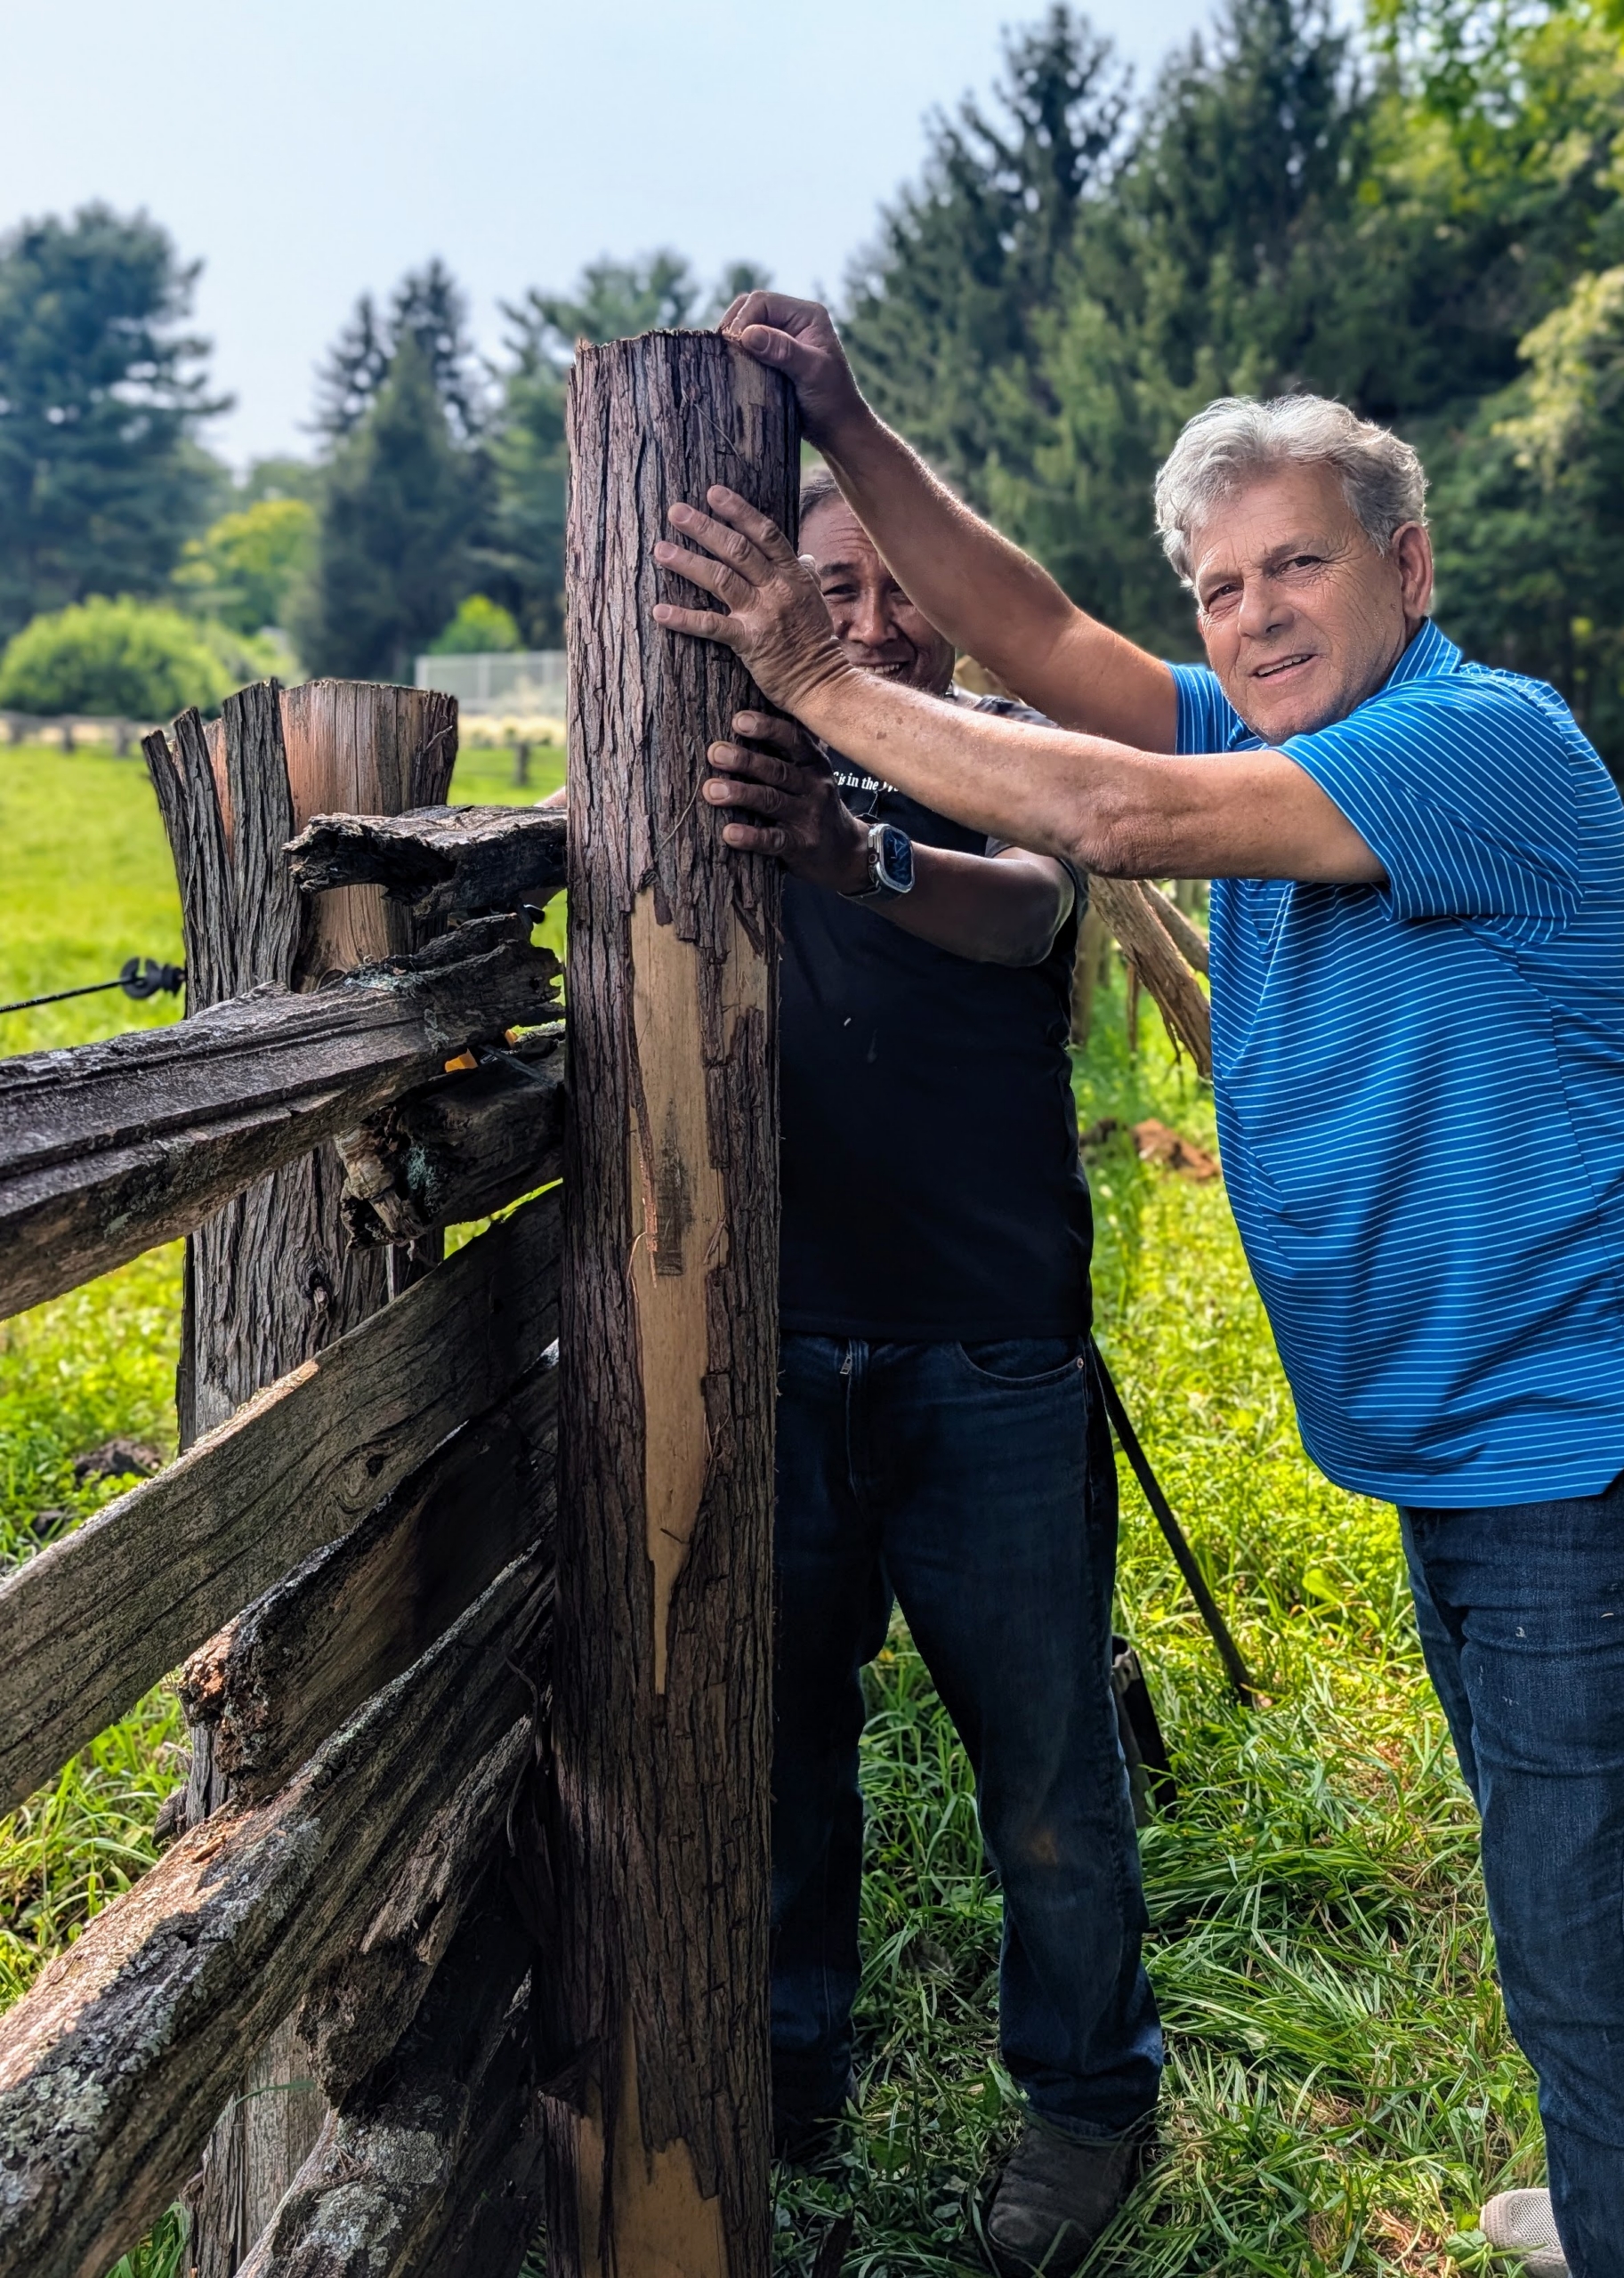
- Once the post is placed into the hole, Fernando and Pete adjust it for level, and turn the post so that the nicest side faces out. And no cement is needed.
-
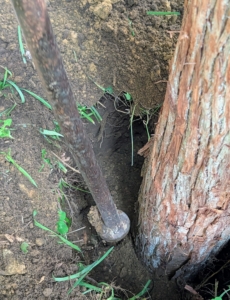
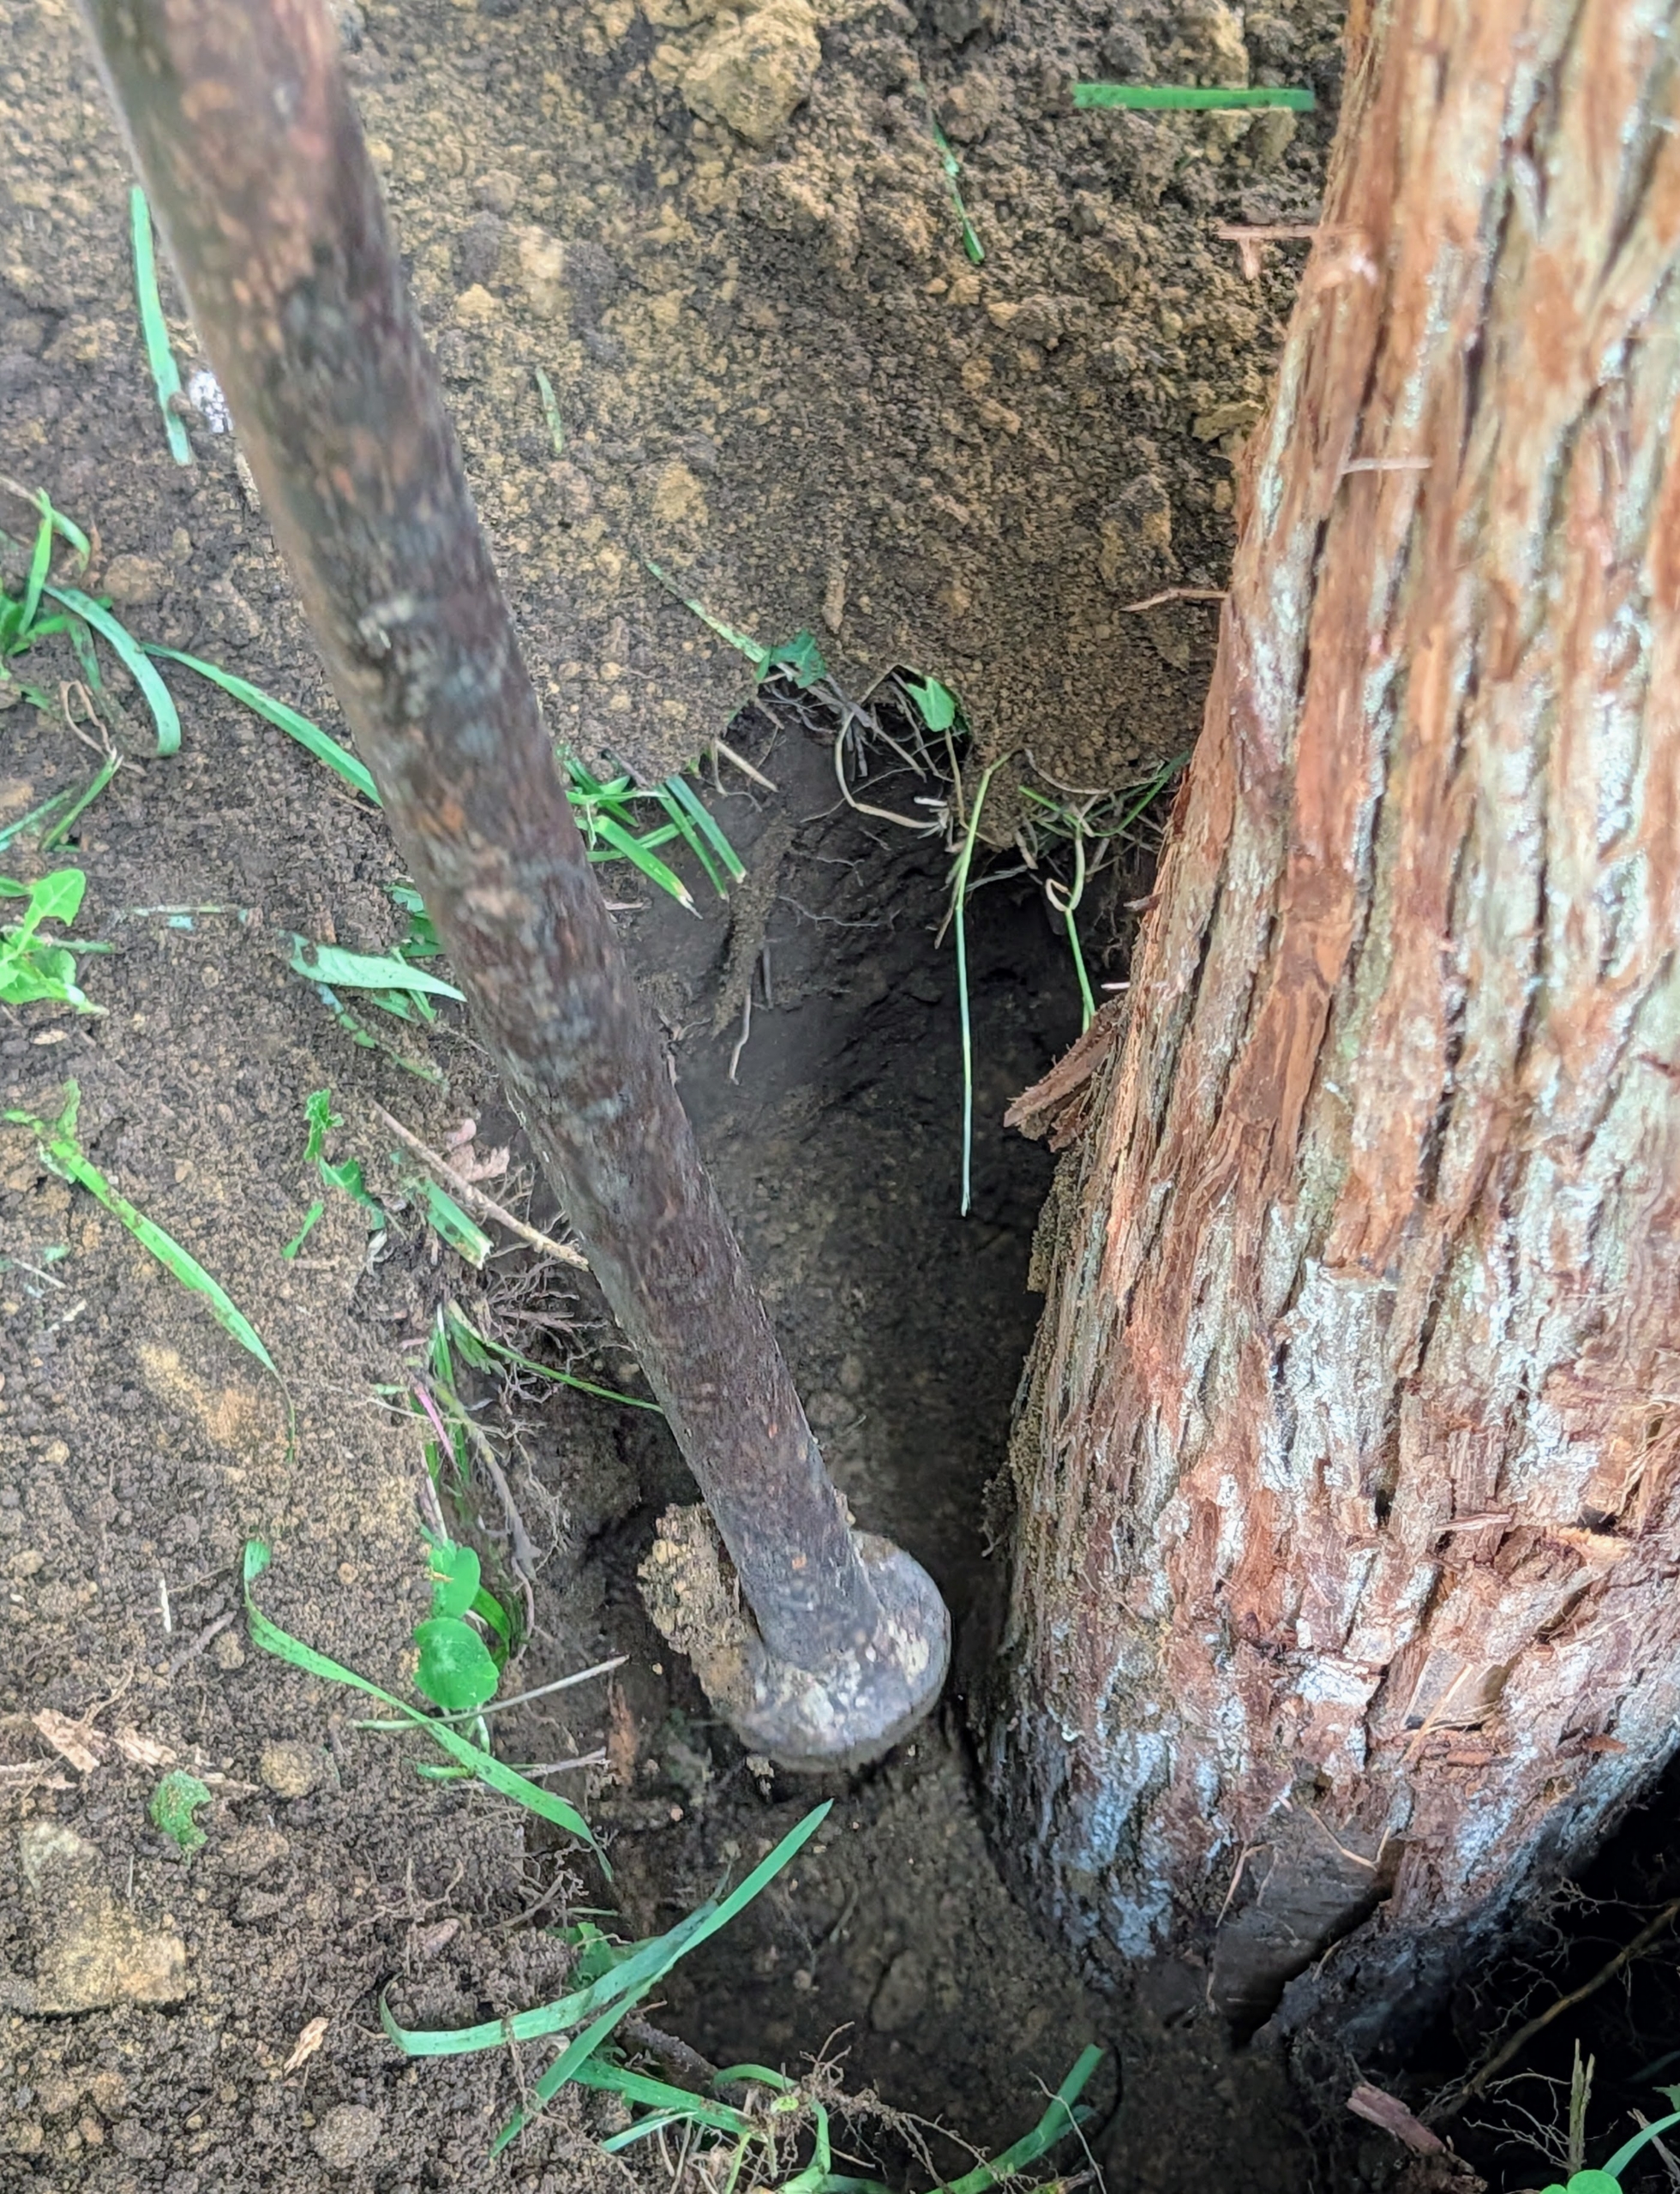
- Pete tamps the soil down as he backfills to make sure everything is tight and secure.
-
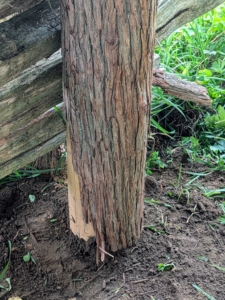
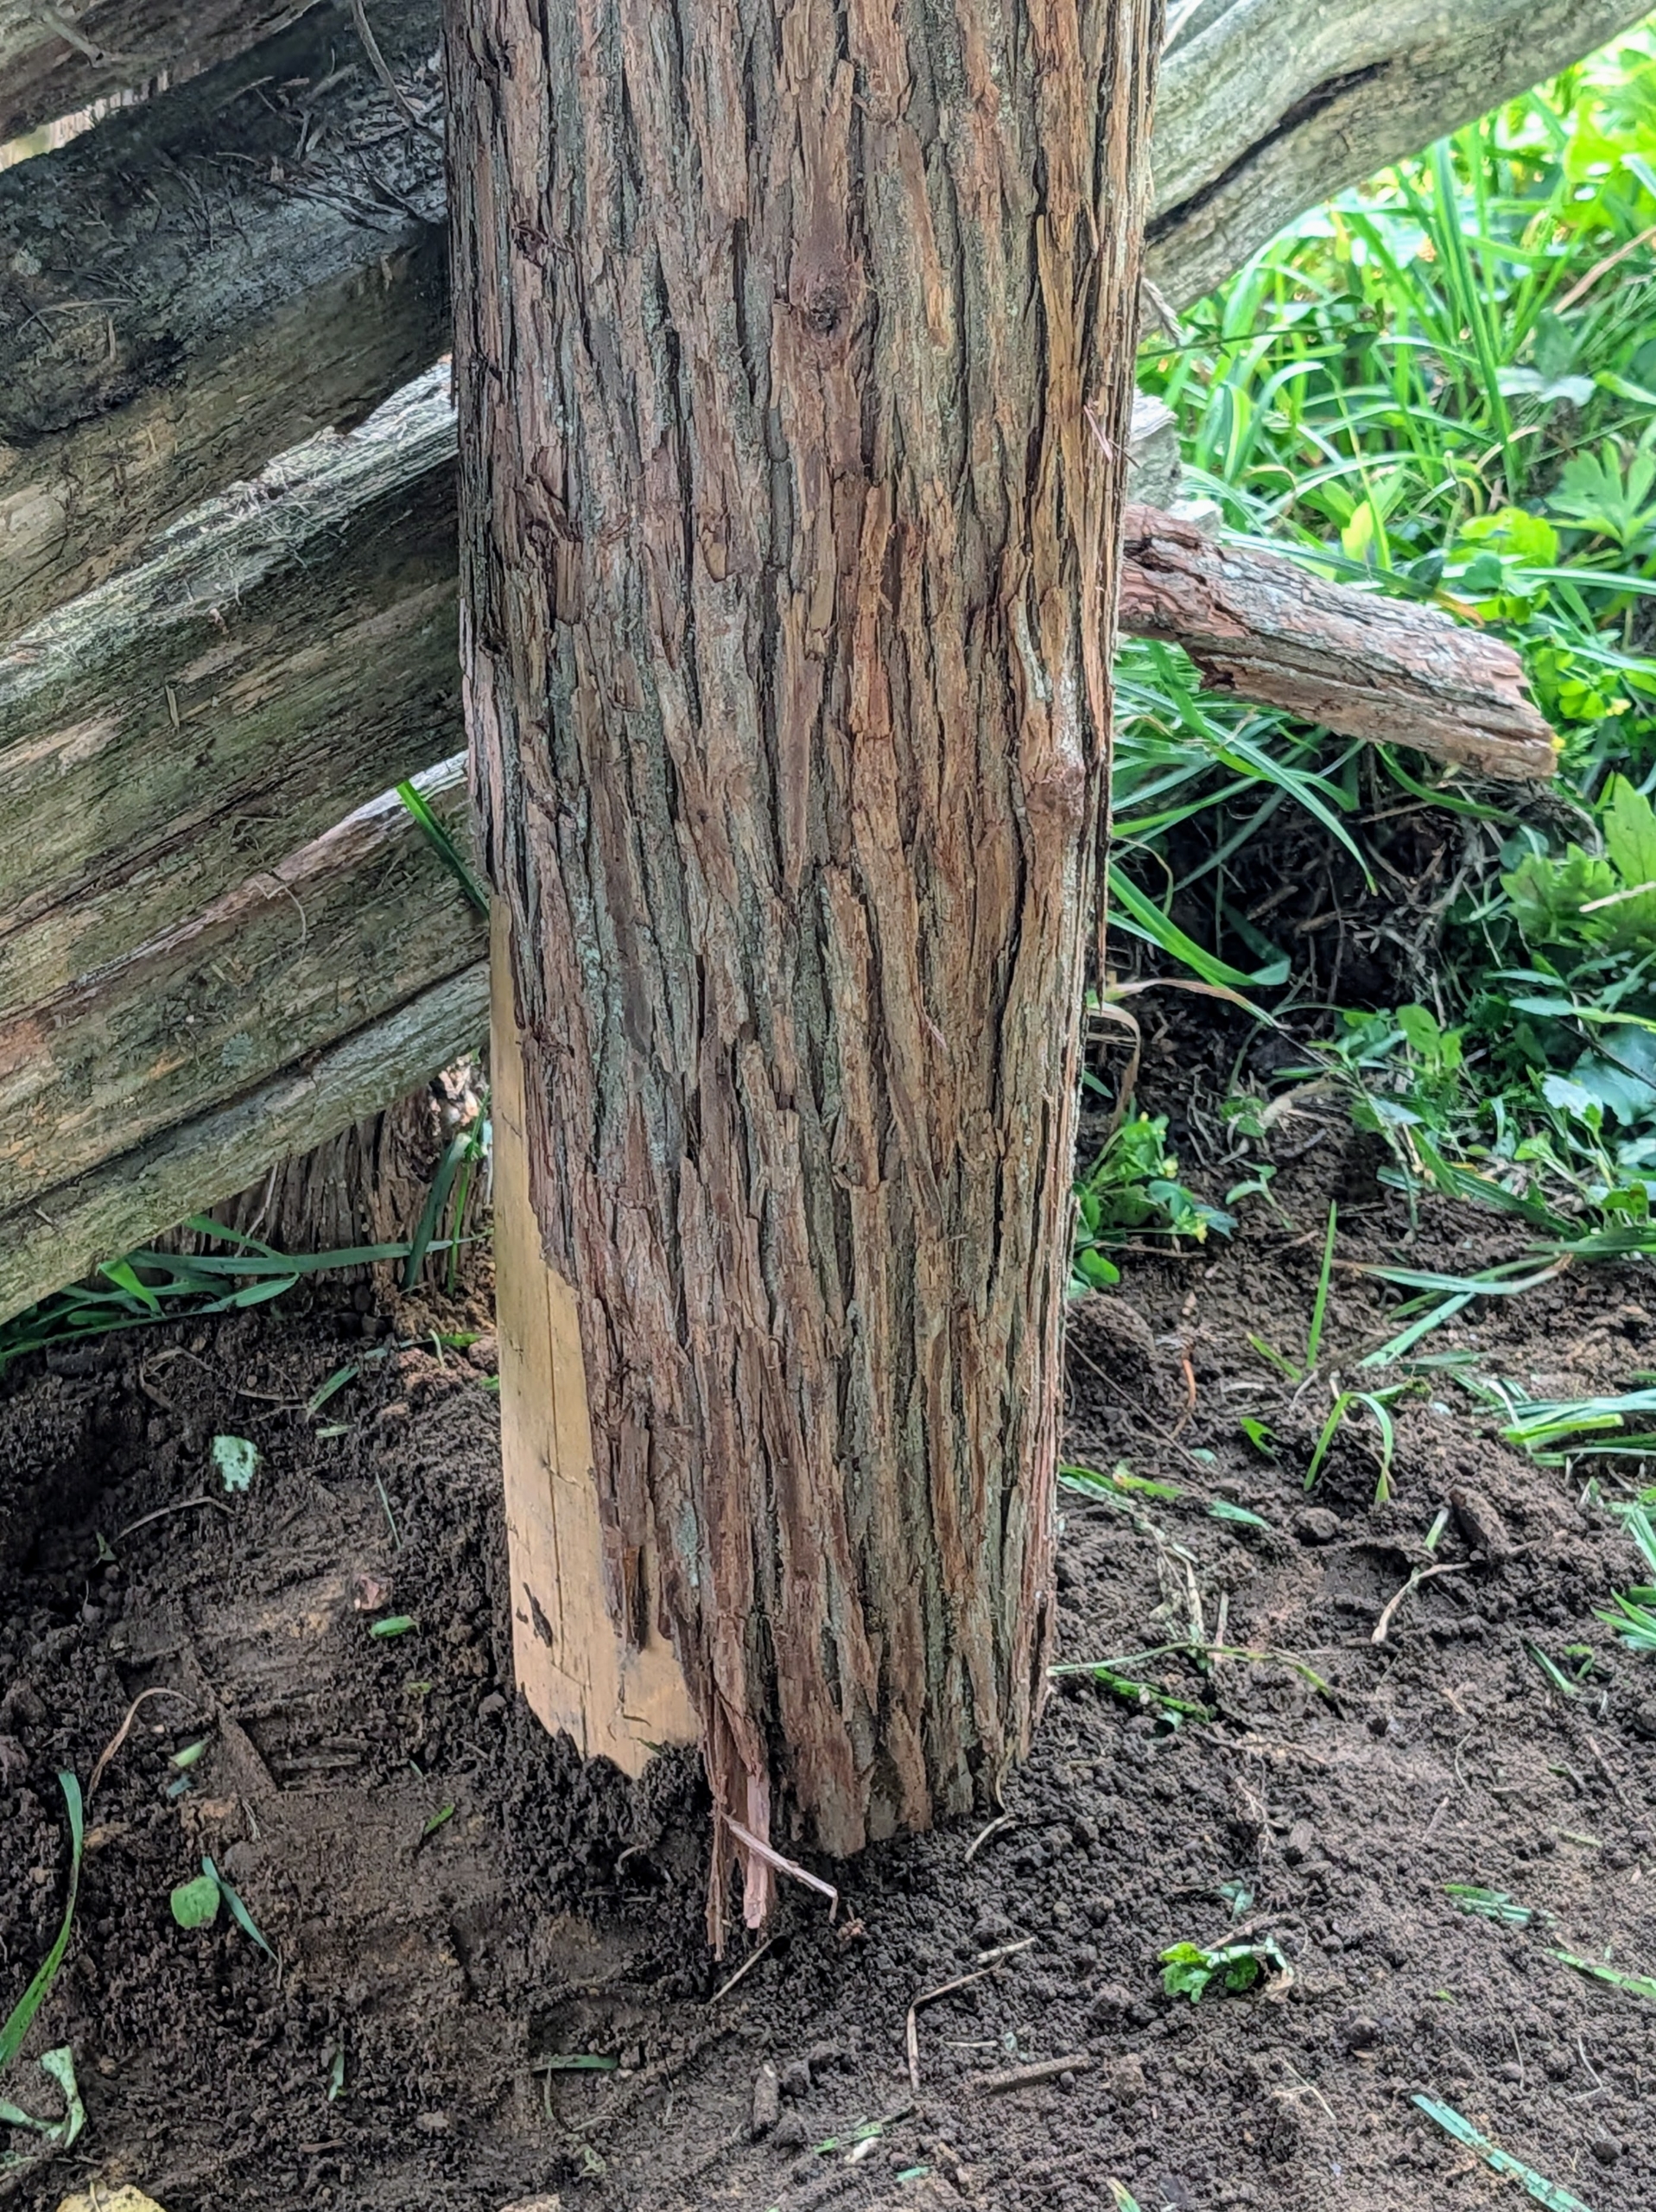
- This new post should now last another 20-years.
-
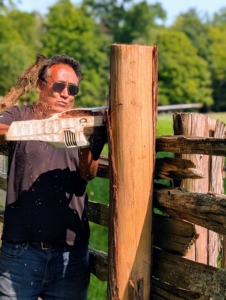
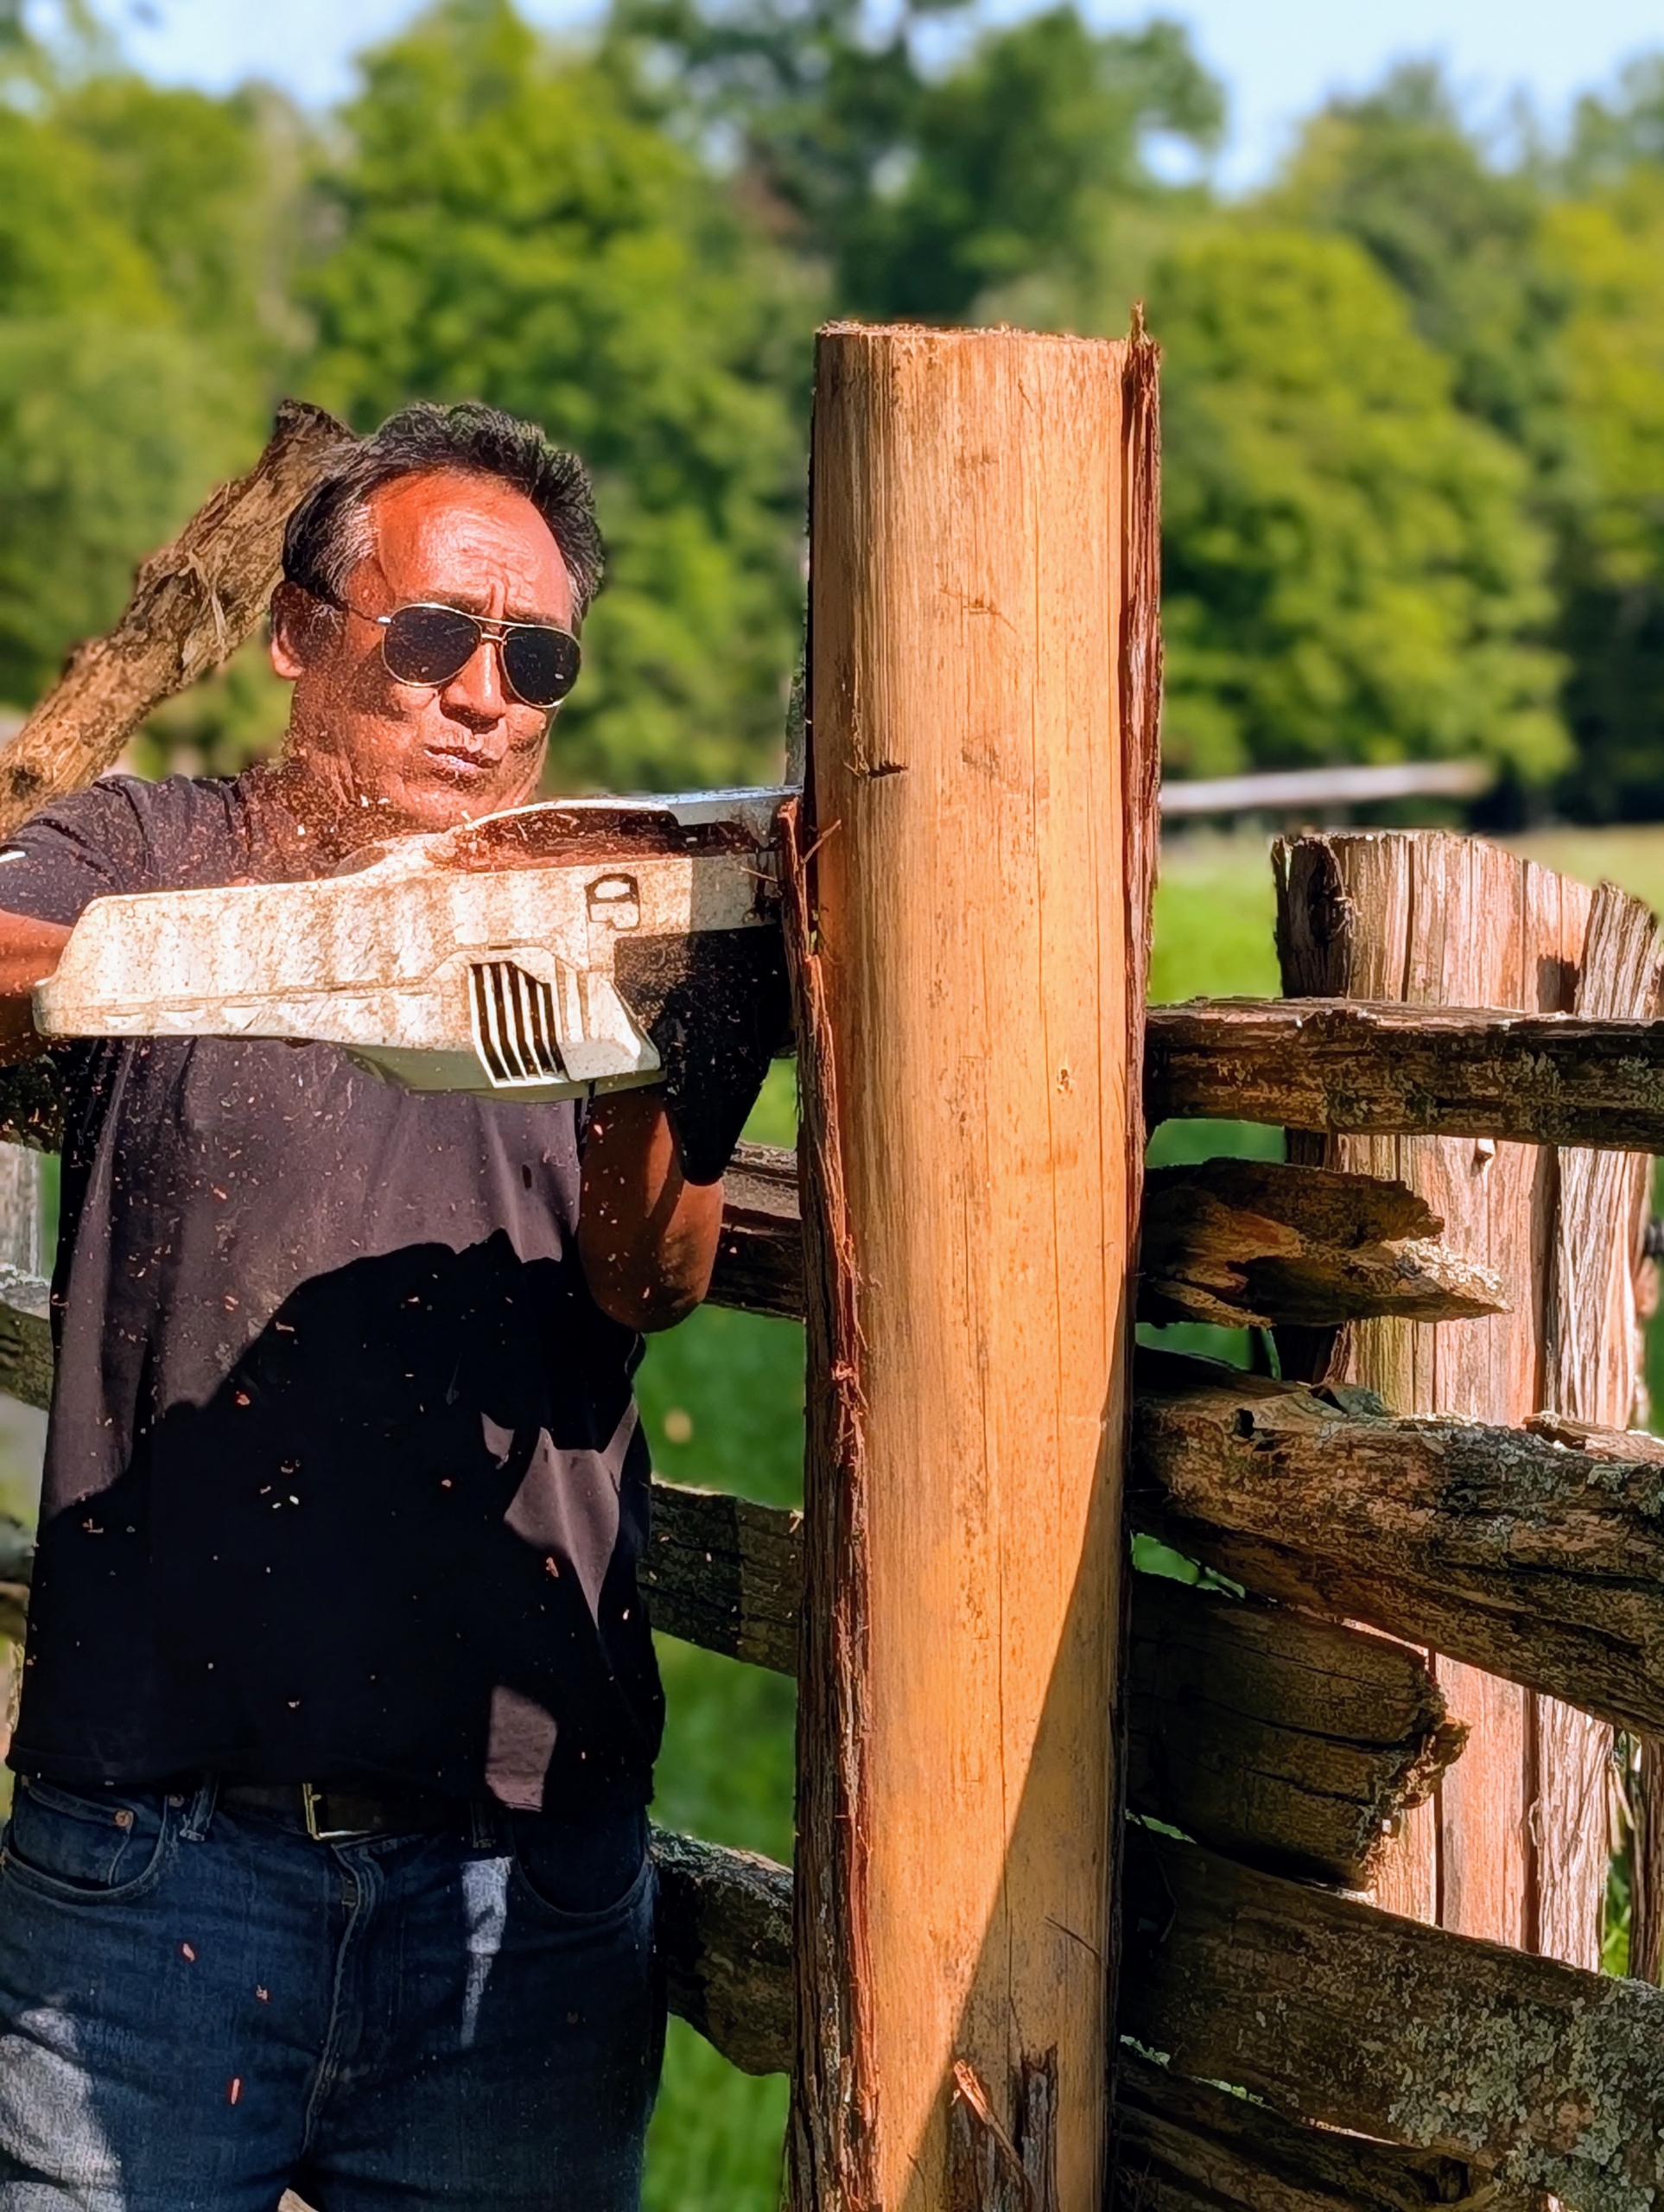
- Finally, Pete uses a STIHL chainsaw to cut off the excess wood at the top, so both posts are level.
-
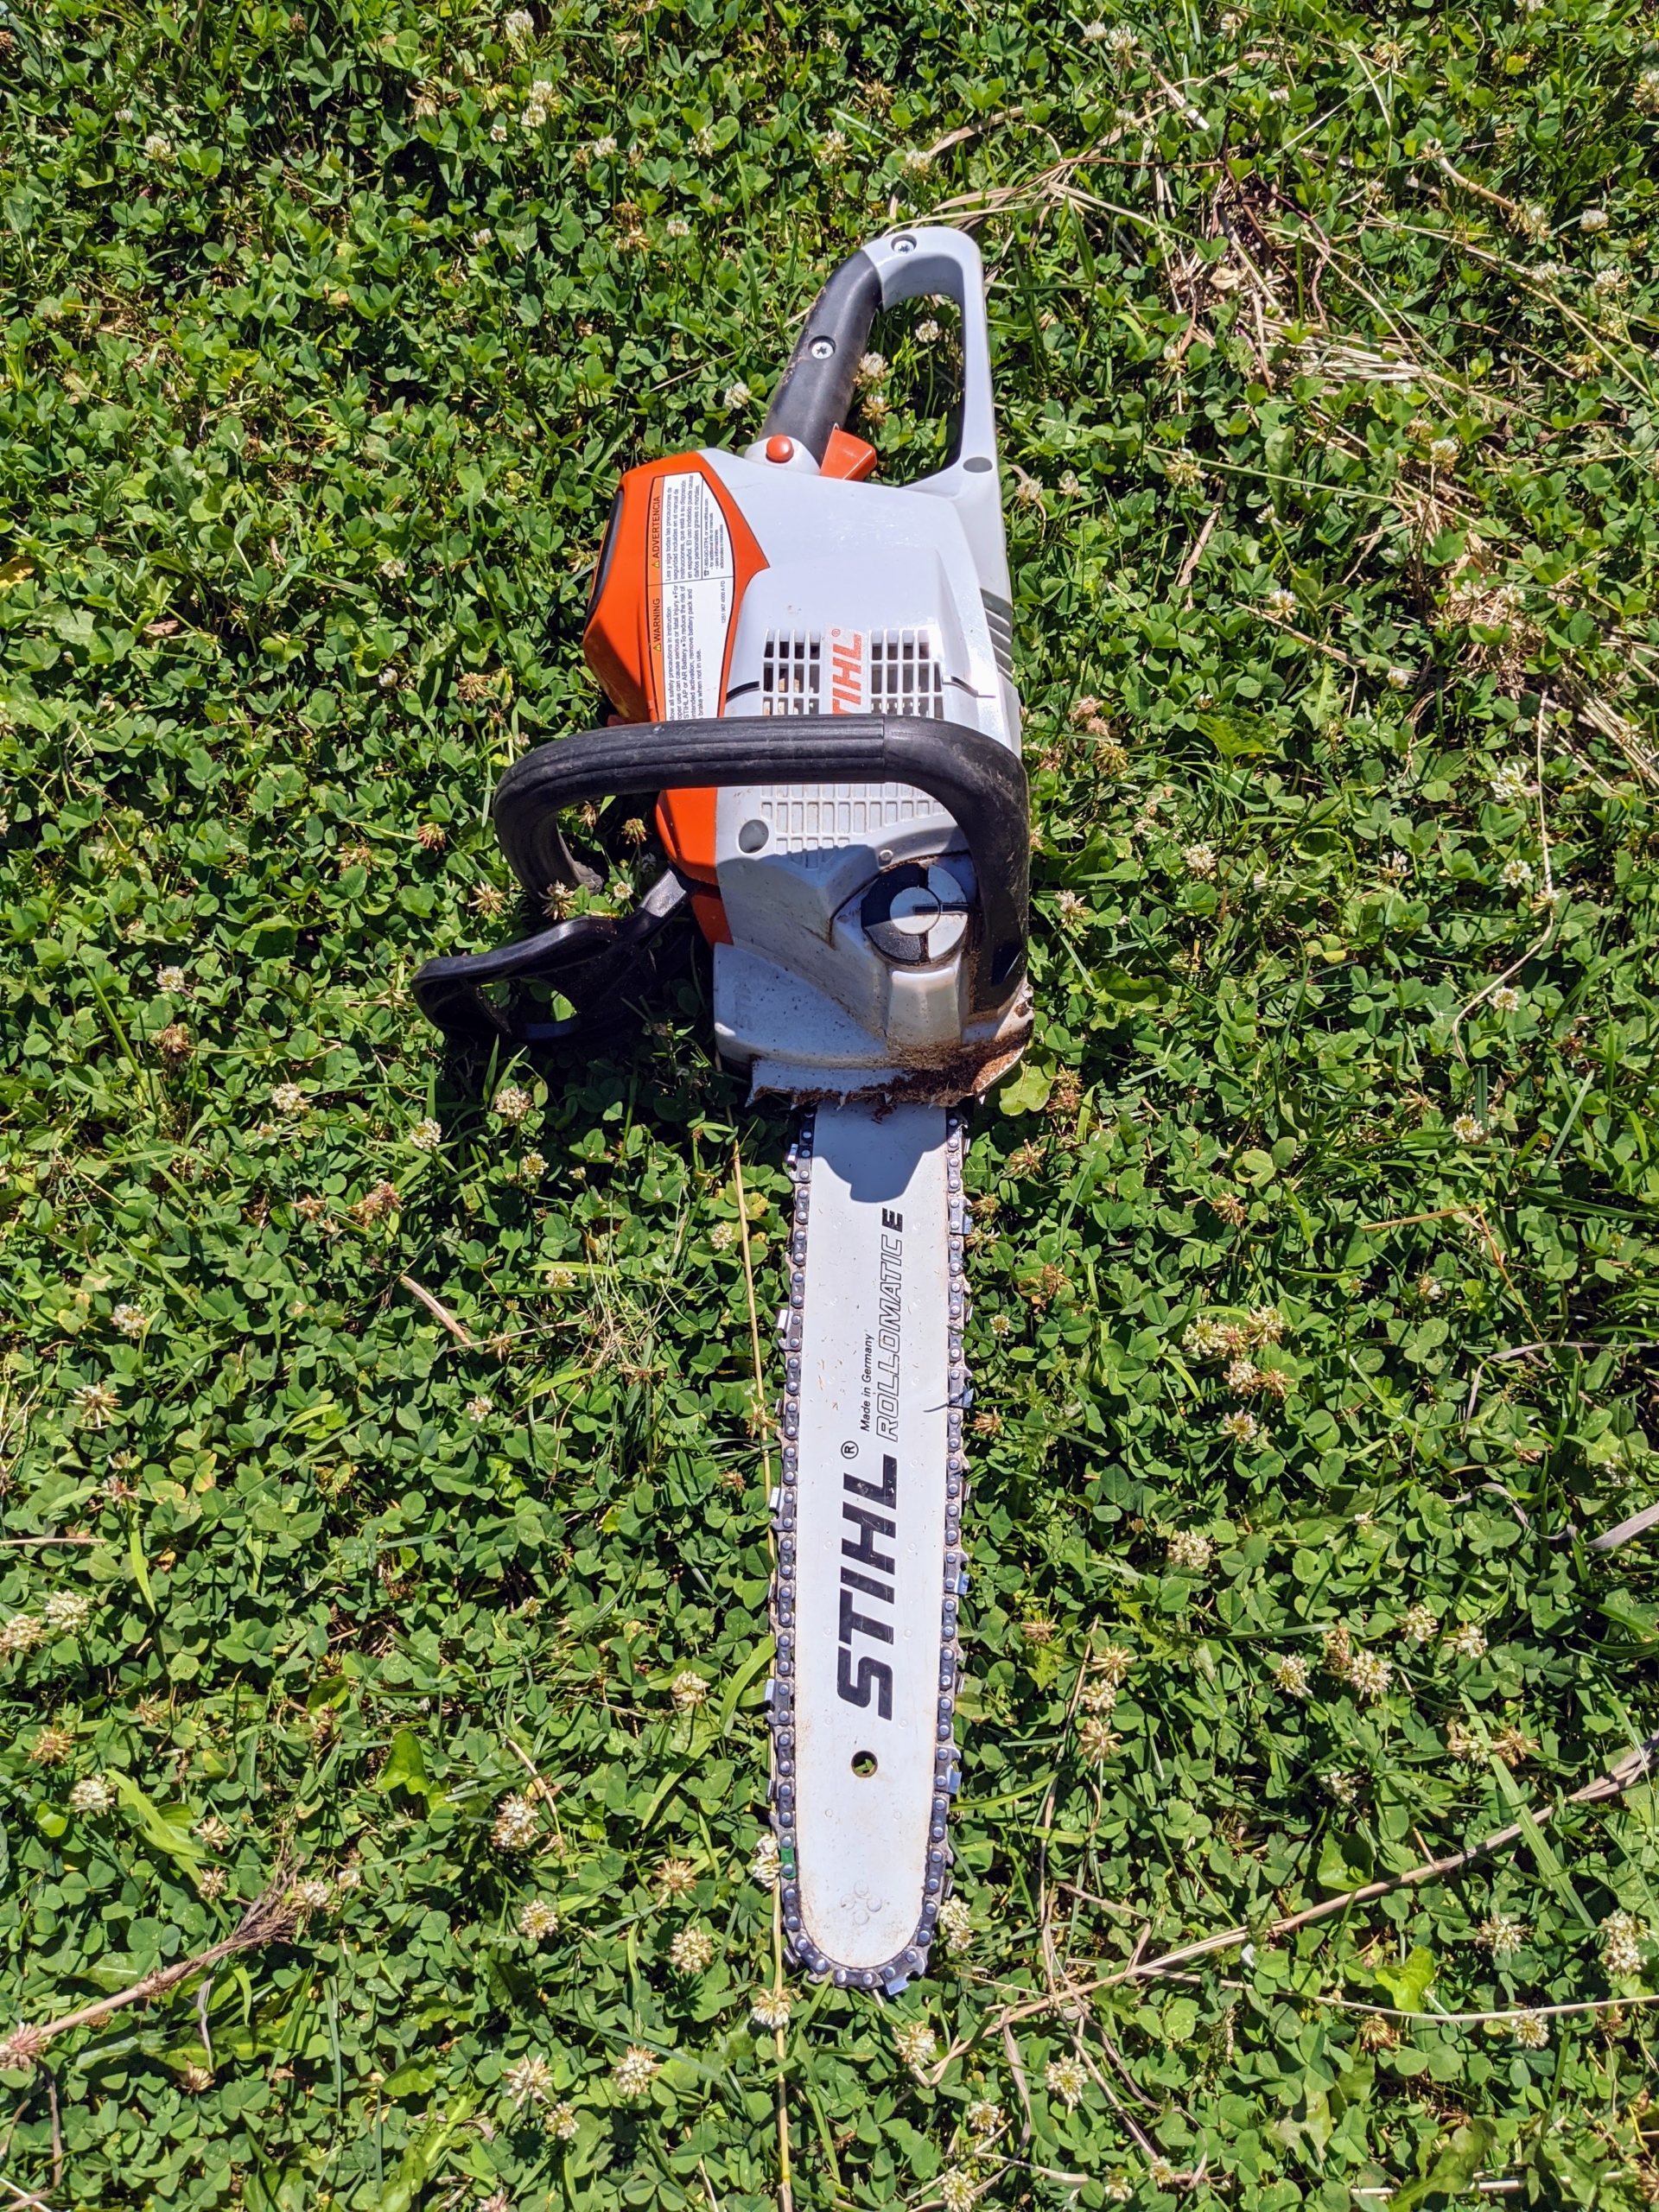
- STIHL designed and built its first electric chain saw in 1926 and 100 years later, it is still one of its best pieces of equipment. This one is run on an AP 300 S Lithium-Ion Battery, which is powerful and compatible with a wide range of other STIHL tools.
-
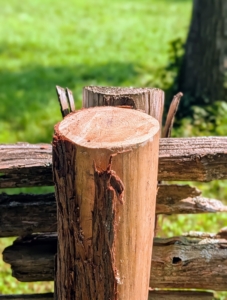
- Cedar is extremely durable and holds up well to outdoor weather conditions.
-
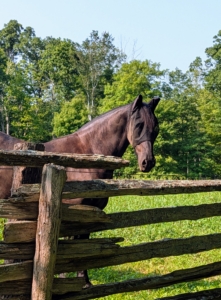
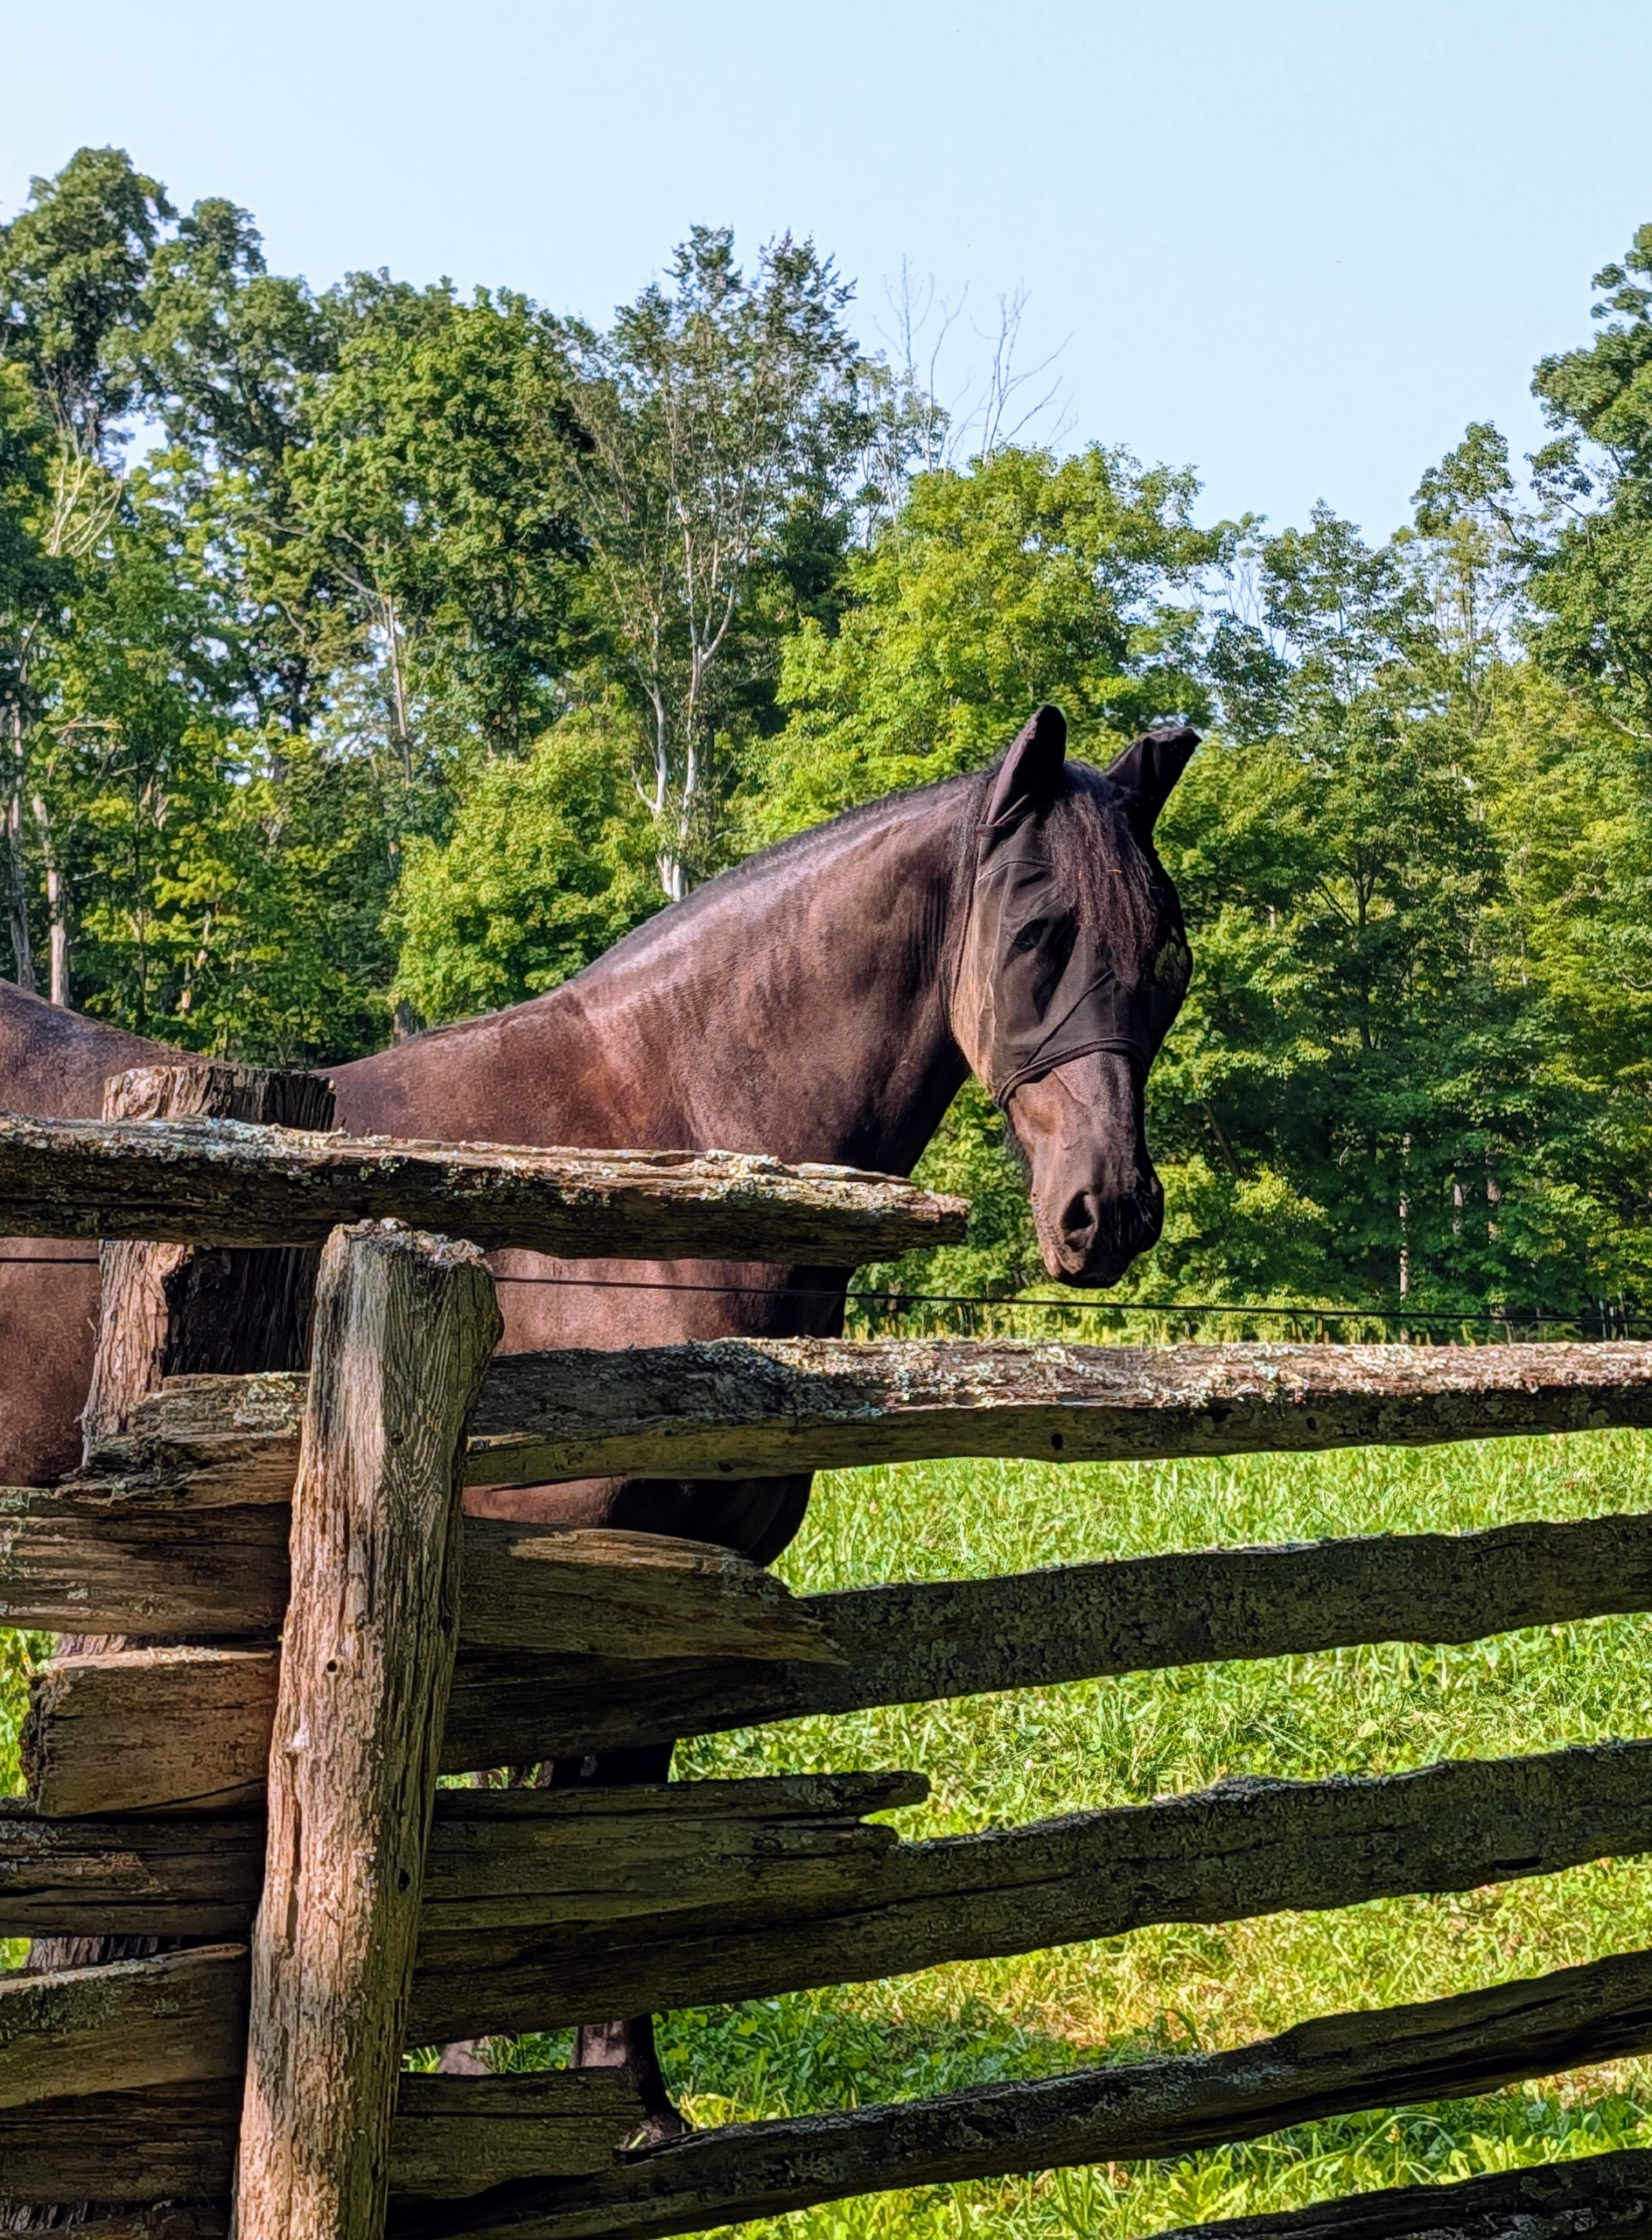
- It is very important to maintain all these old fences. They look beautiful in the landscape, but they also keep my handsome steeds safe in their pastures.
This story originally appeared on Martha Stewart Blog

