


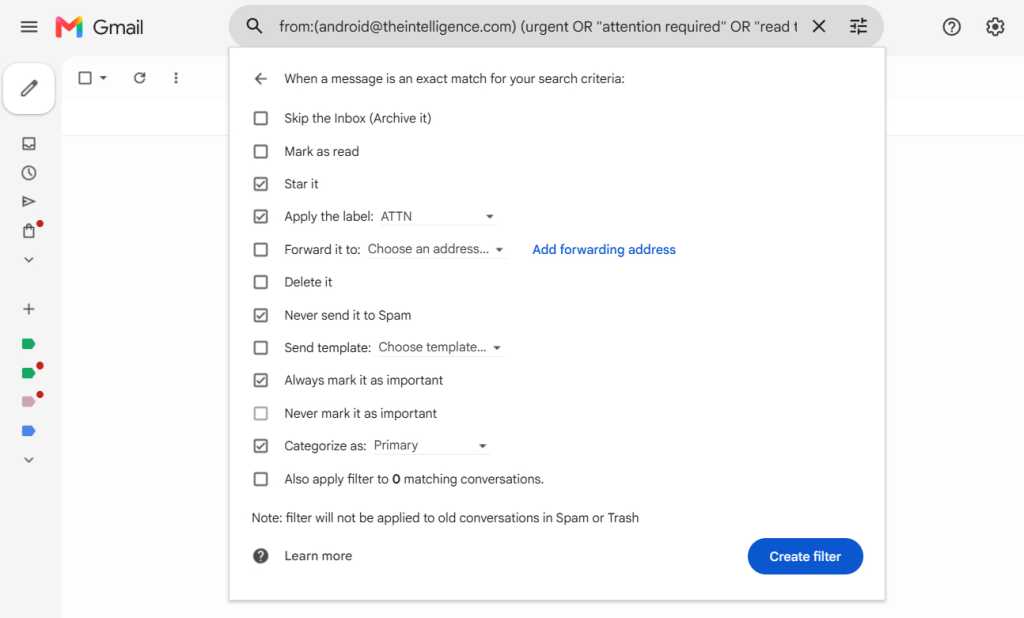
Gmail’s filters include a variety of actions that can execute when your conditions are met.
JR Raphael / Foundry
Once you’ve got that finished, click the blue “Create filter” button — and that’s it: Your new Gmail filter is officially in place and active. The next time any message comes in that meets the parameters you outlined, the actions you specified will automatically take place faster than you can say “I embrace Workspace in my workplace cyberspace.”
Part 3: Managing your Gmail filters
Last but not least, make yourself a mental note in case you ever need to adjust your filters in the future: If you want to edit, delete, or even just revisit a filter you created, just click the gear-shaped icon in the upper-right corner of the Gmail website, click “Settings,” then click the “Filters and Blocked Addresses” tab at the top of the settings screen. You’ll see every filter you’ve ever created there and can tweak or remove any of ’em with a couple quick clicks.
Now if only we could find a way to get the filters to deliver those blasted snickerdoodles for us. Hey, Google: Any chance you can make that happen?
This story originally appeared on Computerworld

